Provisioning Azure relational database services to create Azure SQL, MySQL, and PostgreSQL database resources
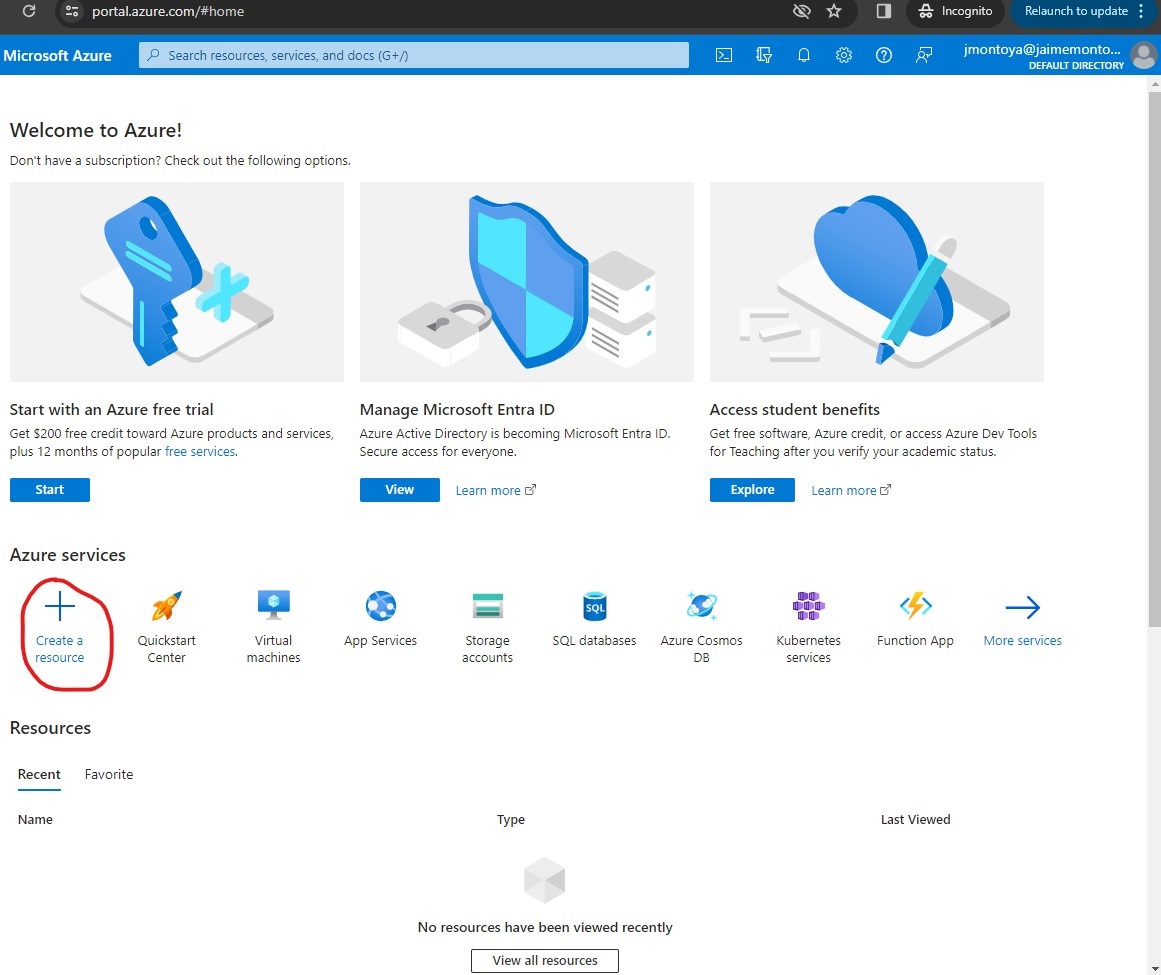
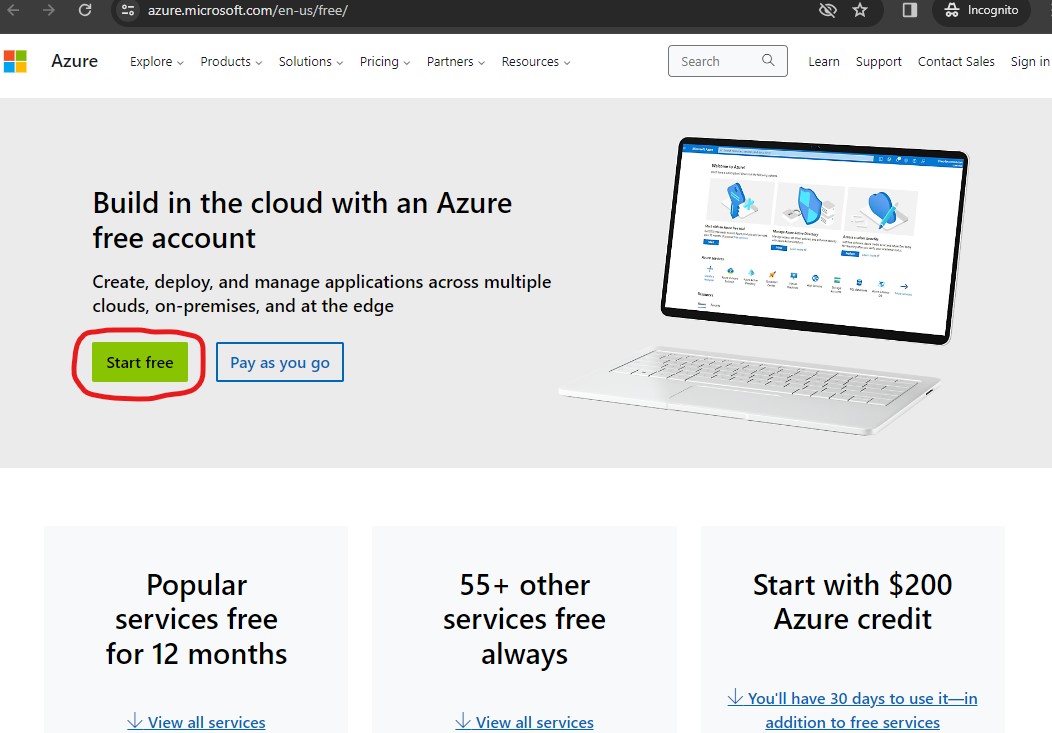
An Azure subscription was required. I visited https://azure.microsoft.com/free and signed in with a Microsoft account that I already had. That took me to the Azure portal. I selected + Create a resource:
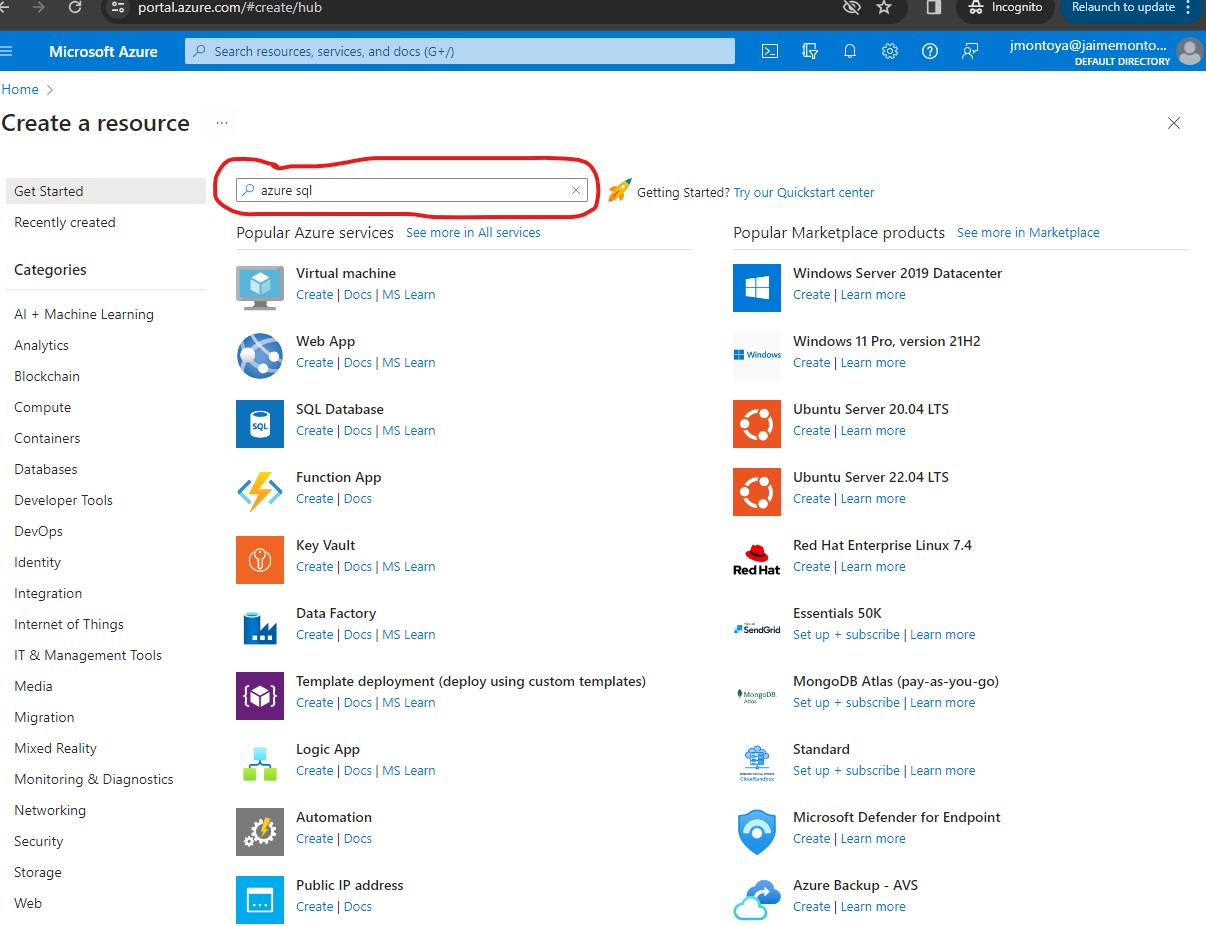
I searched for Azure SQL:
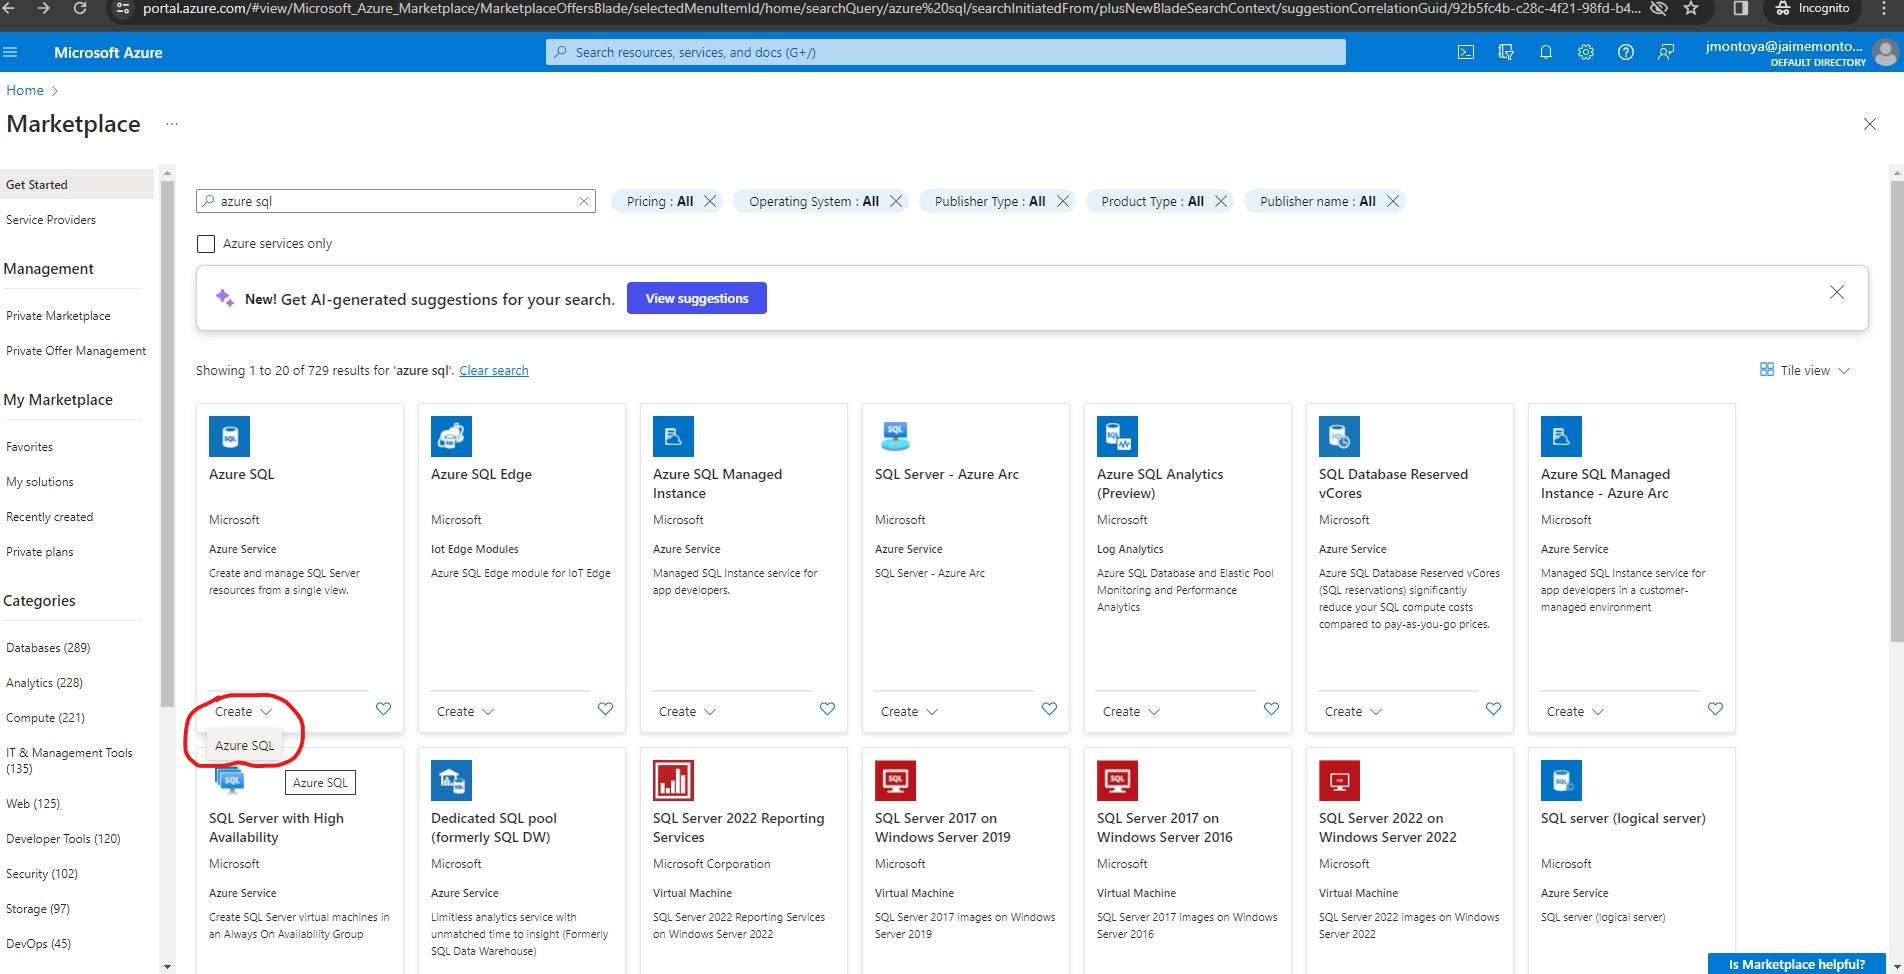
I clicked Create Azure SQL:
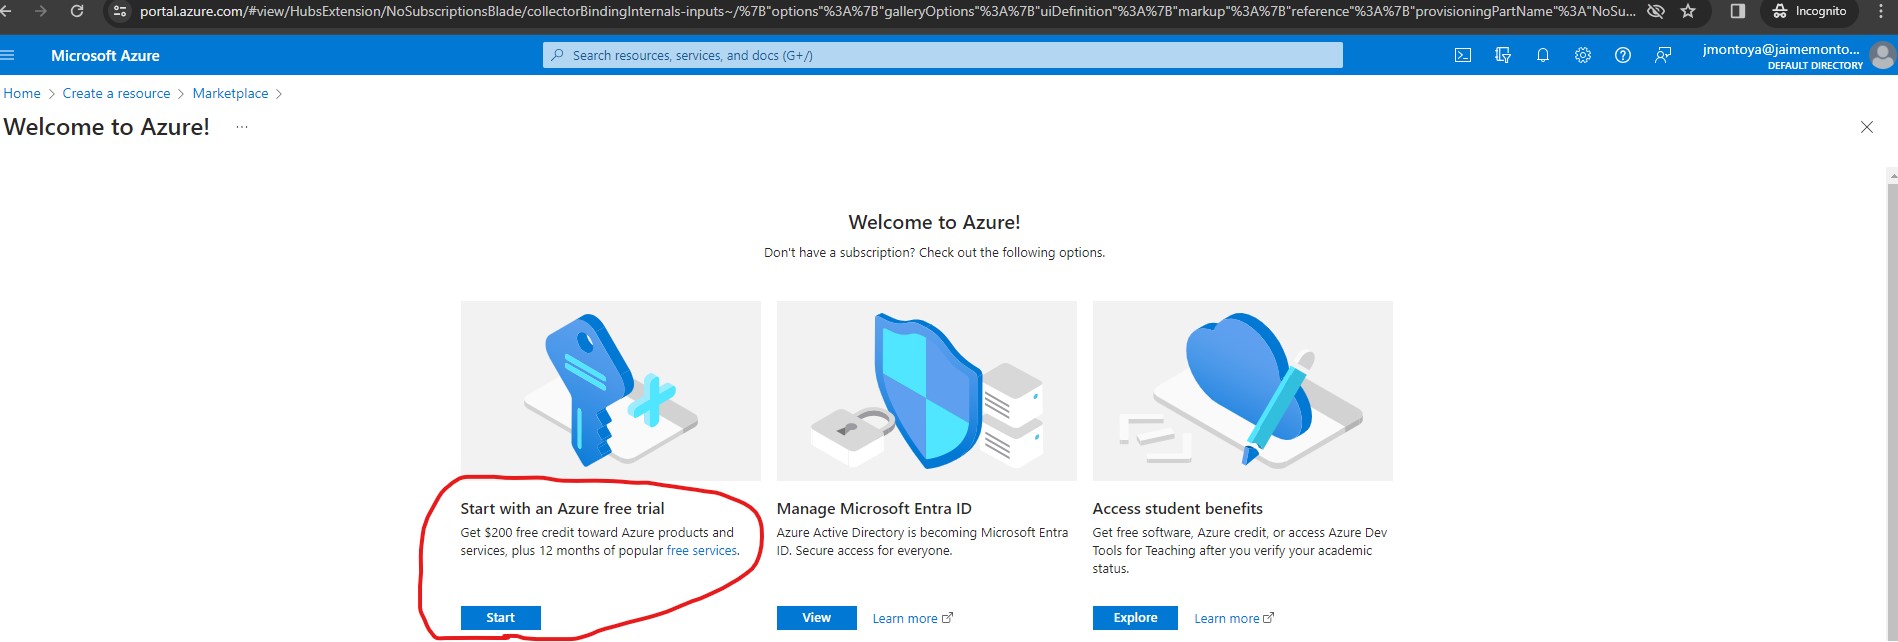
I clicked Start with an Azure free trial to get $200 free credit toward Azure products and services, plus 12 months of popular free services:
I clicked Start free:
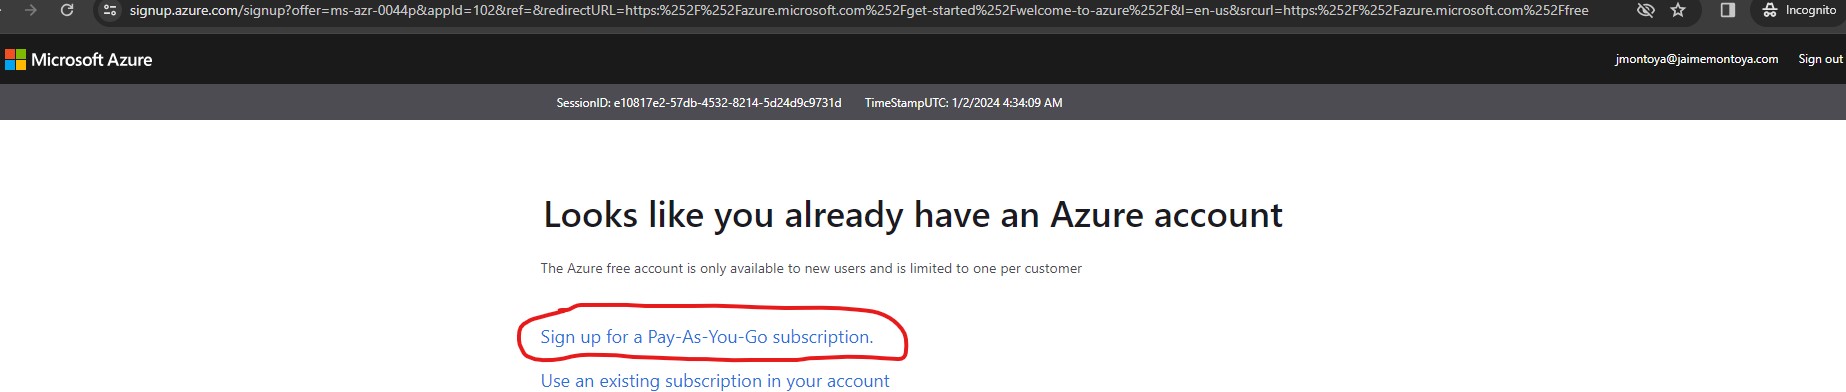
I received a message saying that I already had an Azure account. I clicked Sign up for a Pay-As-You-Go subscription.
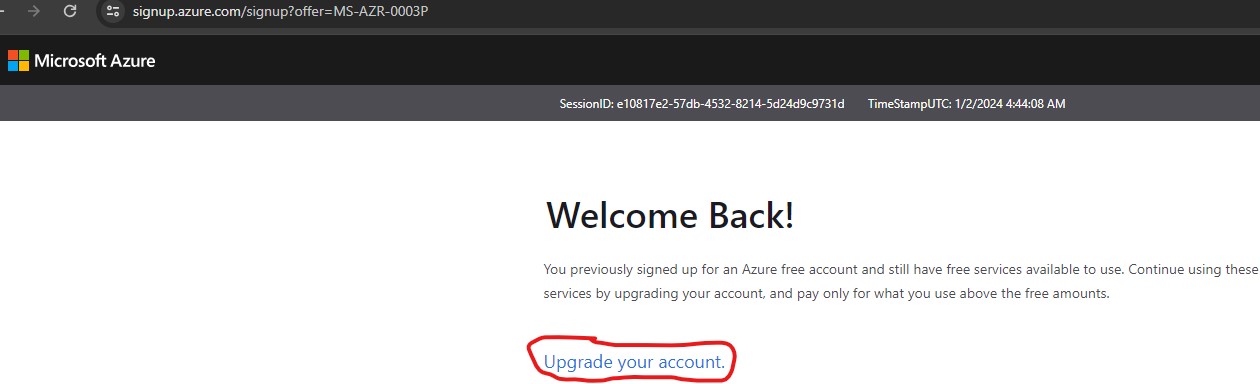
I clicked Upgrade your account.
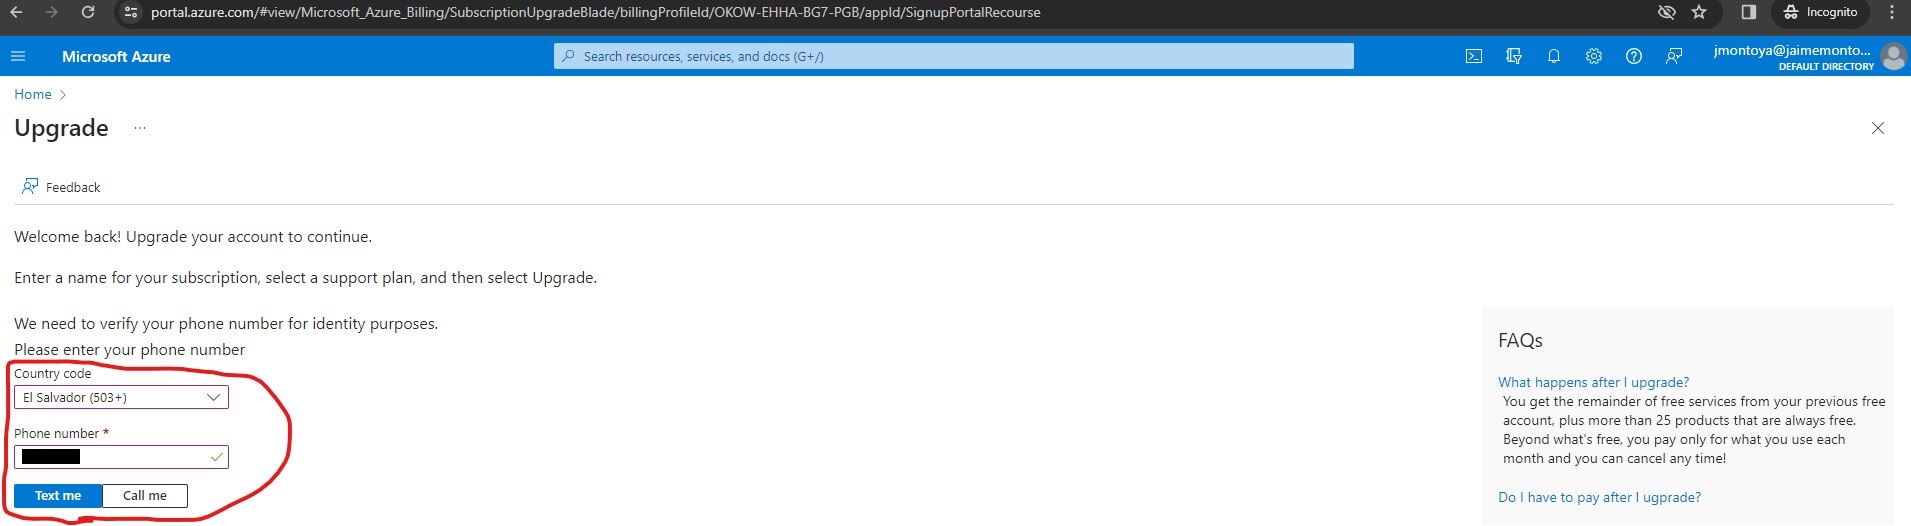
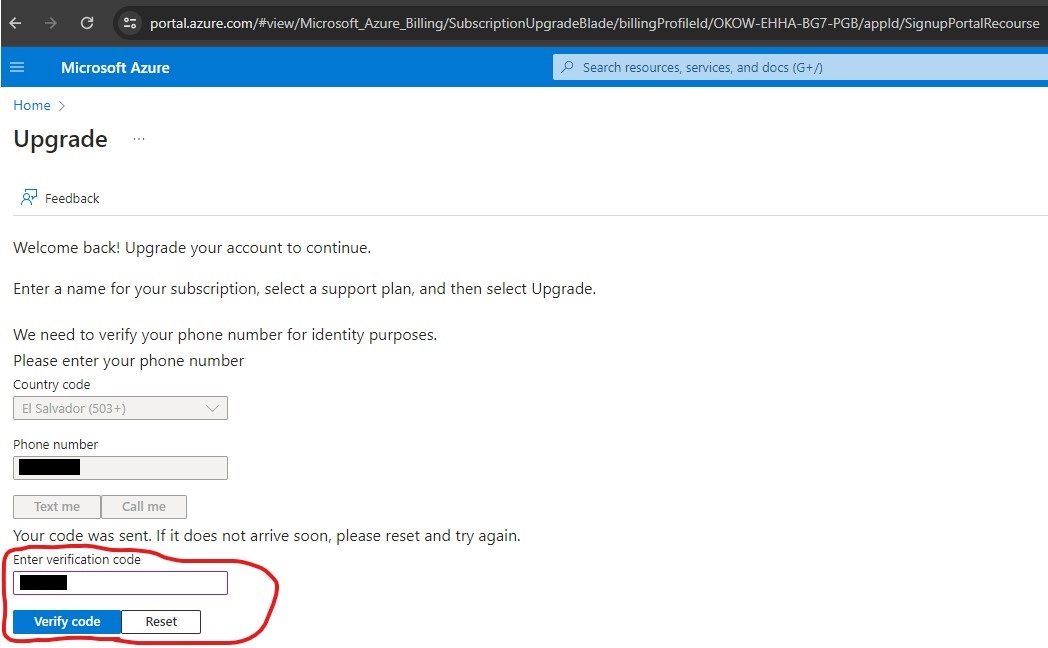
I provided my phone number for identity purposes and clicked Text me:
I provided the code that I received on my phone and clicked Verify code:
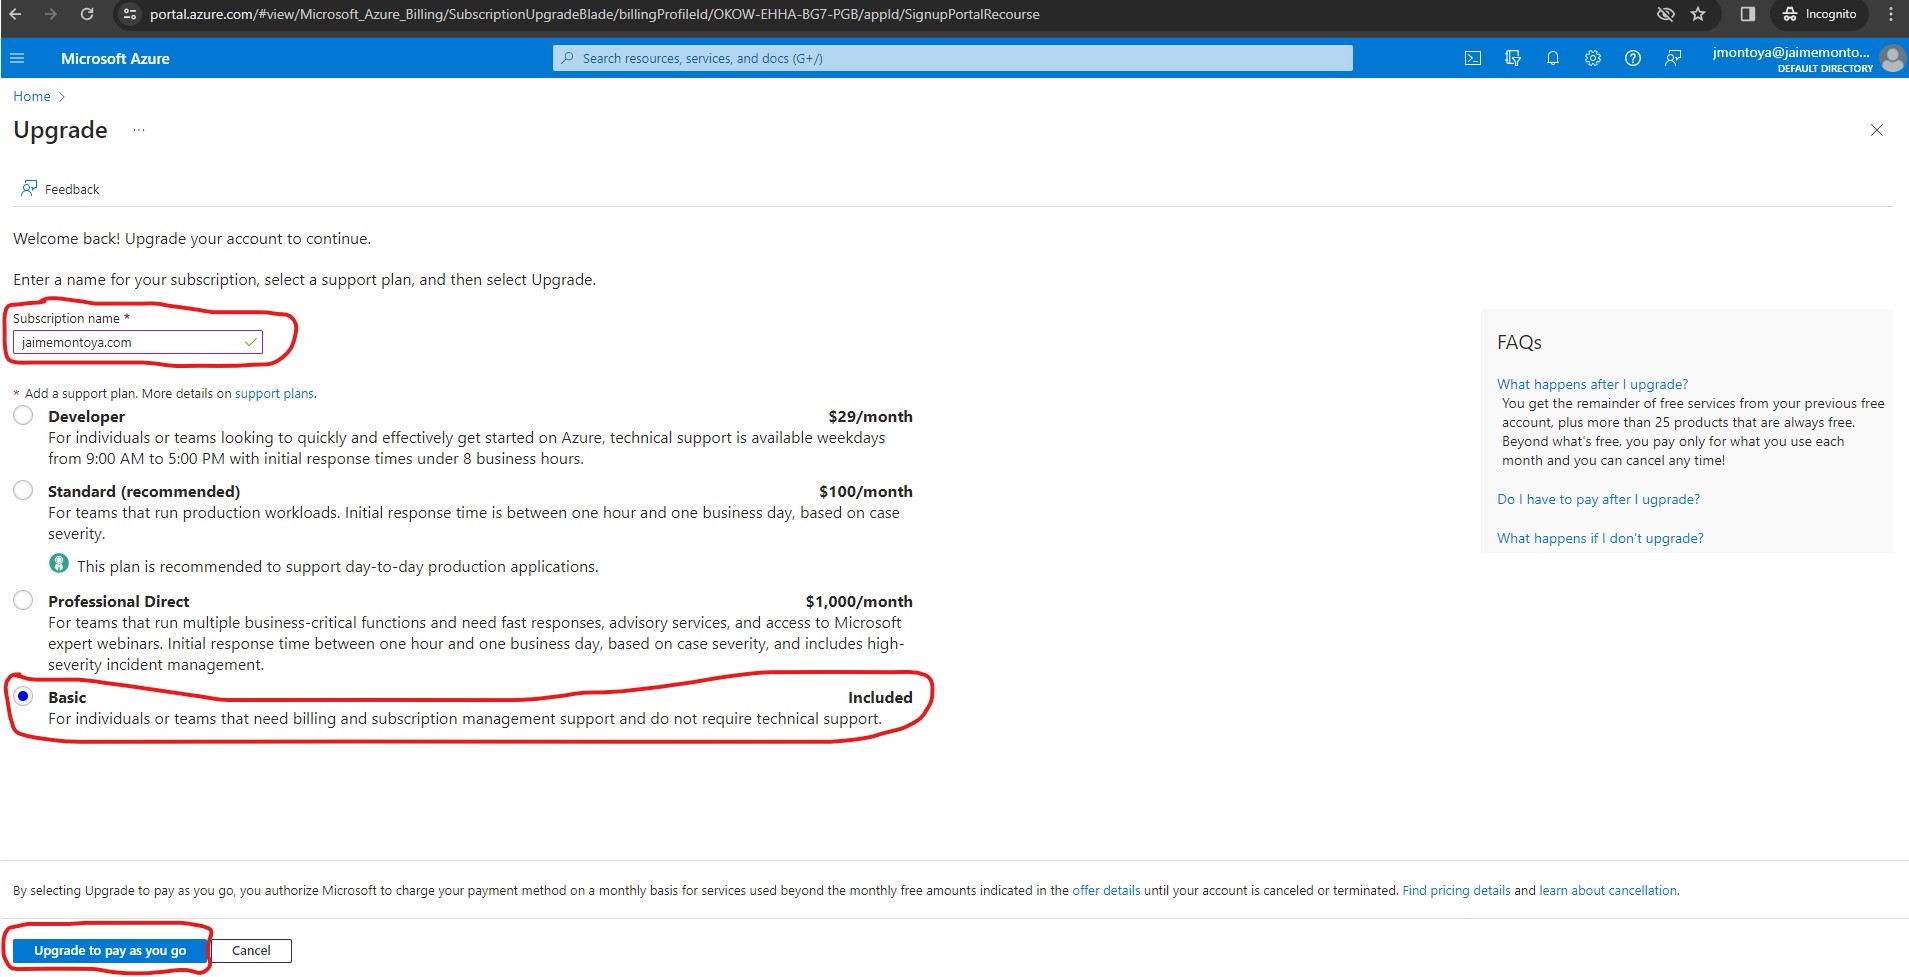
I provided a subscription name, chose the Basic support plan, and clicked Upgrade to pay as you go:
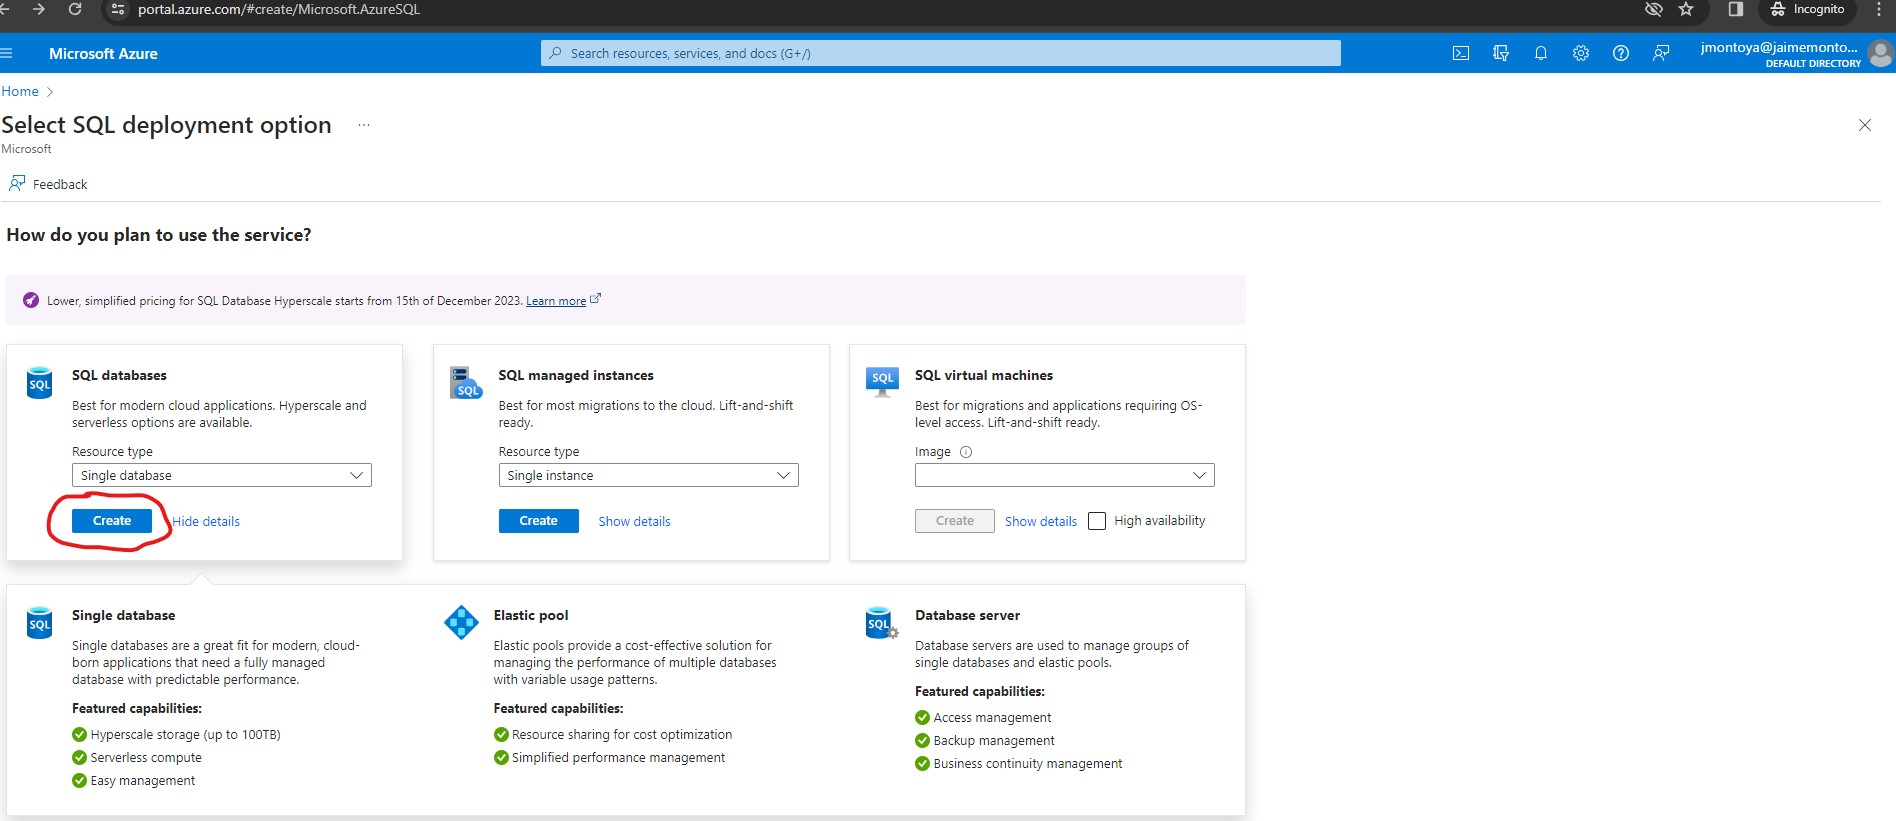
I received a message revealing that I had upgraded my account successfully. I followed the steps above one more time, to Create Azure SQL resource. I reviewed the Azure SQL options that were available, and then in the SQL databases tile, I ensured that Single database was selected. Finally, I clicked Create in the SQL databases section, keeping Single instance as the Resource type:
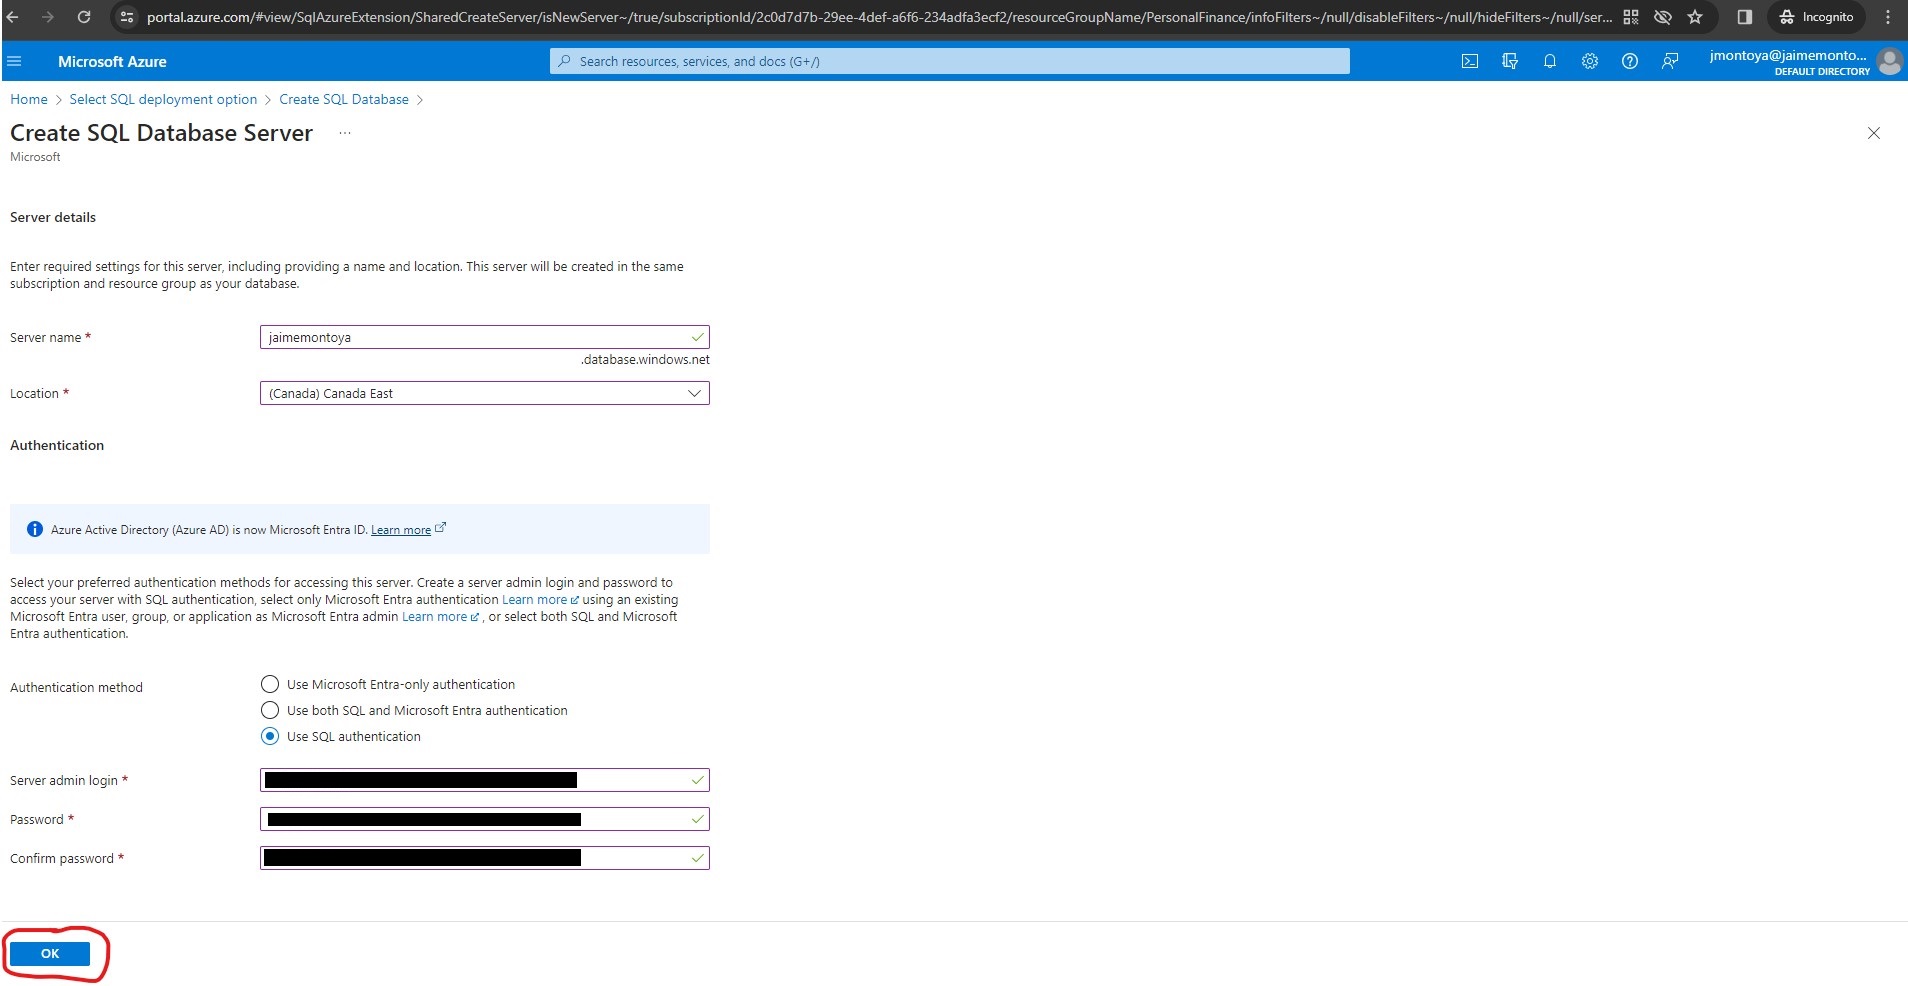
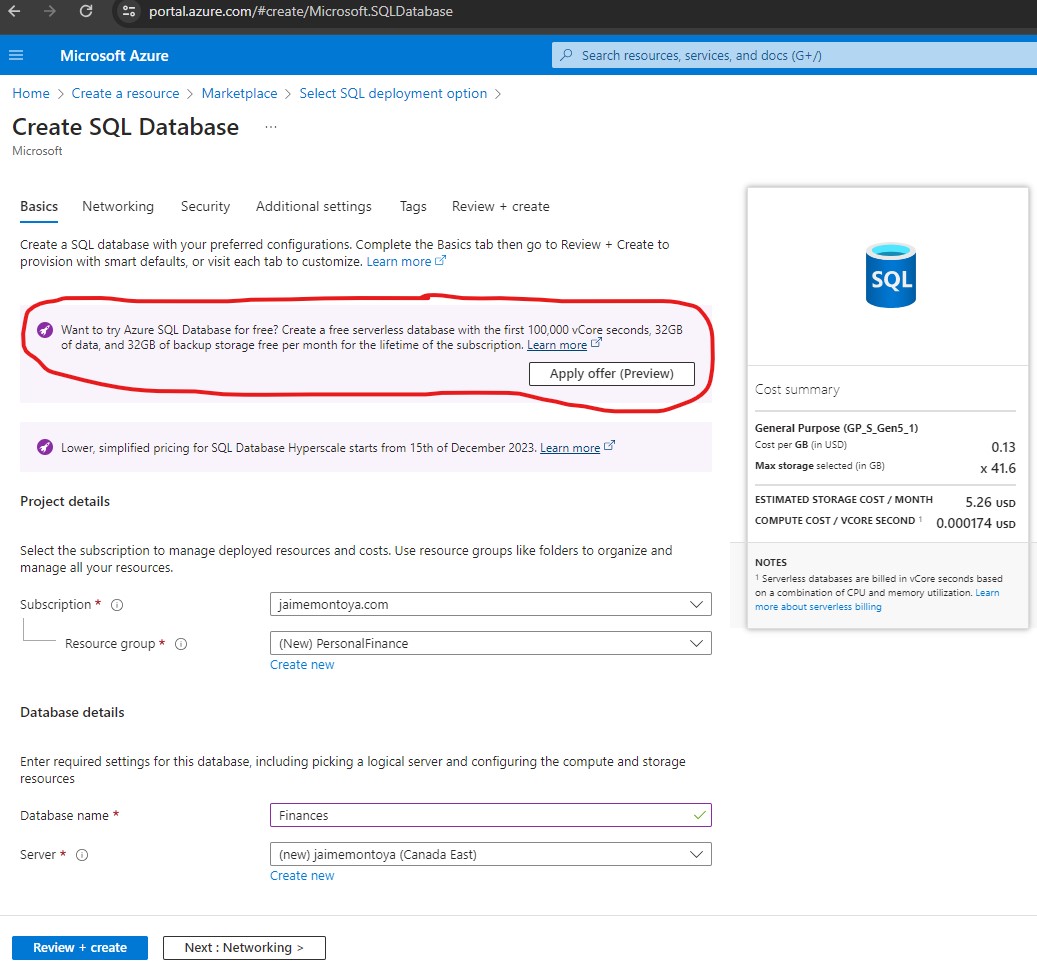
I entered the following values on the Create SQL Database Server page, and left all other properties with their default setting:
- Subscription: jaimemontoya.com (because that was the name I gave to my Azure subscription).
- Resource group: PersonalFinance (I created a new resource group with a name of my choice. A resource group is a container that holds related resources for an Azure solution.)
- Database name: Finances
- Server: I selected Create new and created a new server with a unique name (jaimemontoya) in the (Canada) Canada East location. I used SQL authentication and specified the name I wanted as my server admin login and a suitably complex password. Then I clicked OK.
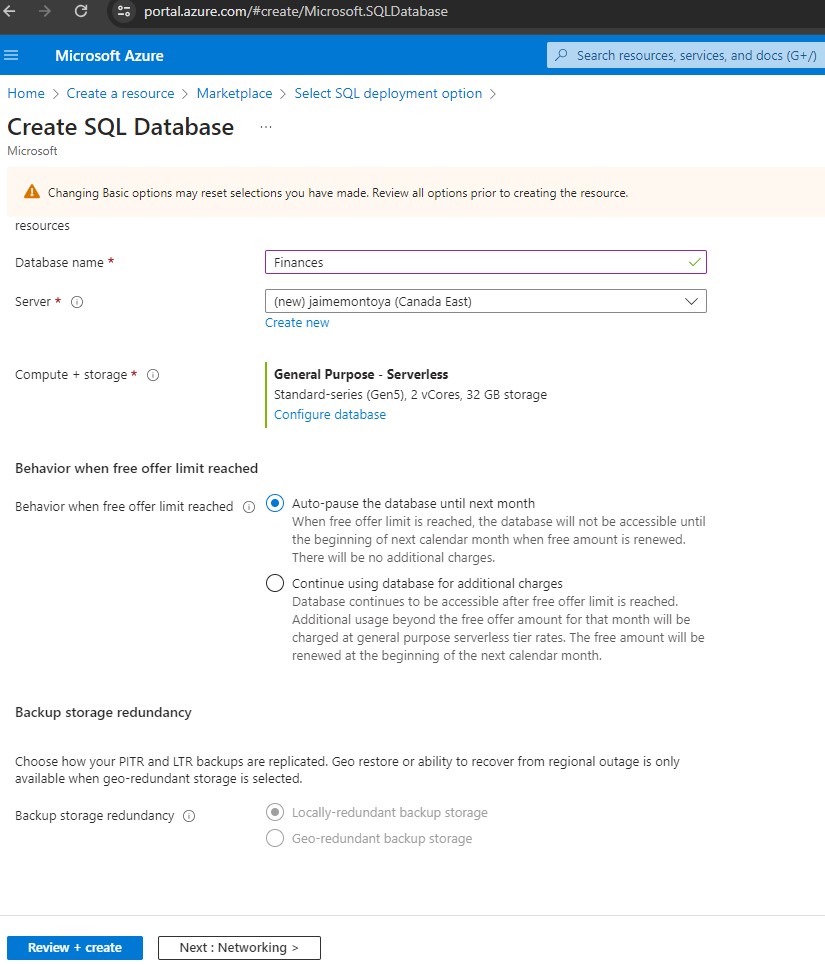
- Want to use SQL elastic pool?: No
- Workload environment: Development
- Compute + storage: Left unchanged
- Backup storage redundancy: Locally-redundant backup storage
I clicked Apply offer (Preview):
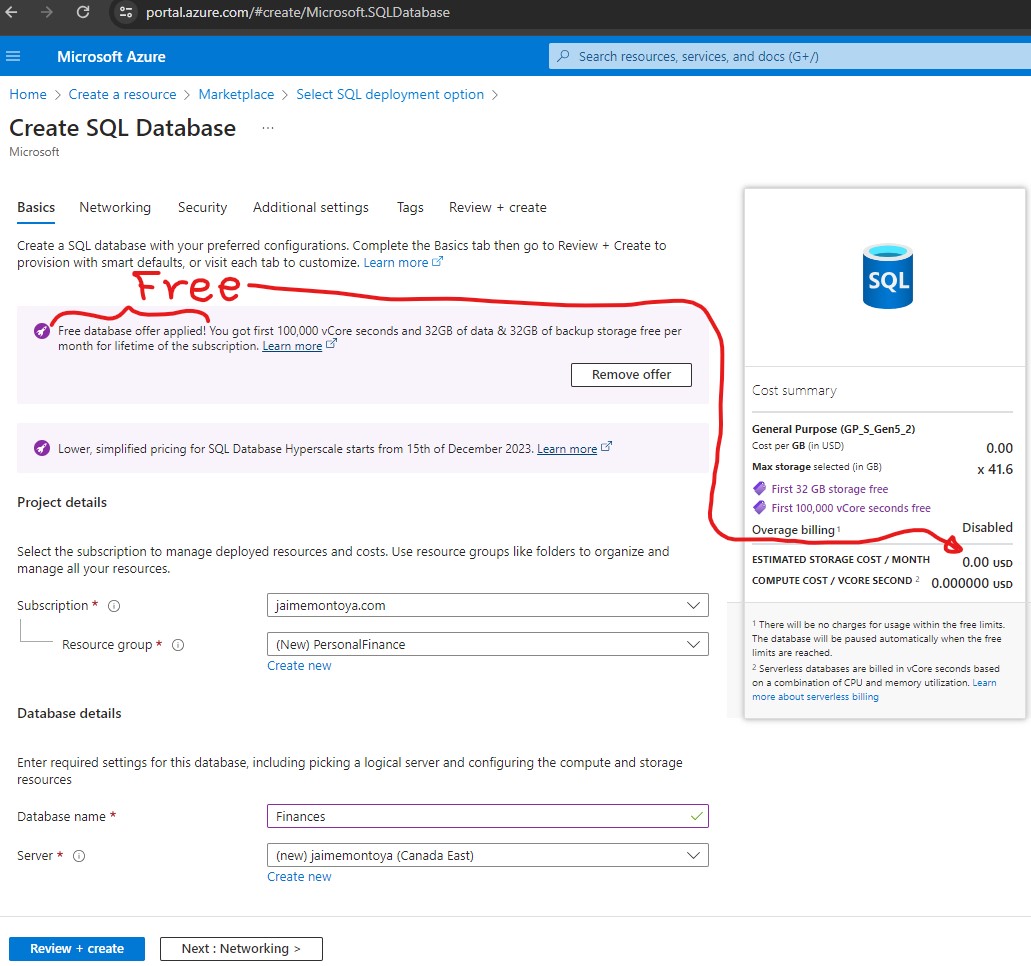
After applying the free database offer, the cost per month changed to 0.00 USD:
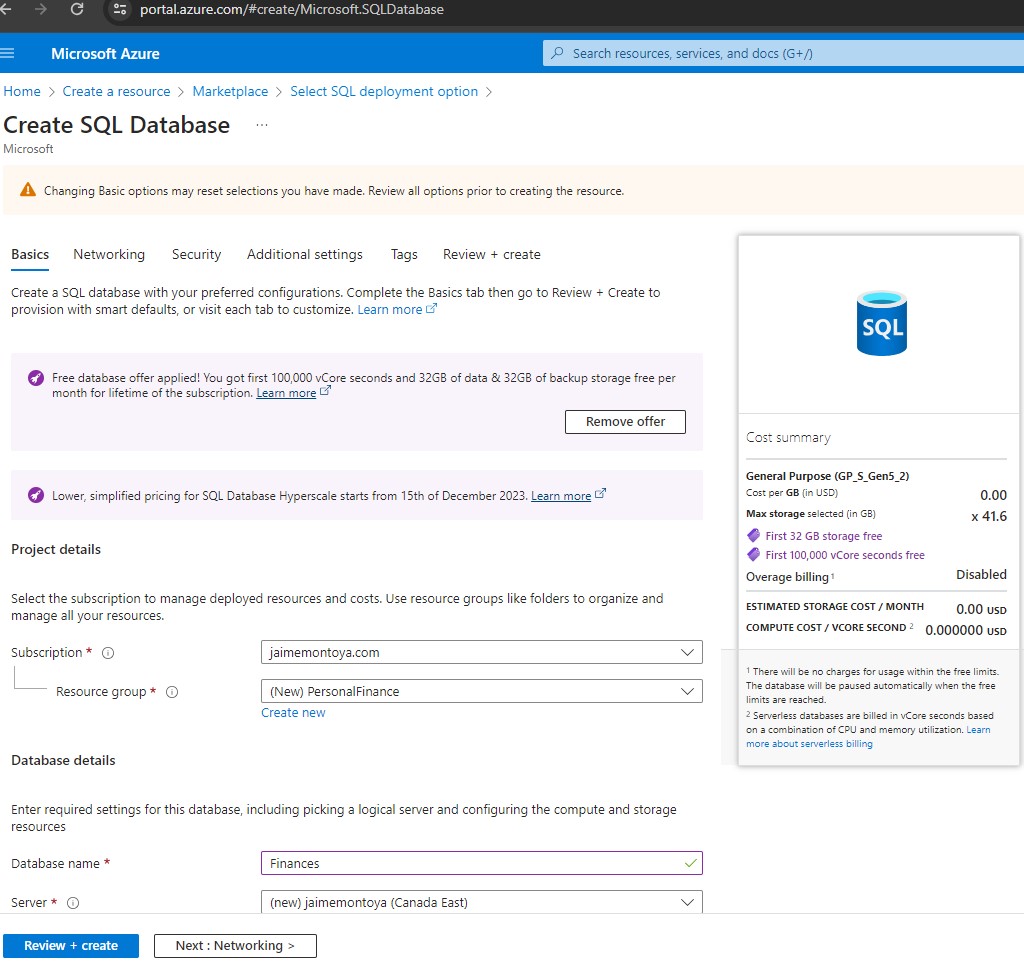
Create SQL Database, Basics tab, part 1 of 2:
Create SQL Database, Basics tab, part 2 of 2:
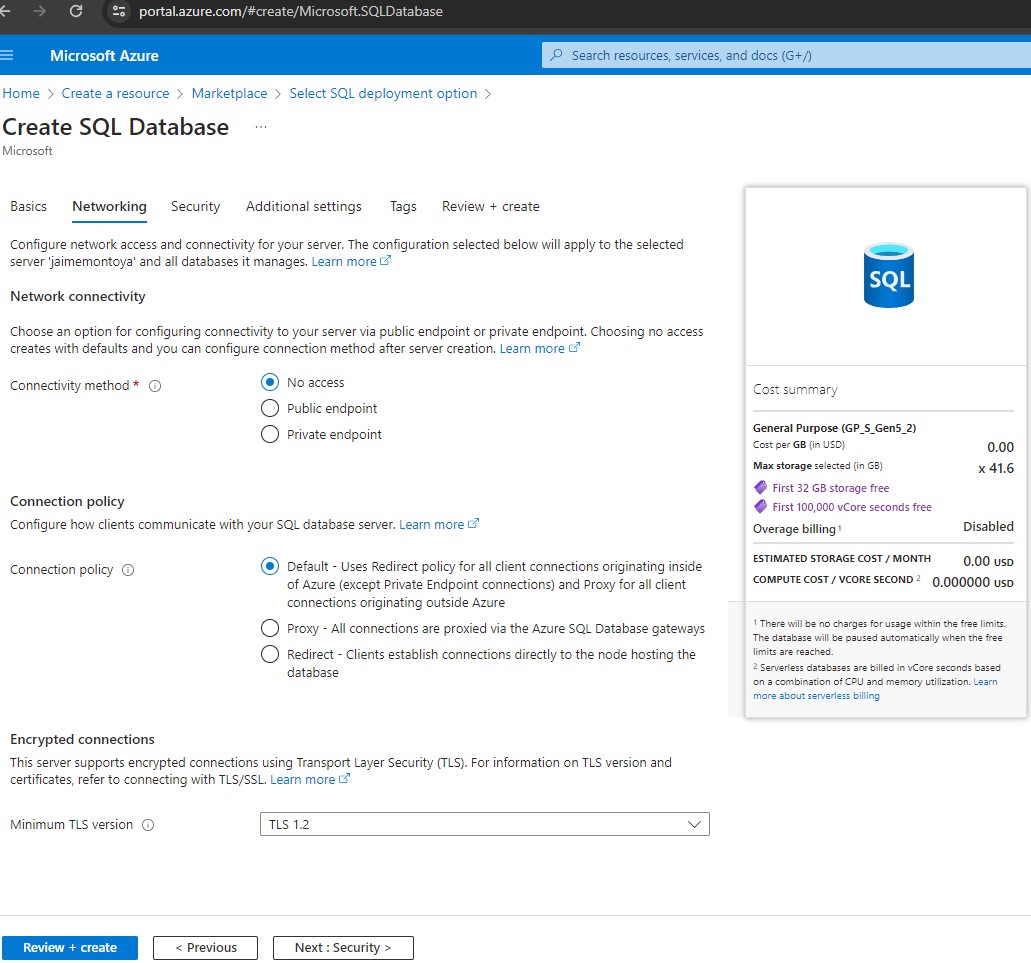
Create SQL Database, Networking tab:
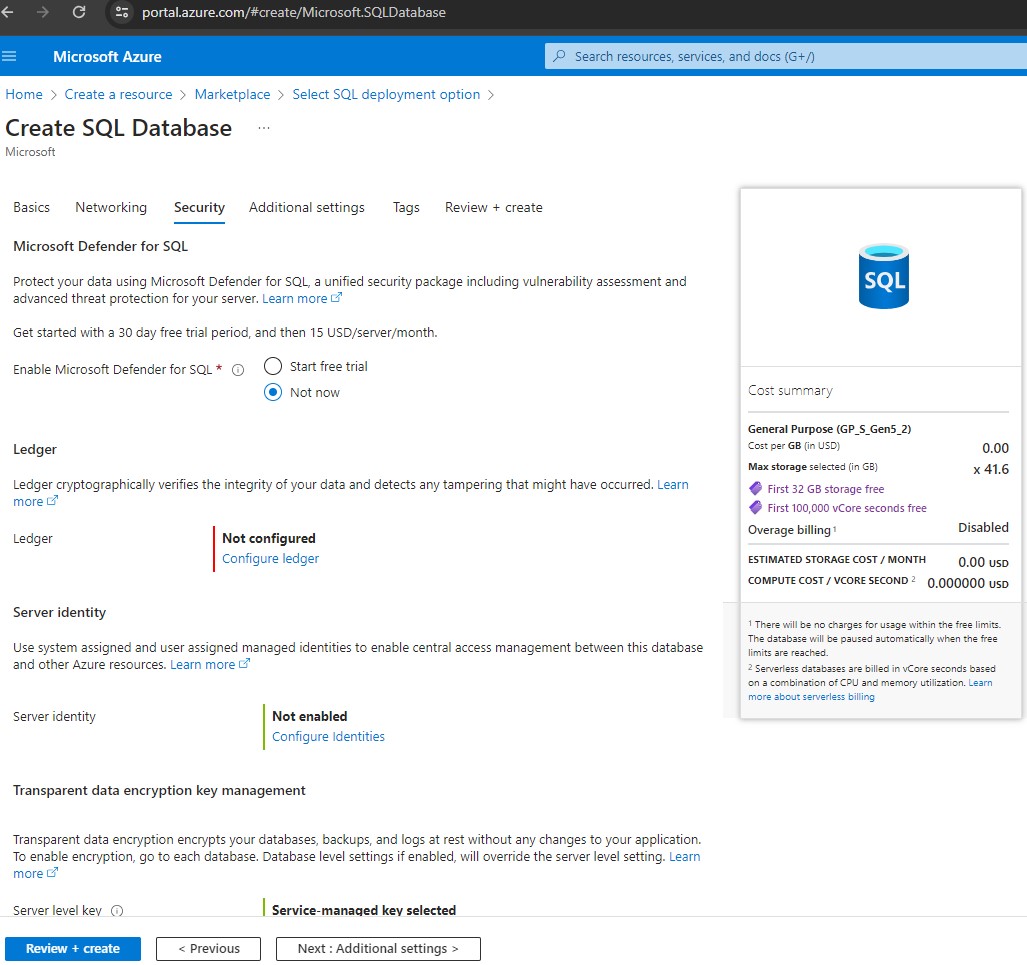
Create SQL Database, Security tab, part 1 of 2:
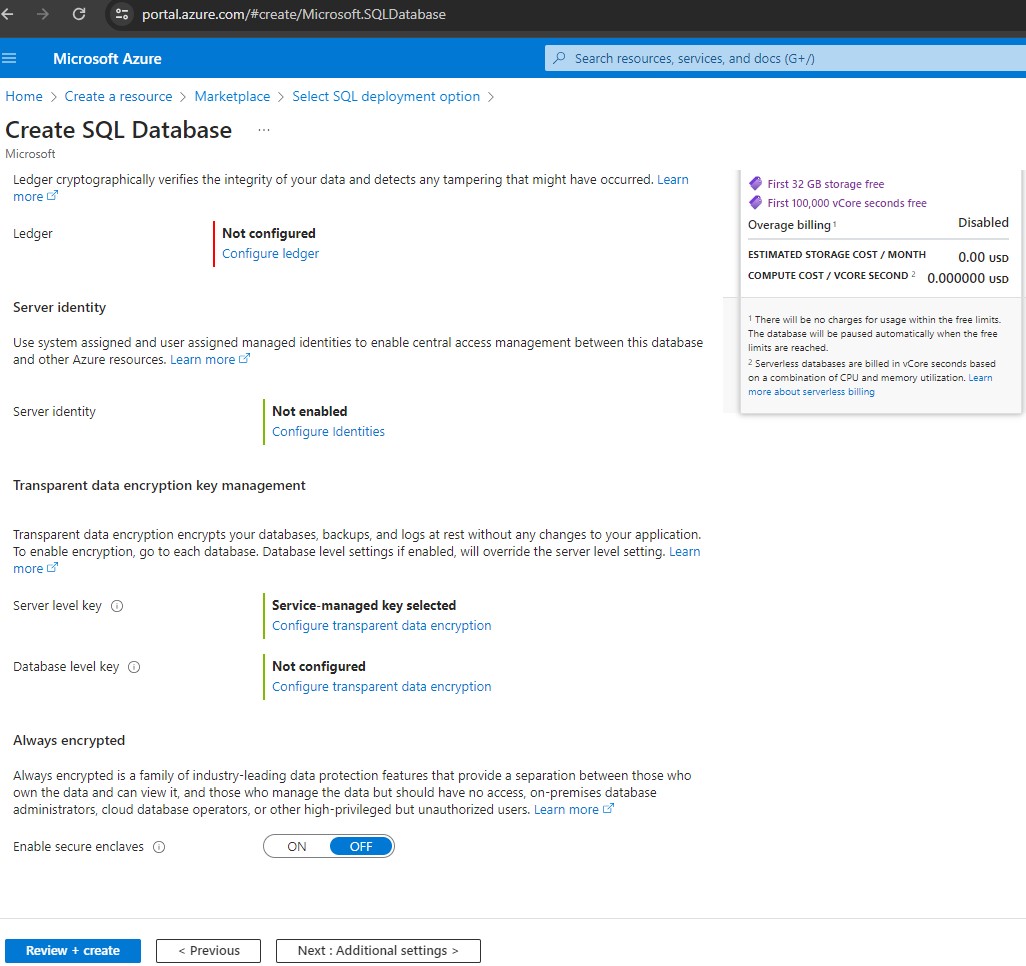
Create SQL Database, Security tab, part 2 of 2:
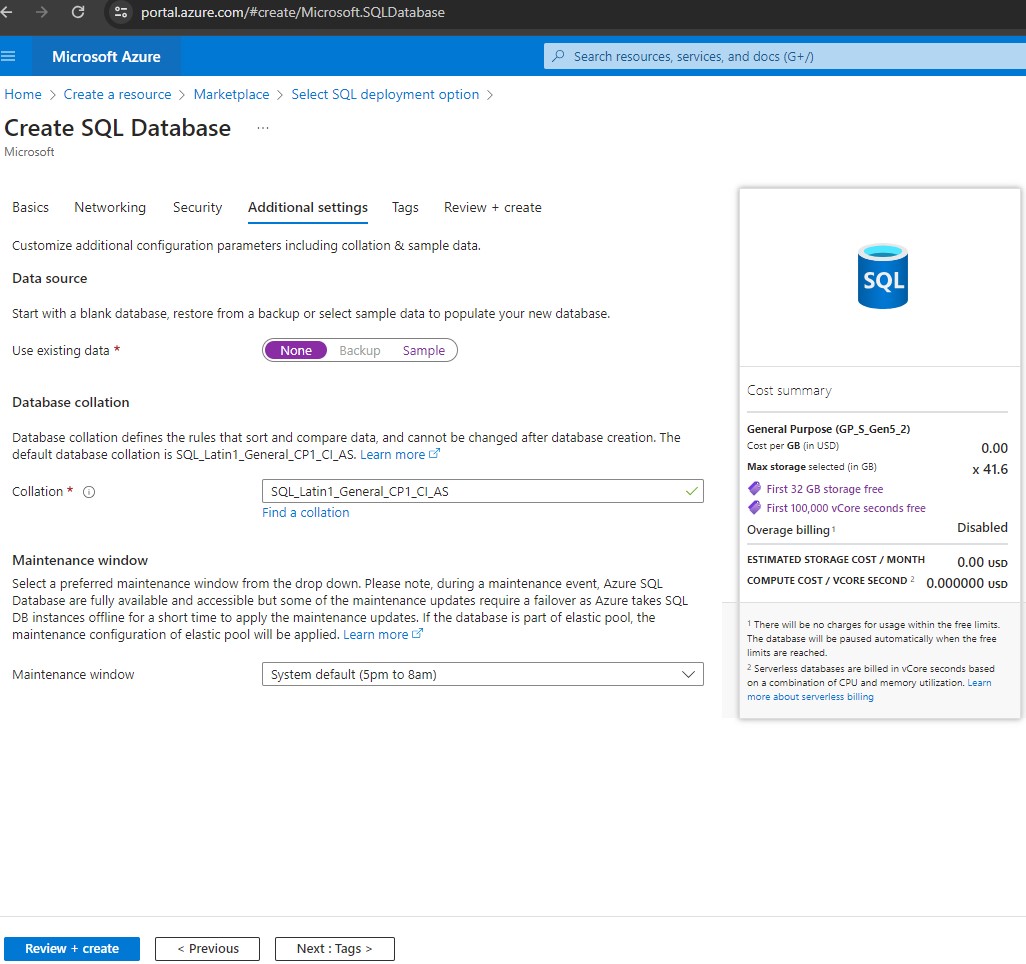
Create SQL Database, Additional settings tab:
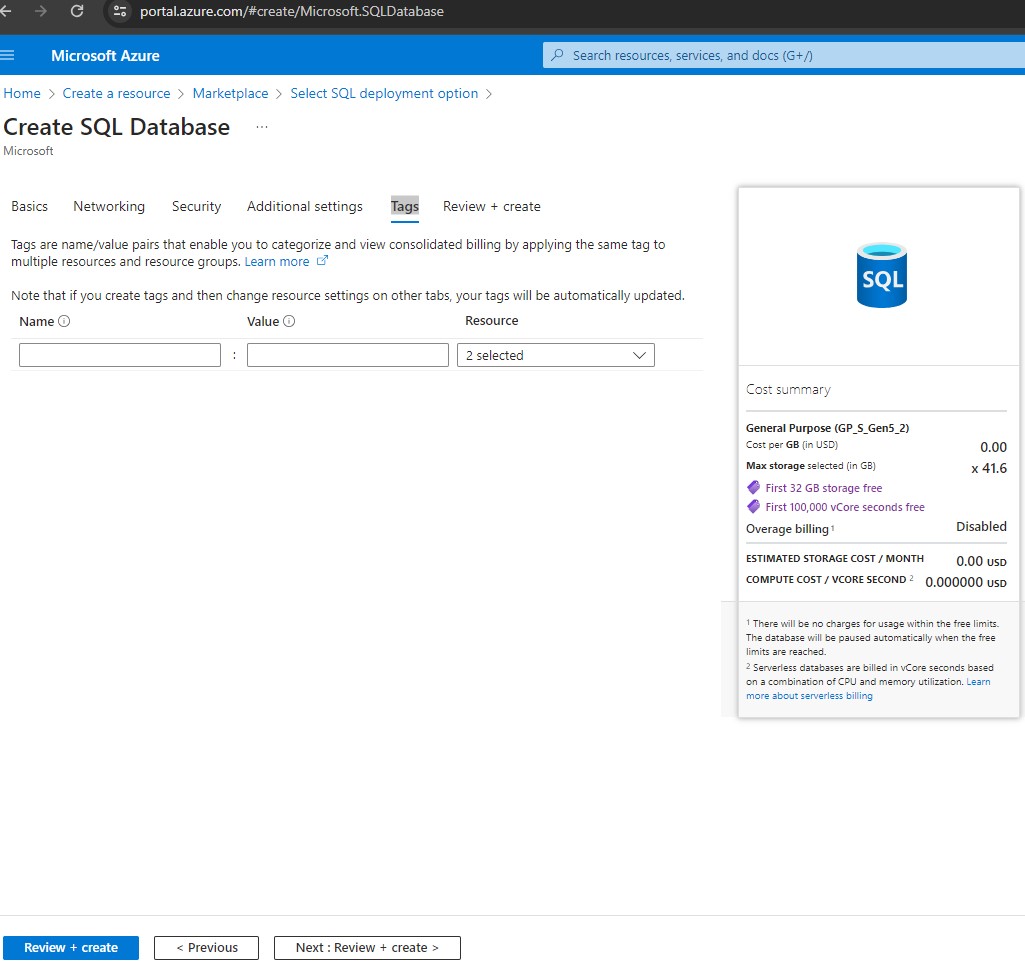
Create SQL Database, Tags tab:
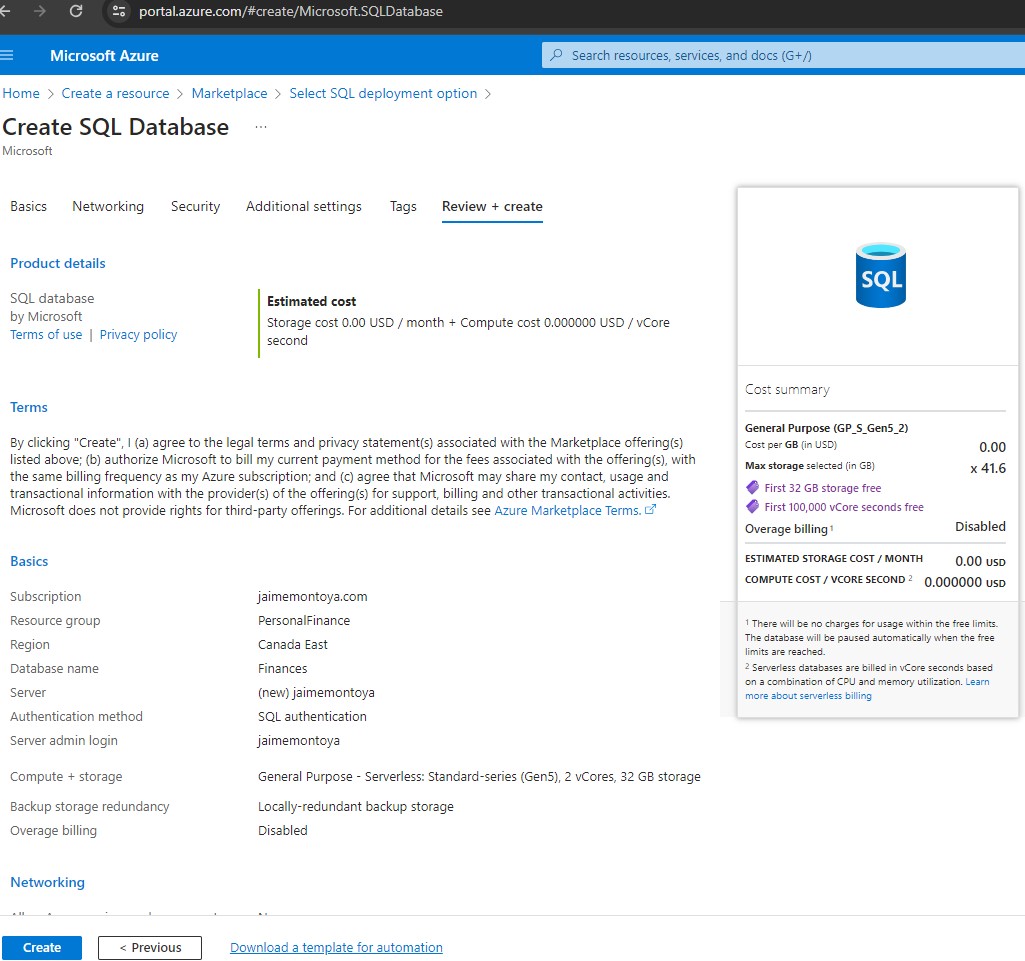
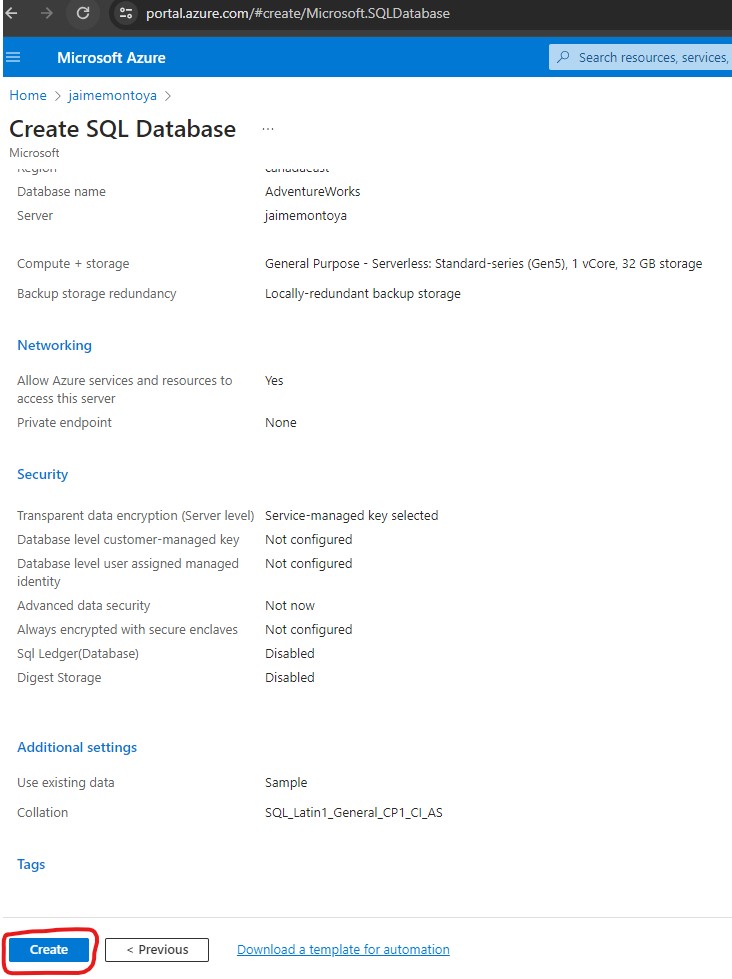
Create SQL Database, Review + create tab, part 1 of 2:
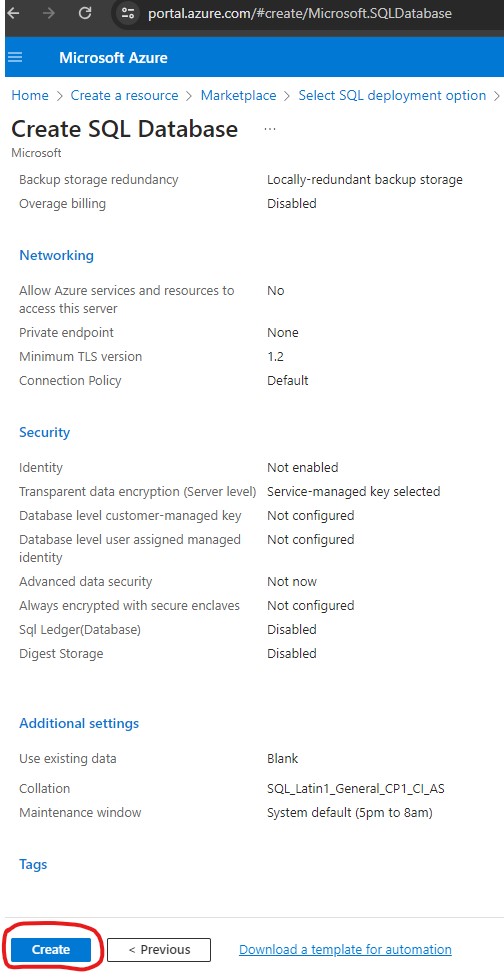
Create SQL Database, Review + create tab, part 2 of 2. I clicked Create to complete the process and create the database using the provided configurations:
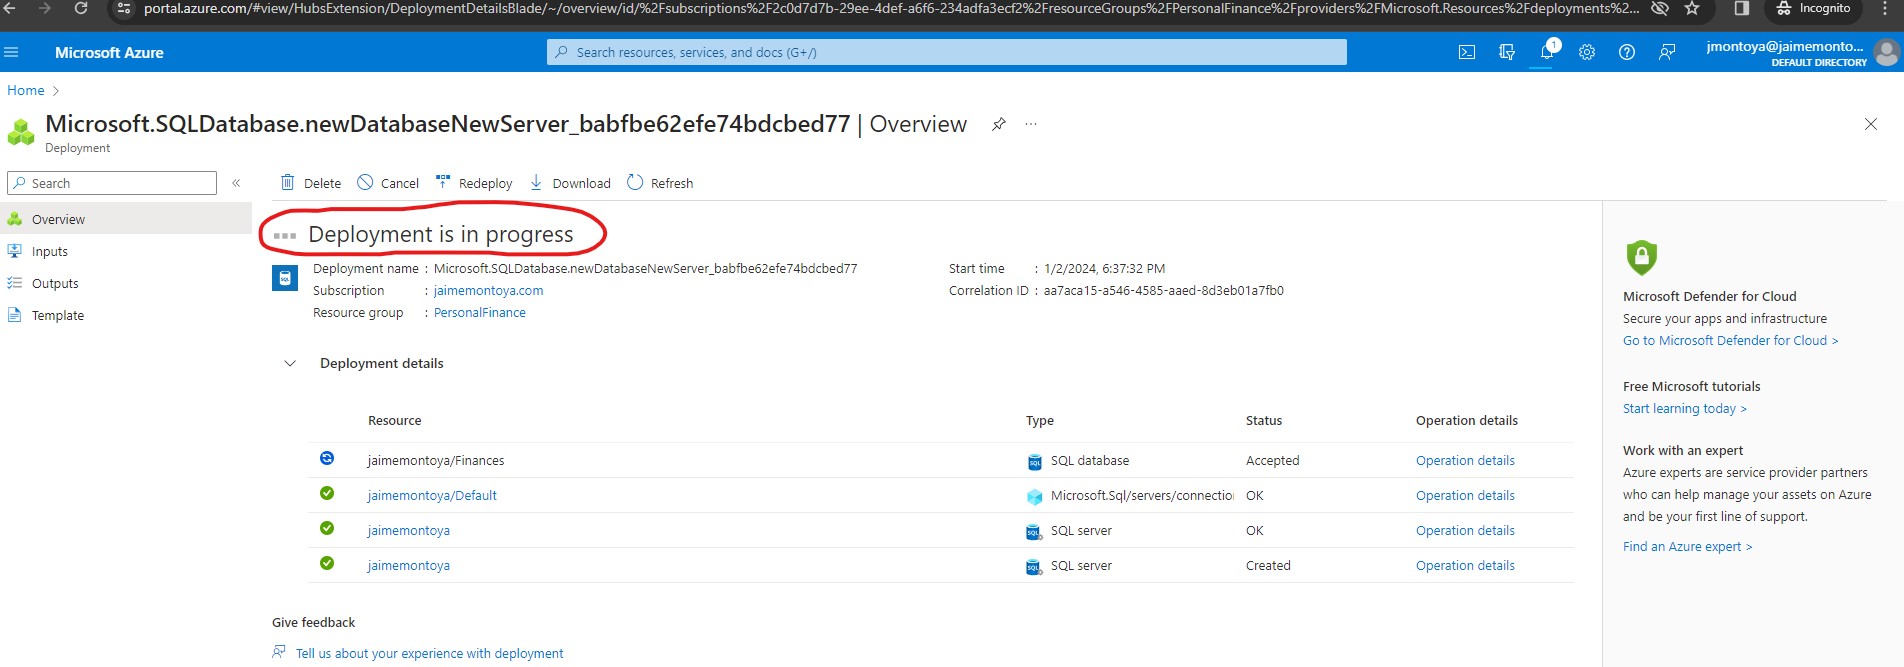
The Deployment in progress message appeared:
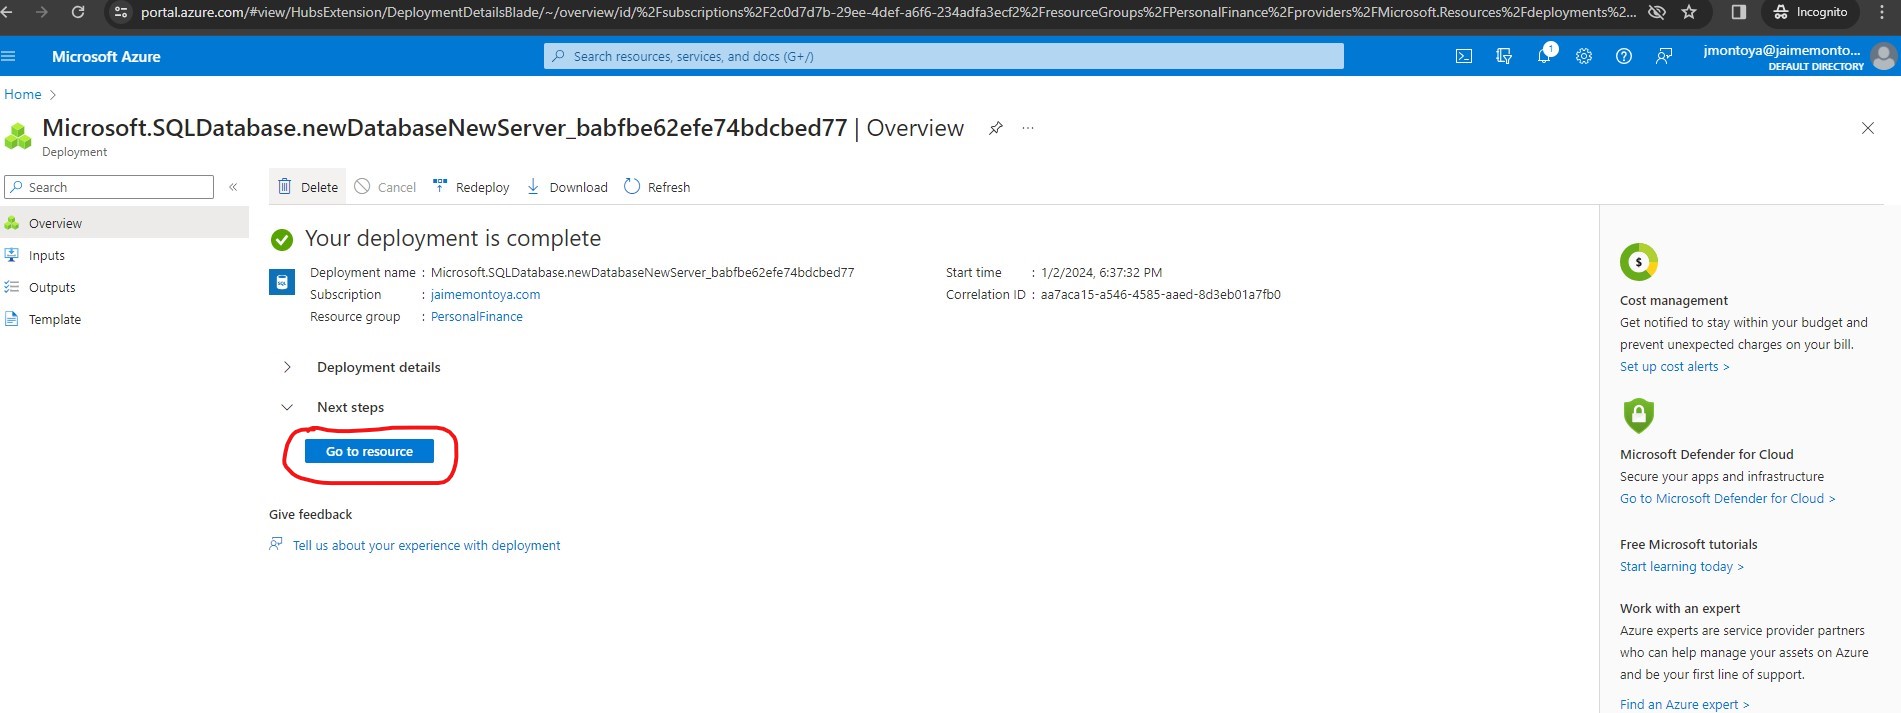
Finally, I received the message notifying that the deployment was complete. I clicked Go to resource:
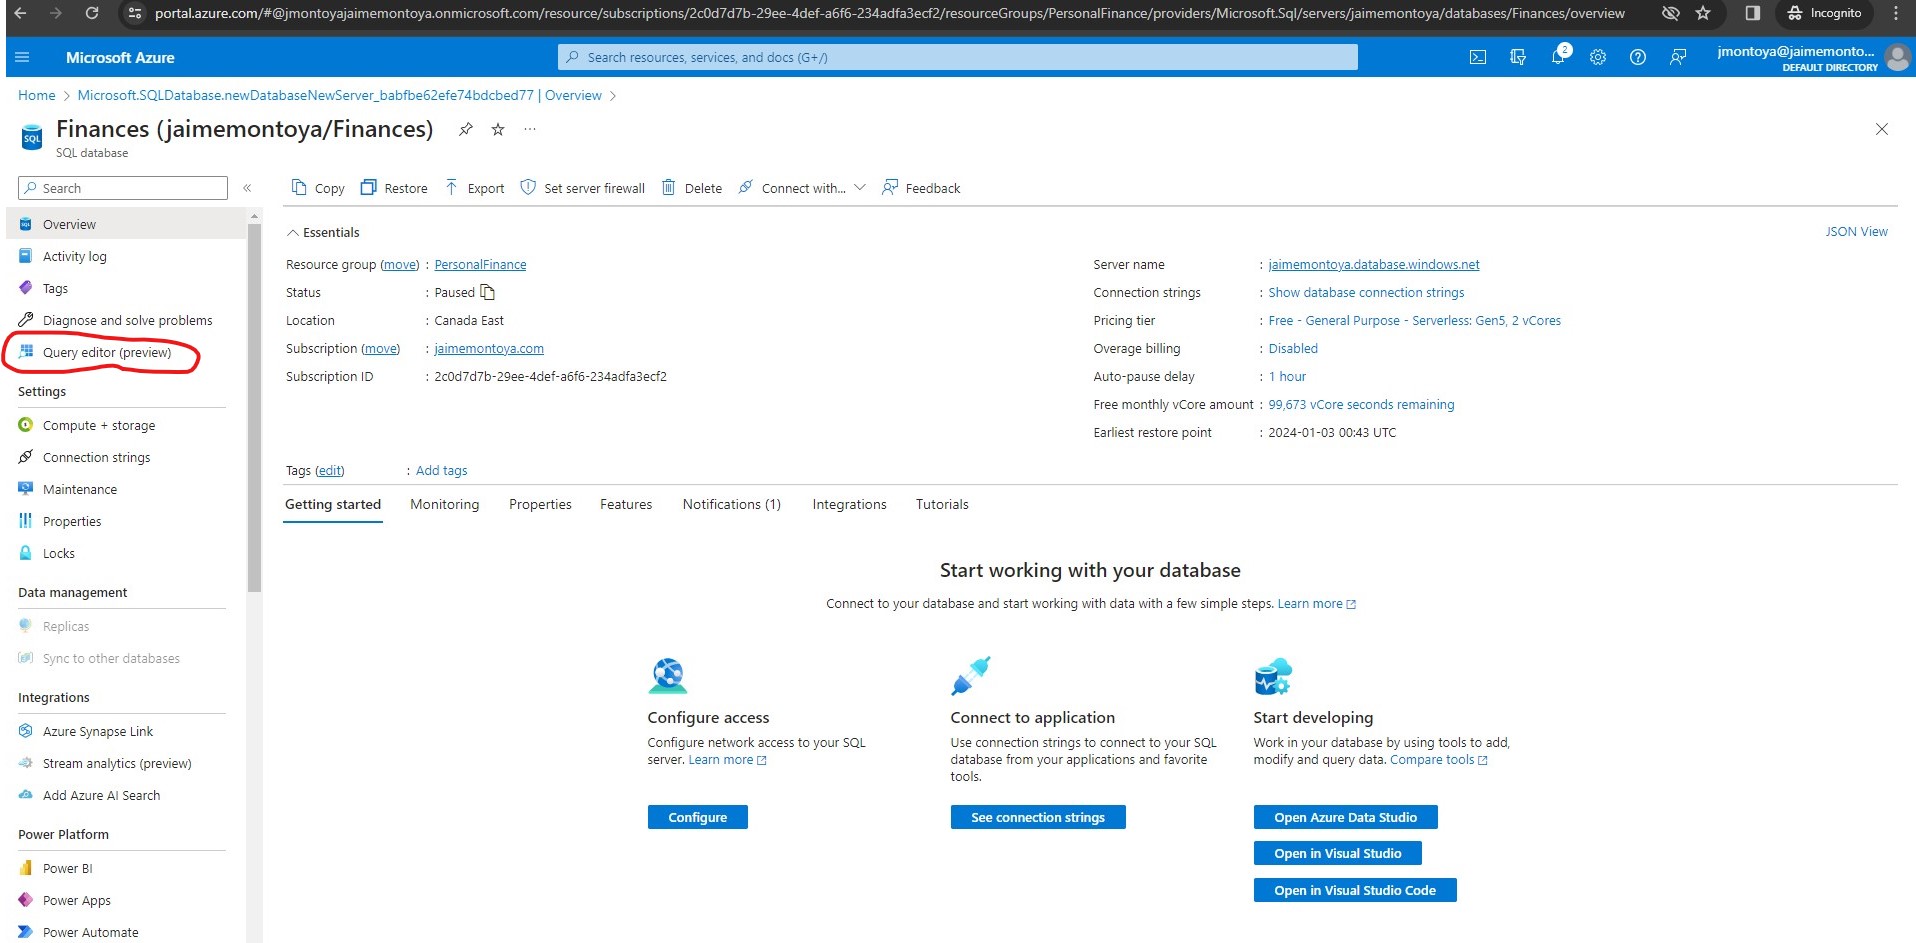
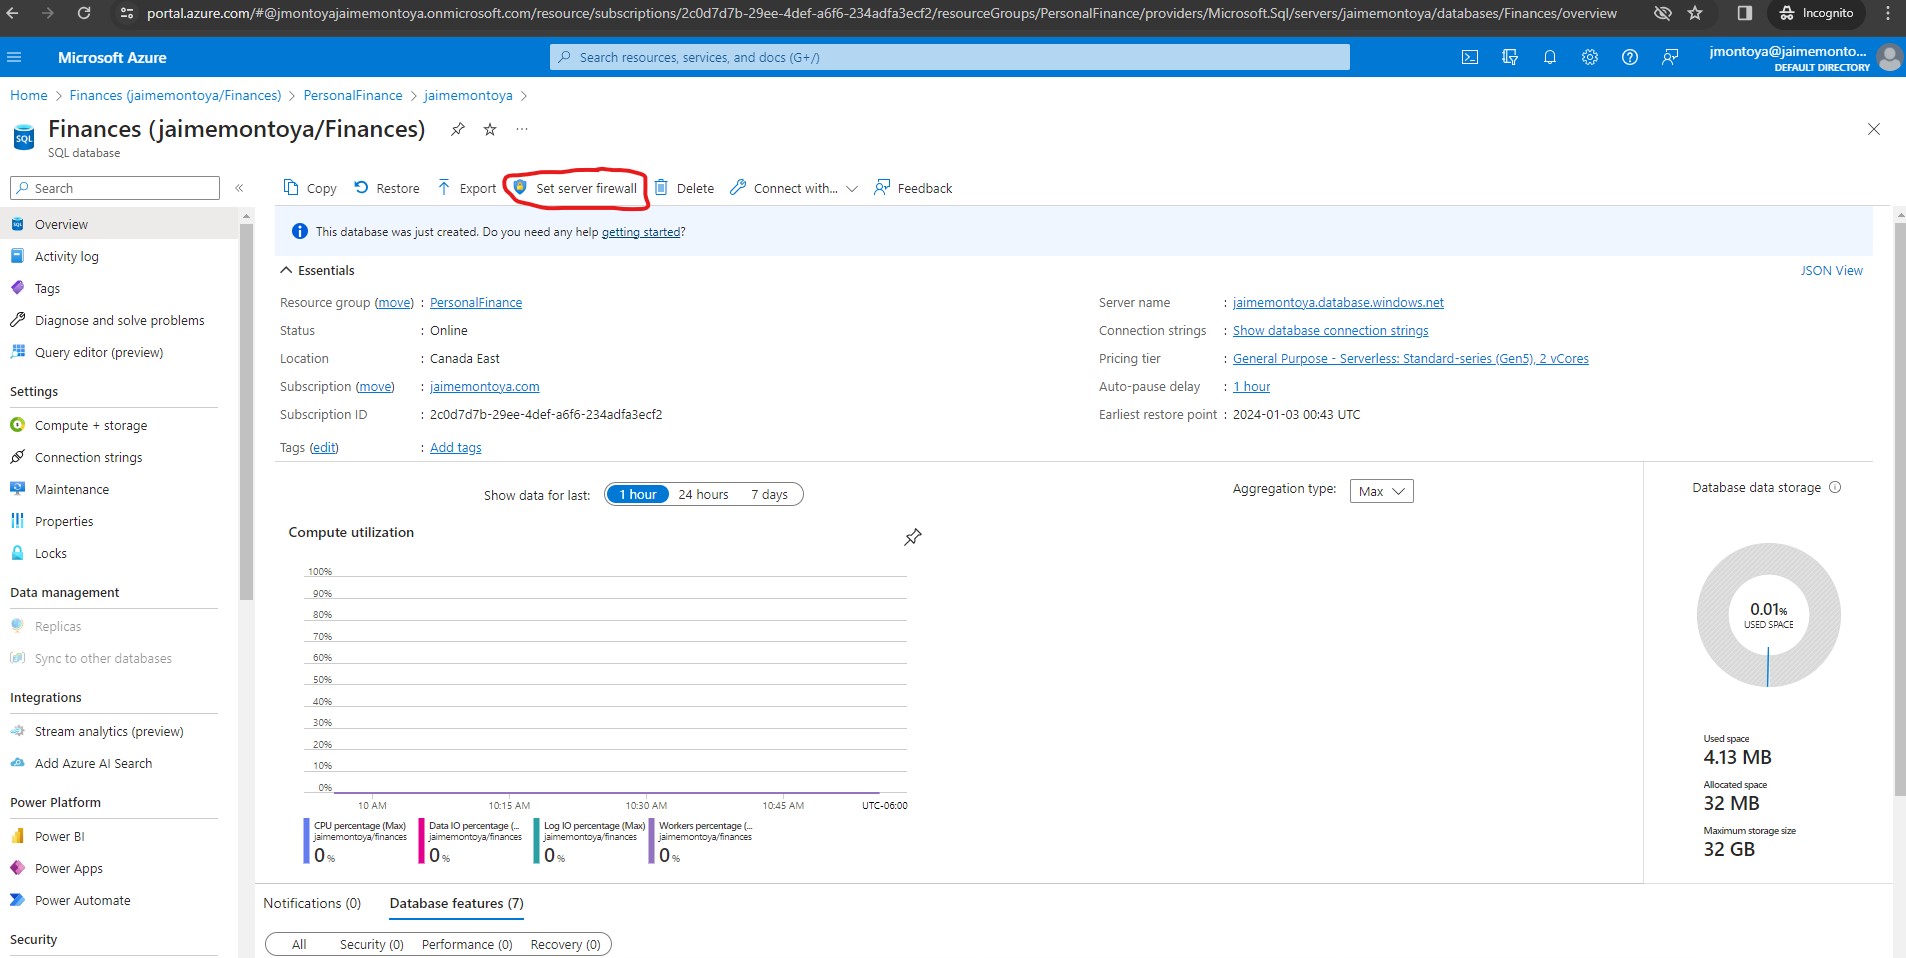
My SQL Database resource was successfully created and available. I clicked Query editor (preview):
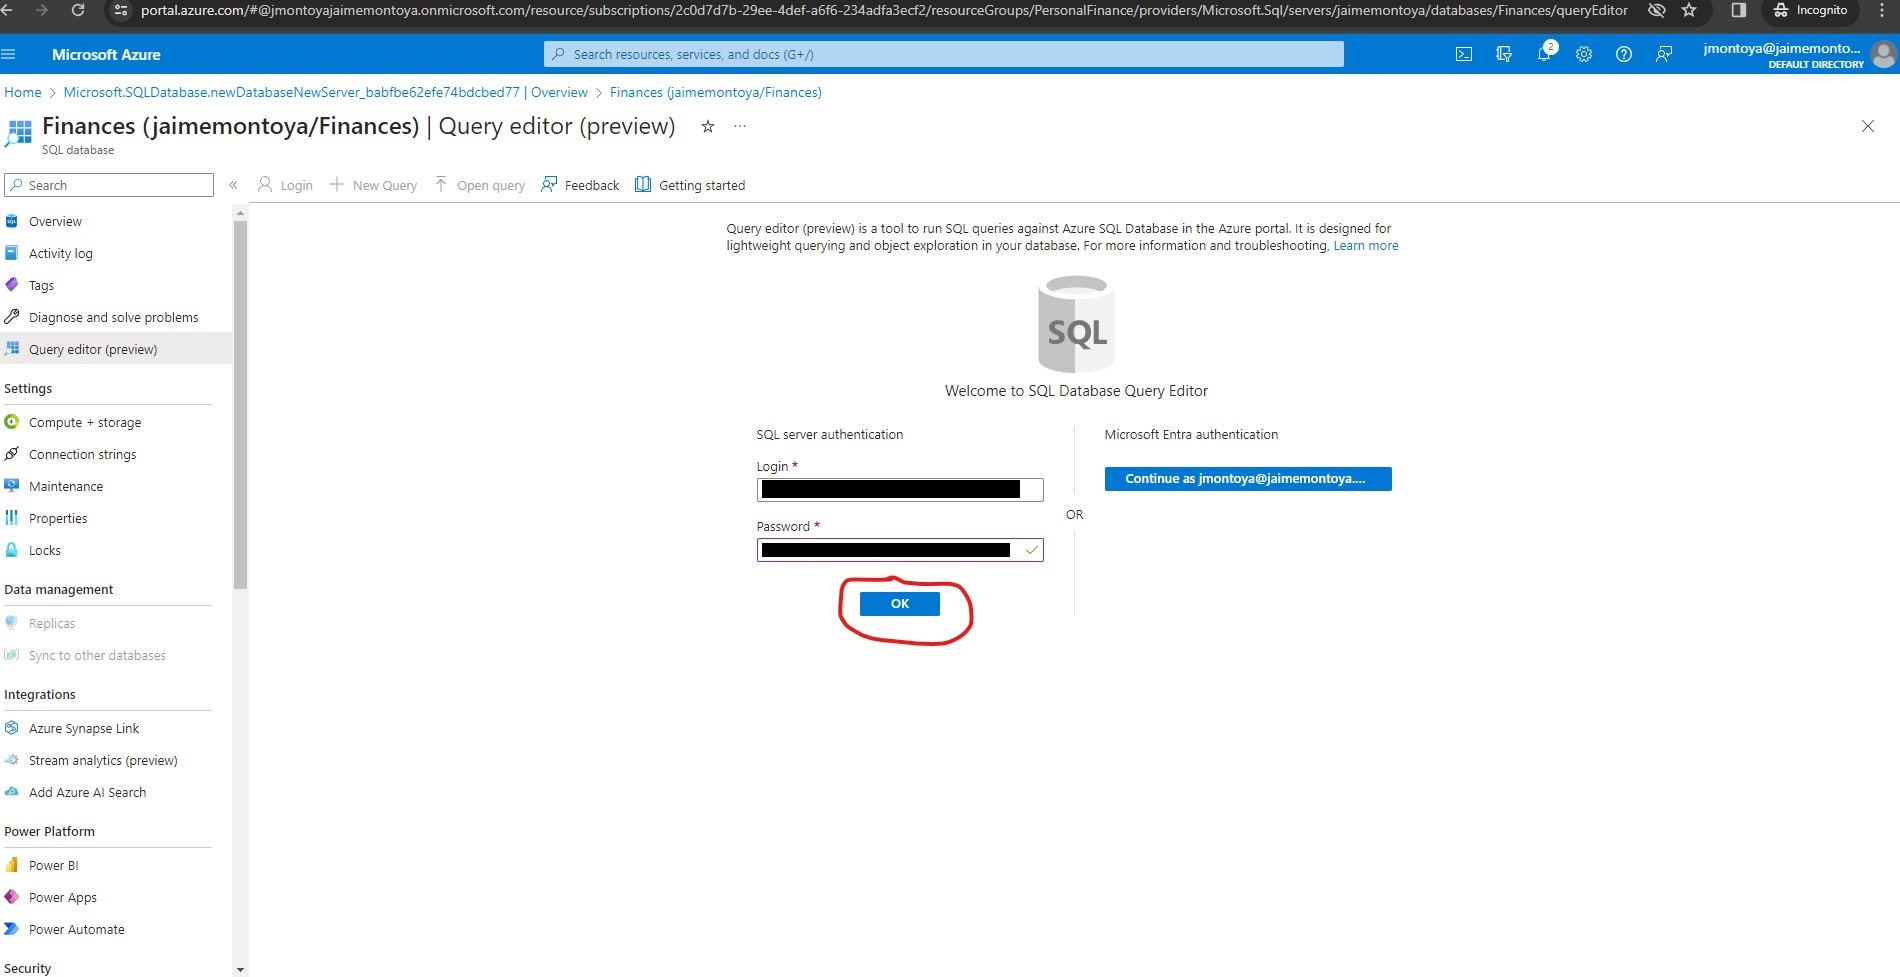
I provided my credentials to log in (created in previous steps) and clicked OK:
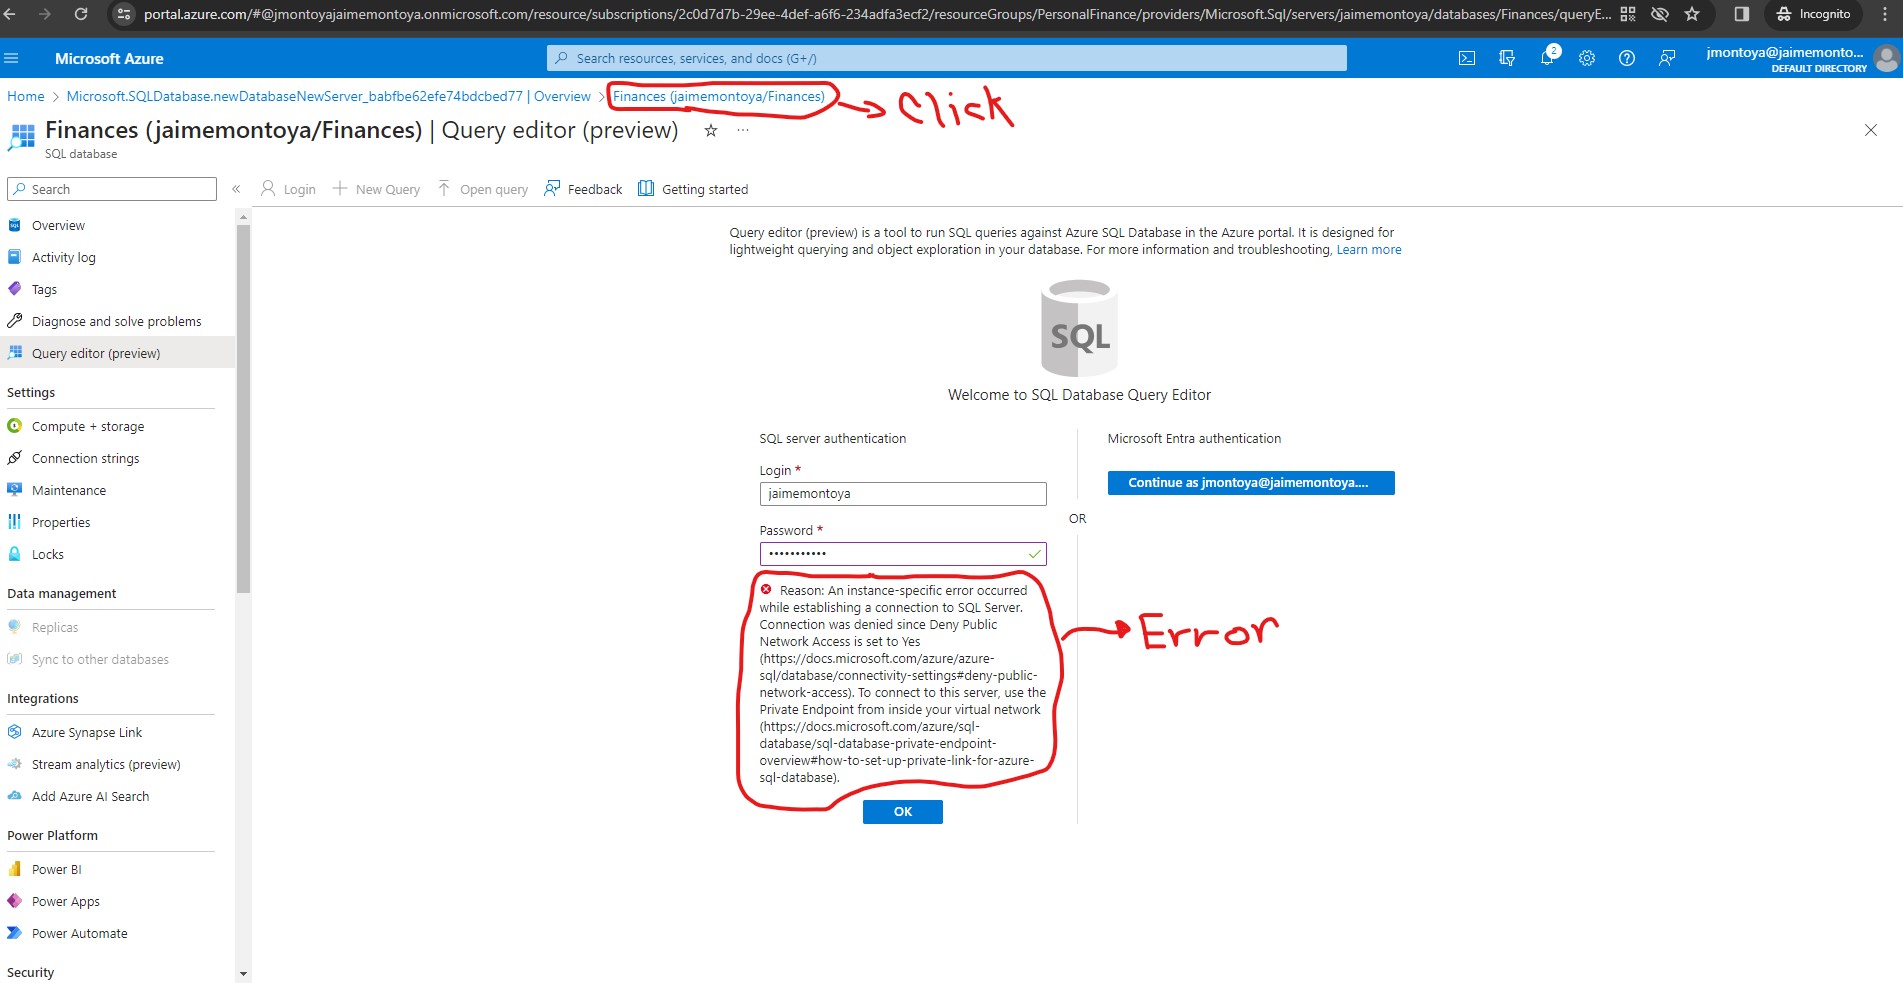
My connection attempt was denied. The reason was my Deny Public Network Access being set to Yes. I clicked Finances (jaimemontoya/Finances):
I clicked the Set server firewall link:
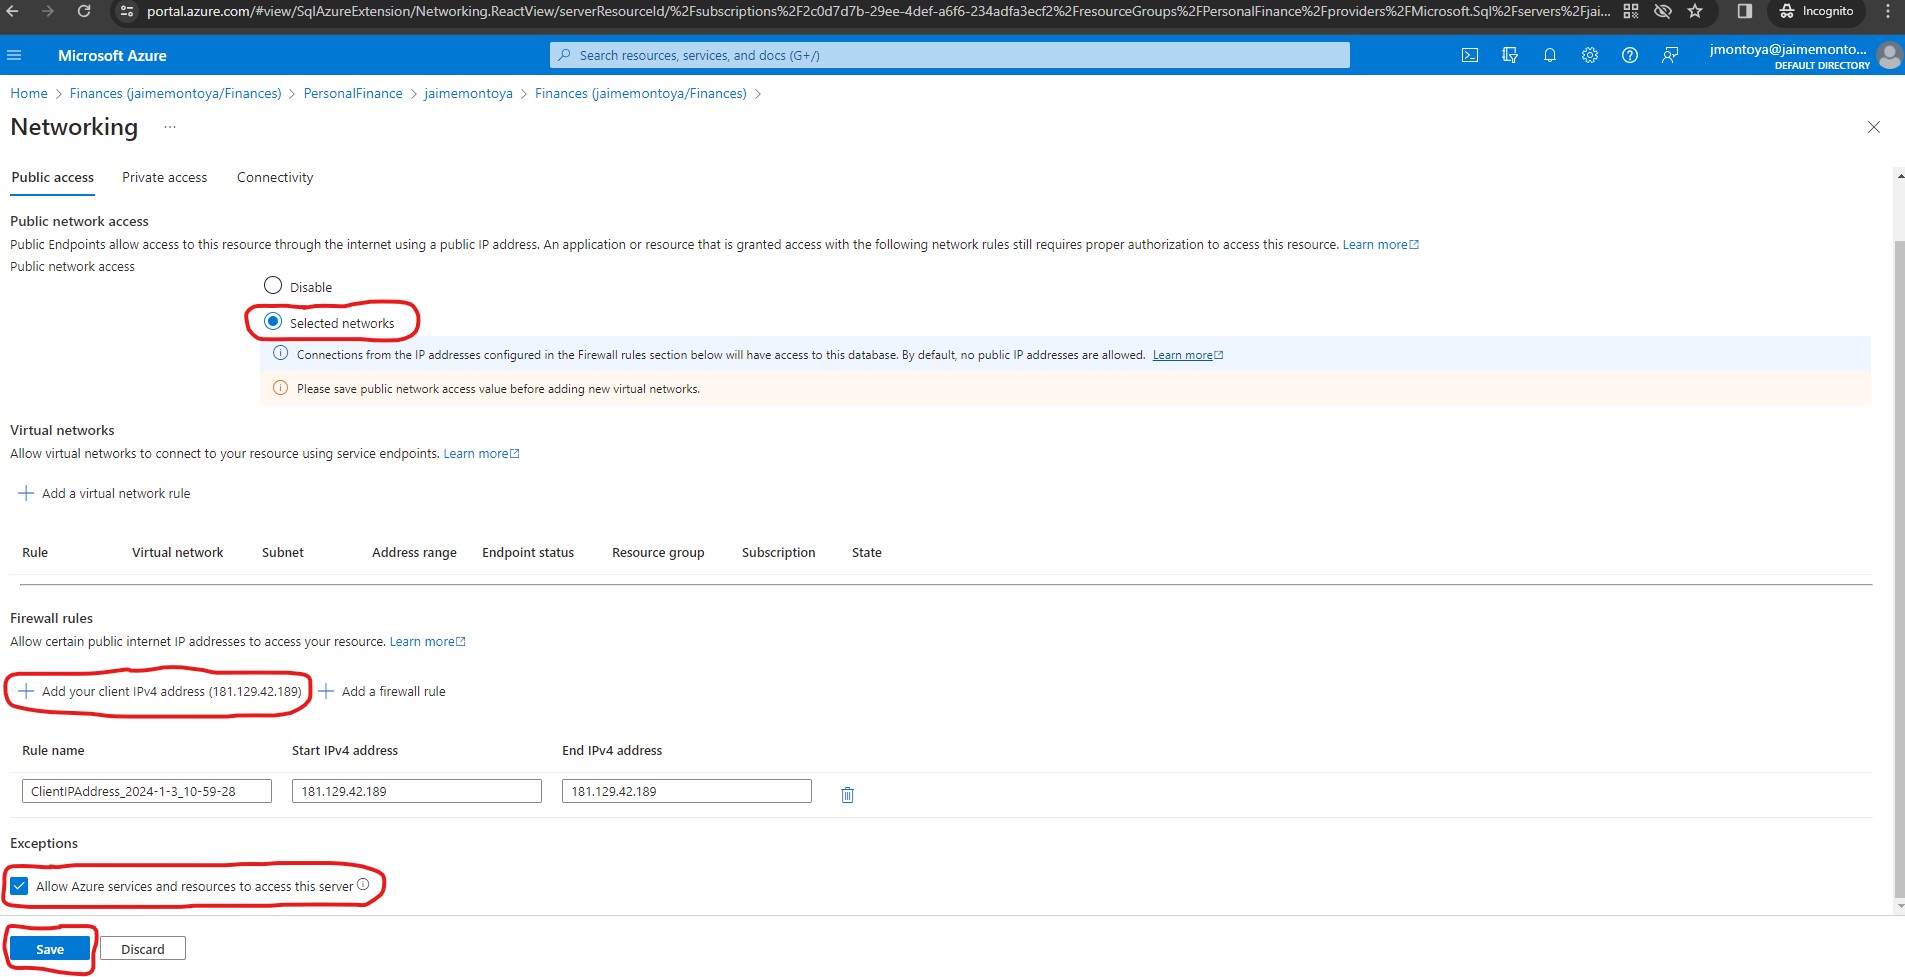
I clicked the Selected networks radio button. Then I clicked Add your client IPv4 address (181.129.42.189) to allow access to the database from my current client IP address. After that, I checked the box Allow Azure services and resources to access this server to allow access to the database from Azure services. Finally, I clicked Save:
I tried again clicking Query editor (preview) as shown in steps above, and after providing my credentials for SQL server authentication, I was able to login successfully. But I did not have any tables available to query:

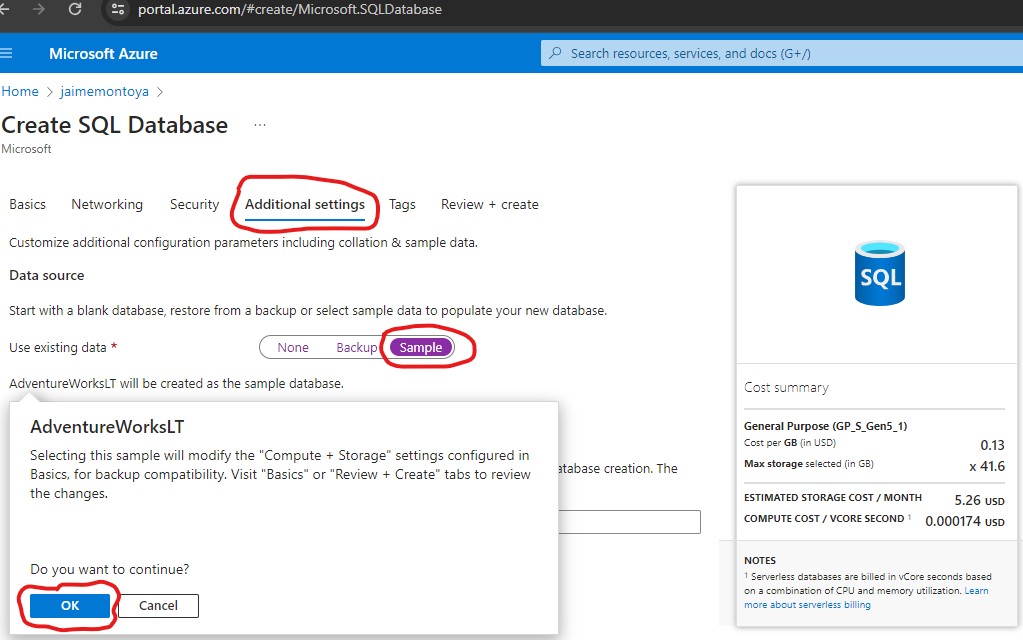
When creating the database, in the Additional settings tab, I chose None. For that reason, I started with a blank database without tables to query. I had the option to choose Sample as my Use existing data option to have sample data to populate my new database.
I followed the same process above to create a second SQL Database. I used AdventureWorks as the Database name and Development as the Workload environment:

In the Additional settings tab, I chose Sample as the option for Use existing data. Then I clicked OK.
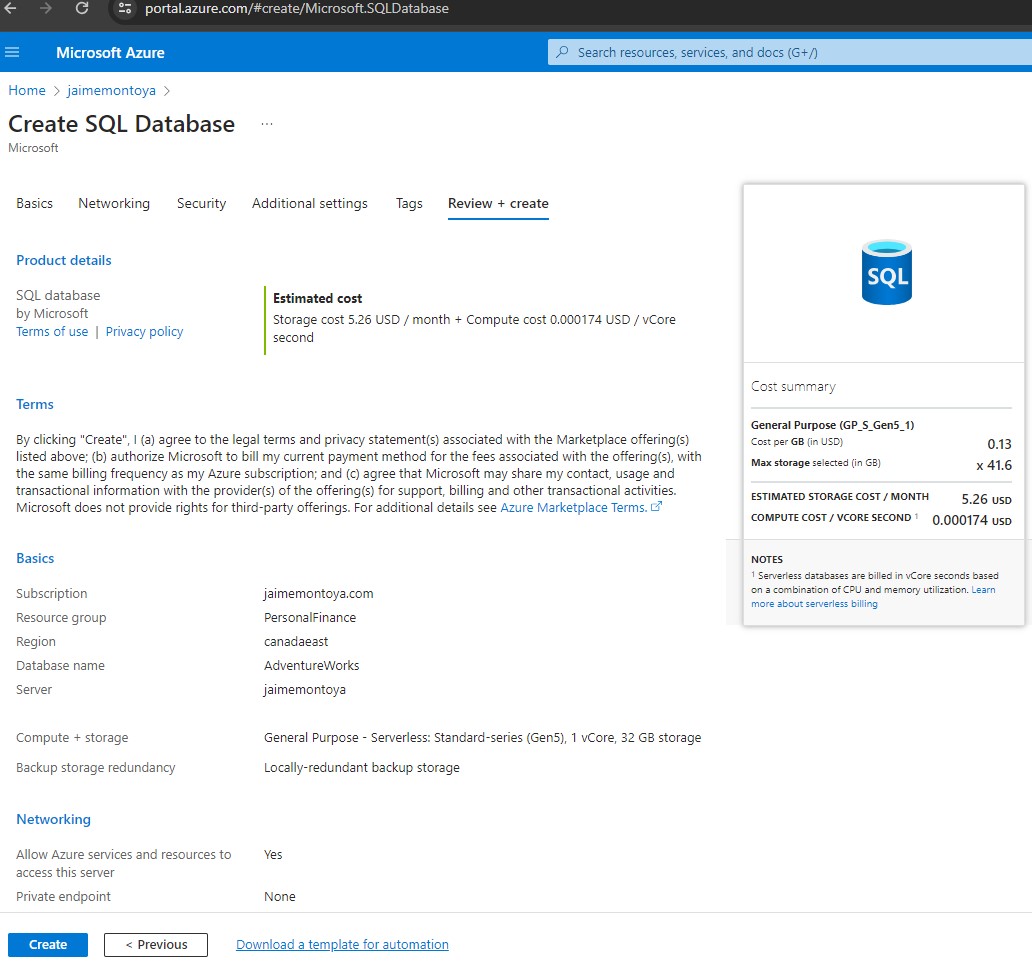
From the Review + create tab, I confirmed that everything was correct and clicked Create.
Create a second SQL Database, part 1 of 2:
Create a second SQL Database, part 2 of 2:
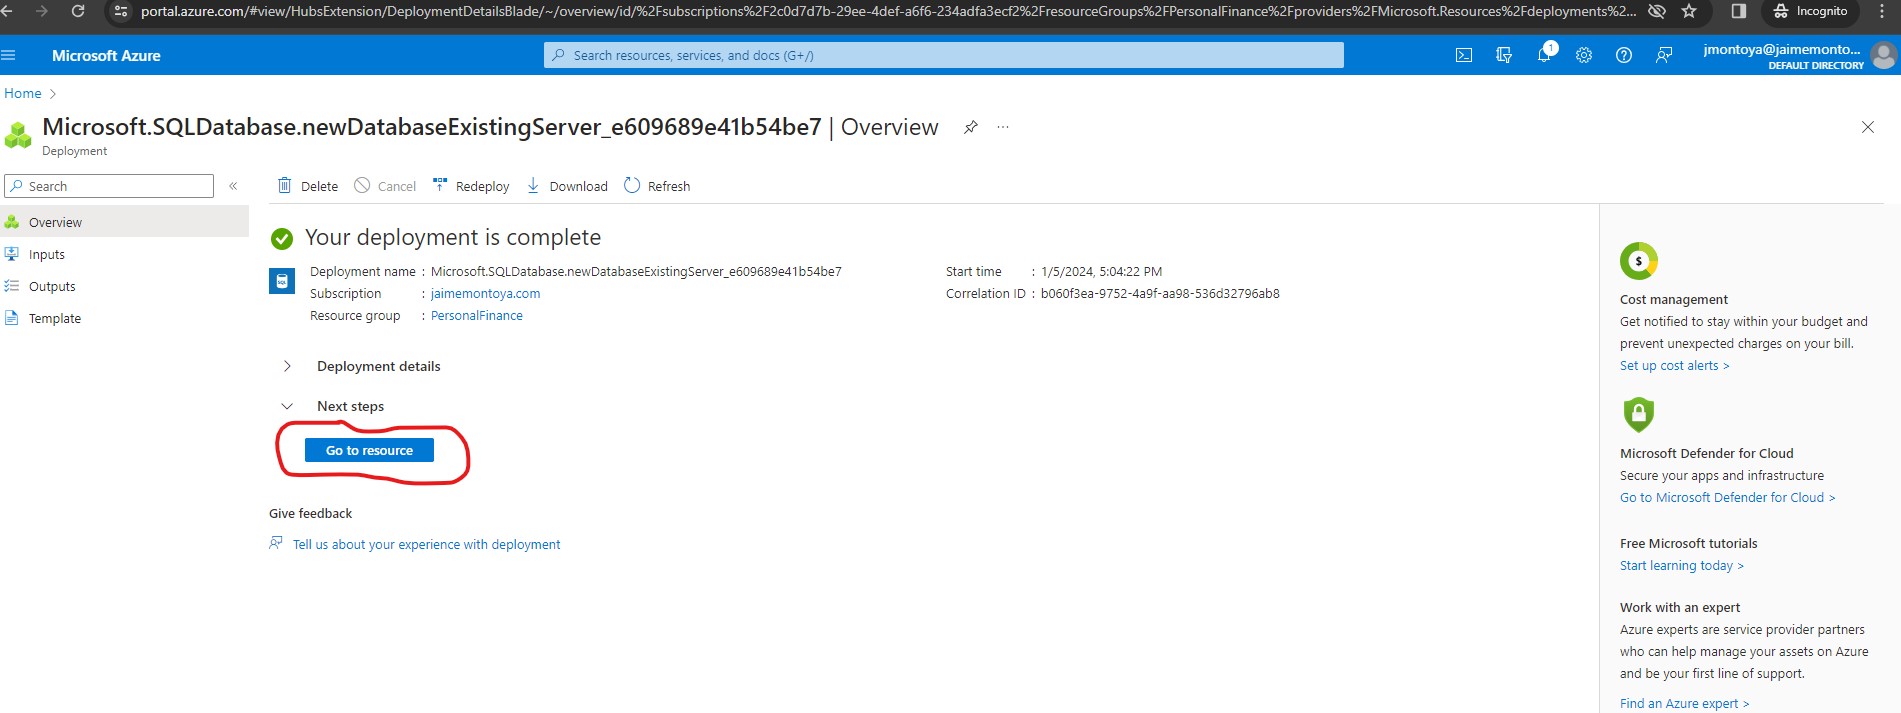
My deployment of a second SQL Database was complete. I clicked Go to resource:
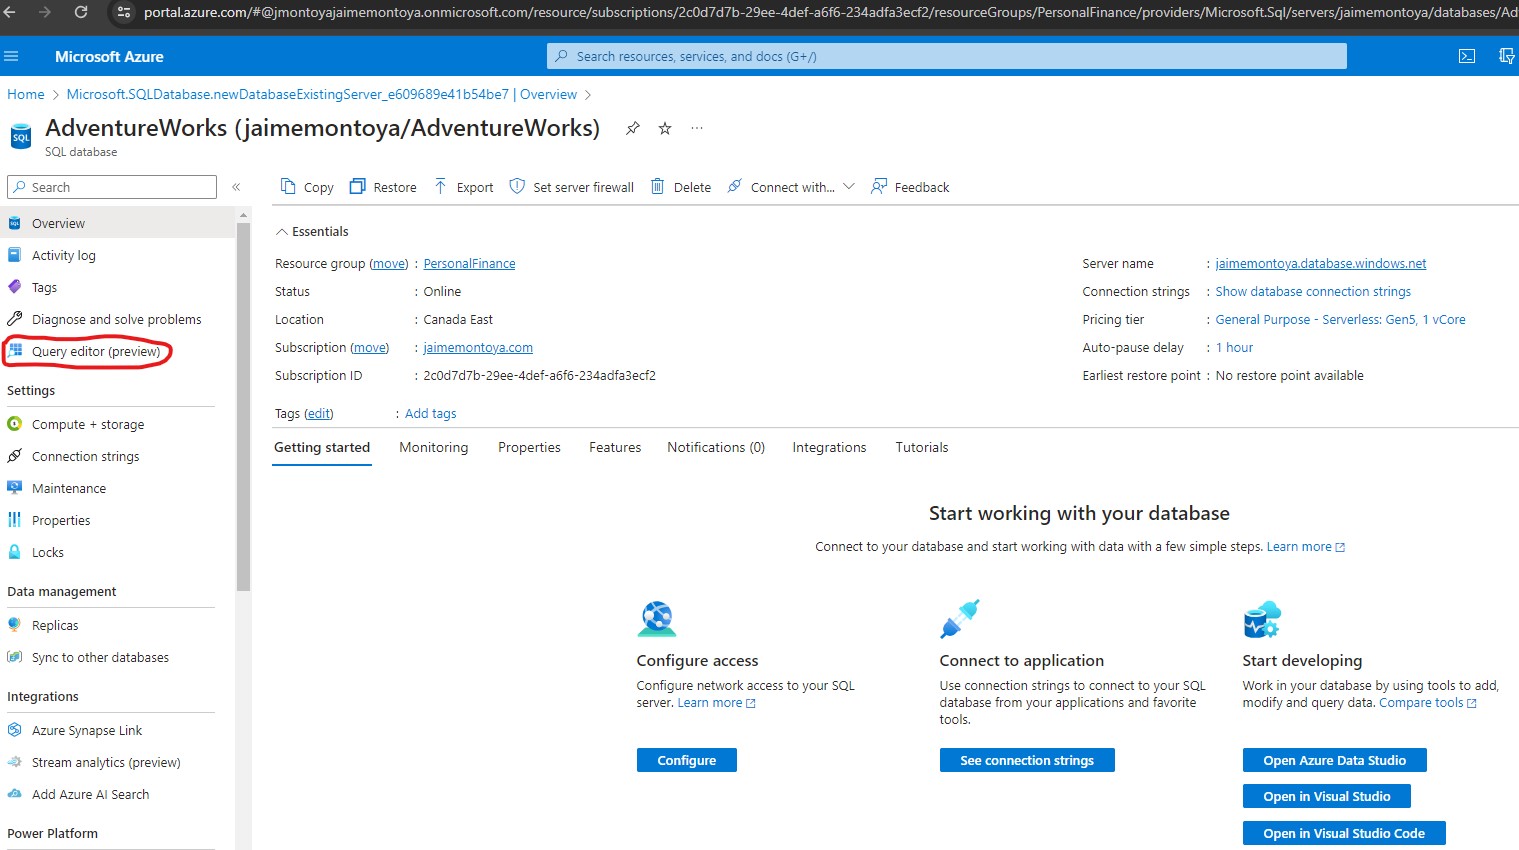
My new database had the Online status. I clicked Query editor (preview):
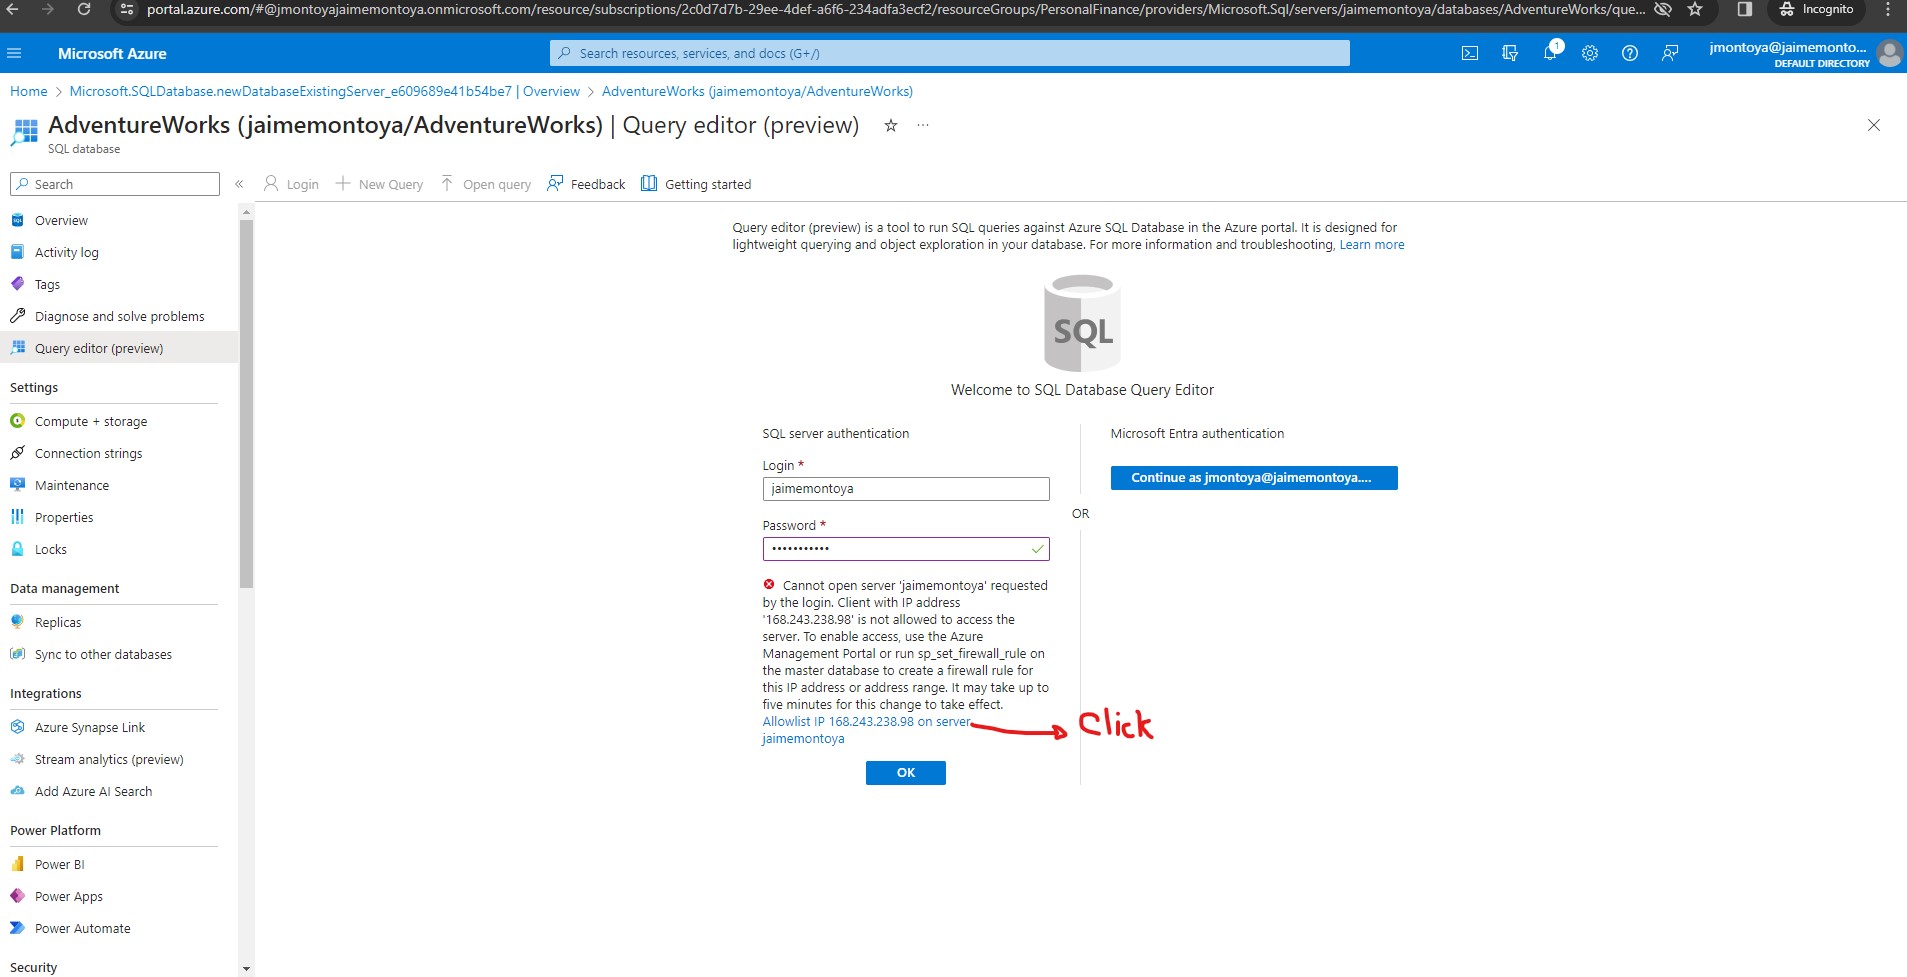
When trying to log in, an error message stating that the client IP address was not allowed was displayed. I clicked the Allowlist IP 168.243.238.98 on server jaimemontoya link at the end of the message to allow access and tried to sign in again. I previously added my own computer's client IP address to the firewall rules, but the query editor may connect from a different address depending on my network configuration:
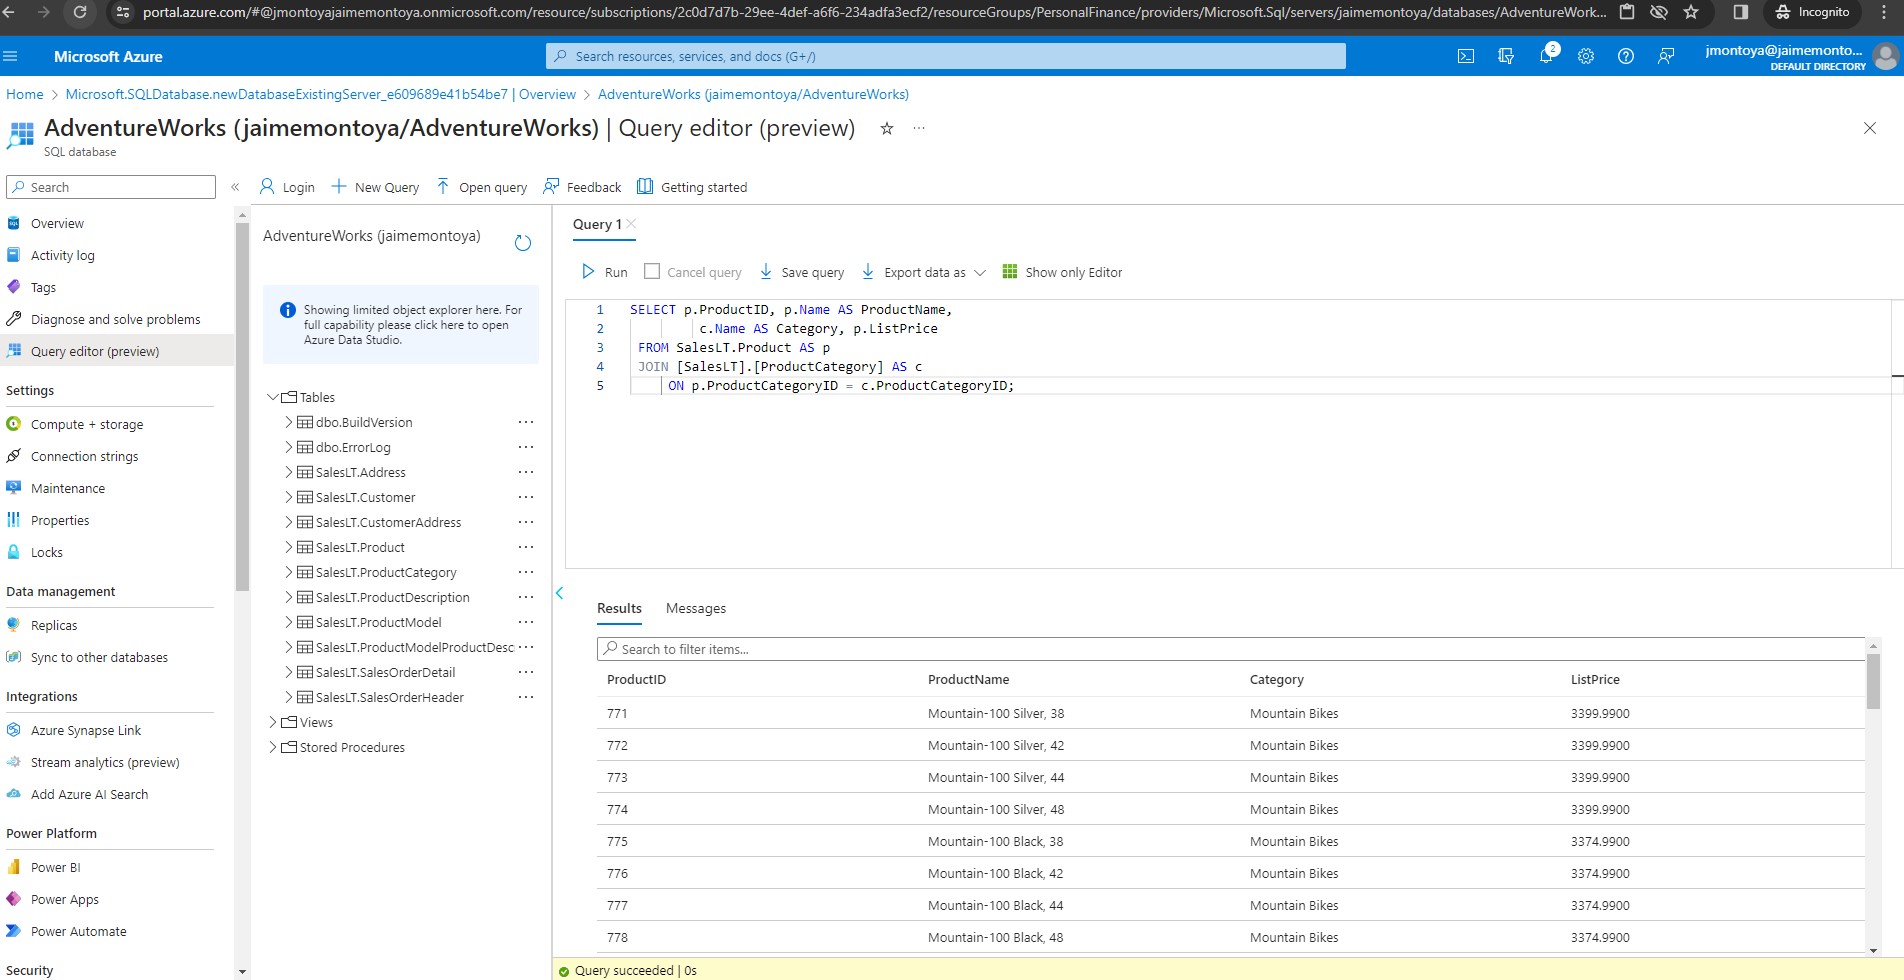
I could log in successfully and run SQL queries:
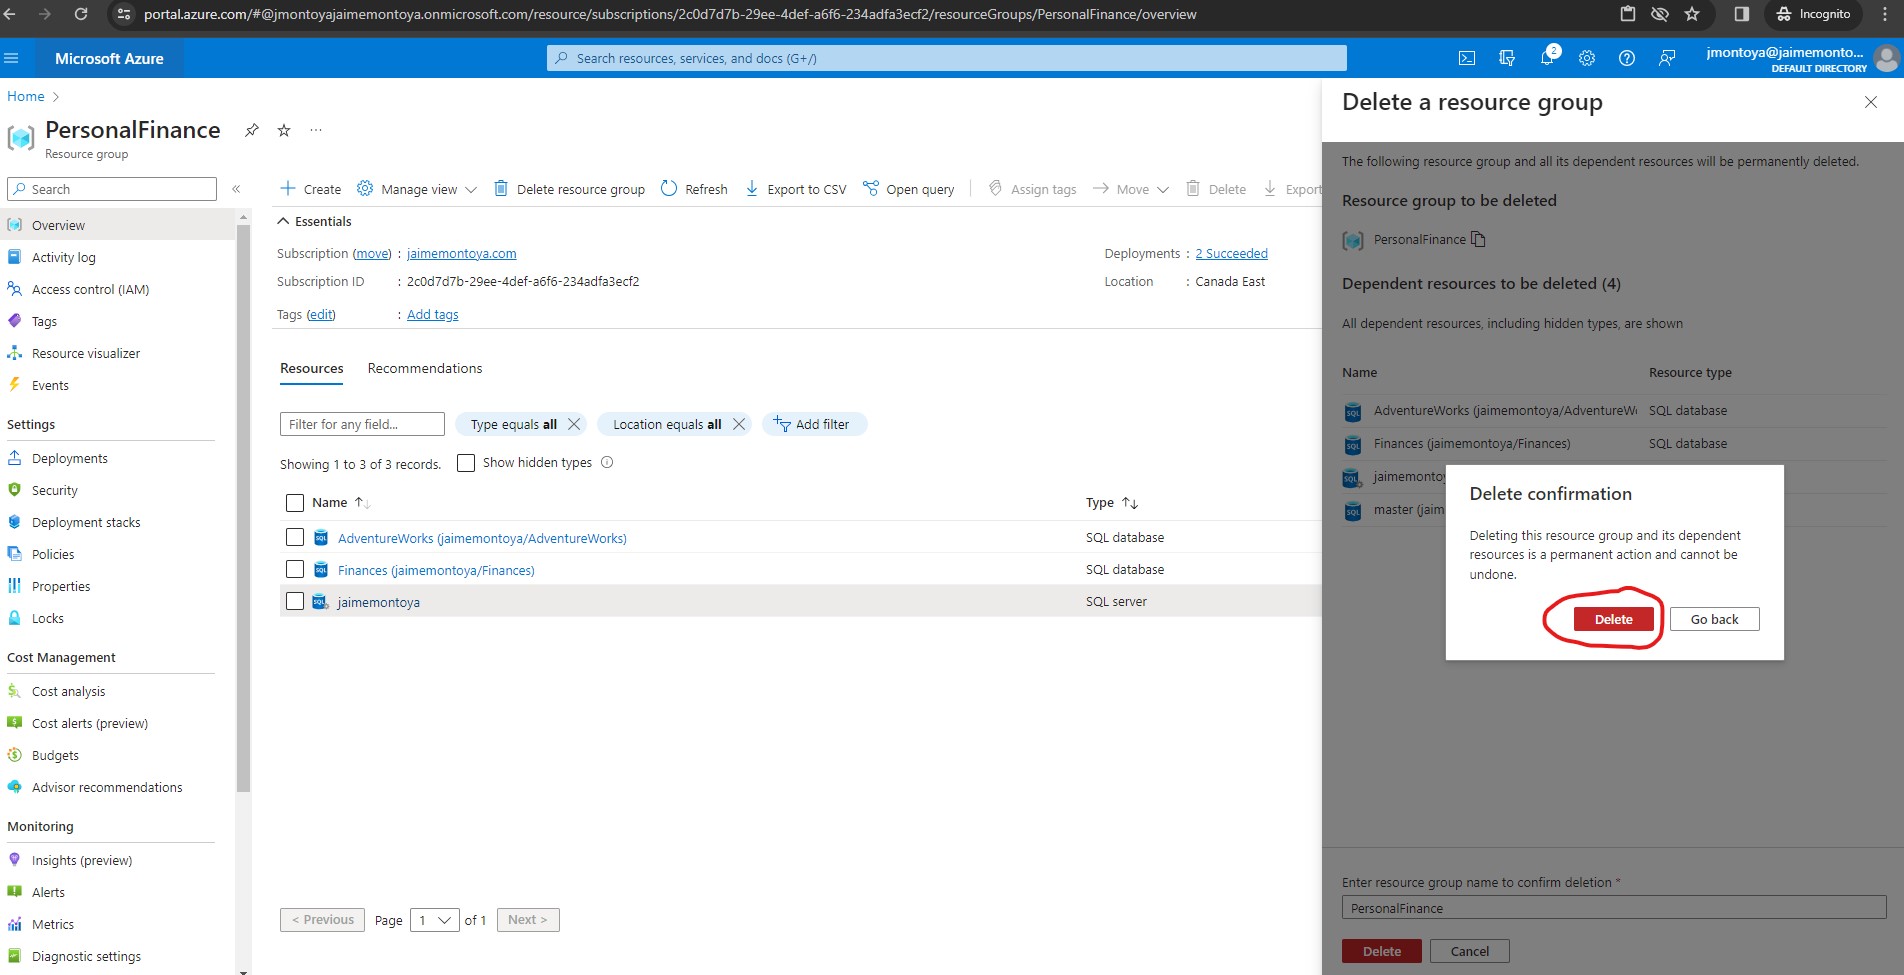
Since I had finished exploring Azure SQL Database, I deleted the resource group that I created:

I confirmed that I wanted to delete the resource group:
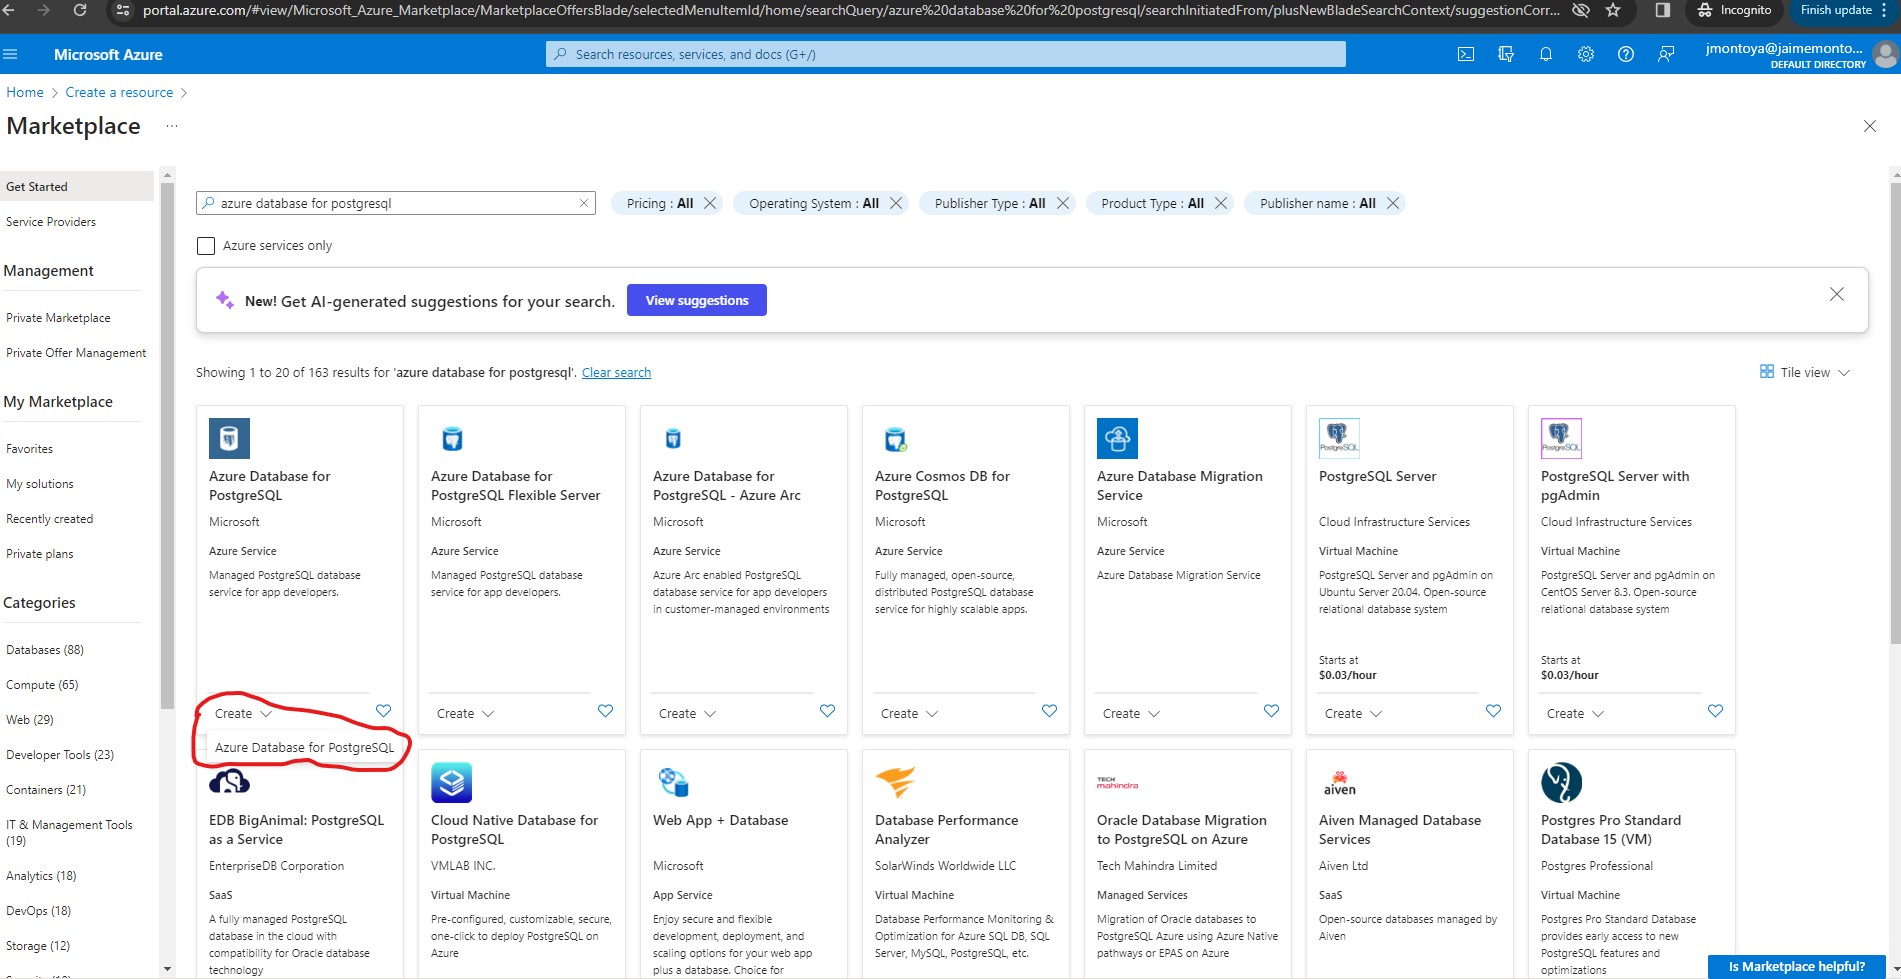
In order to provision an Azure Database for PostgreSQL resource, I clicked the Create Azure Database for PostgreSQL link:
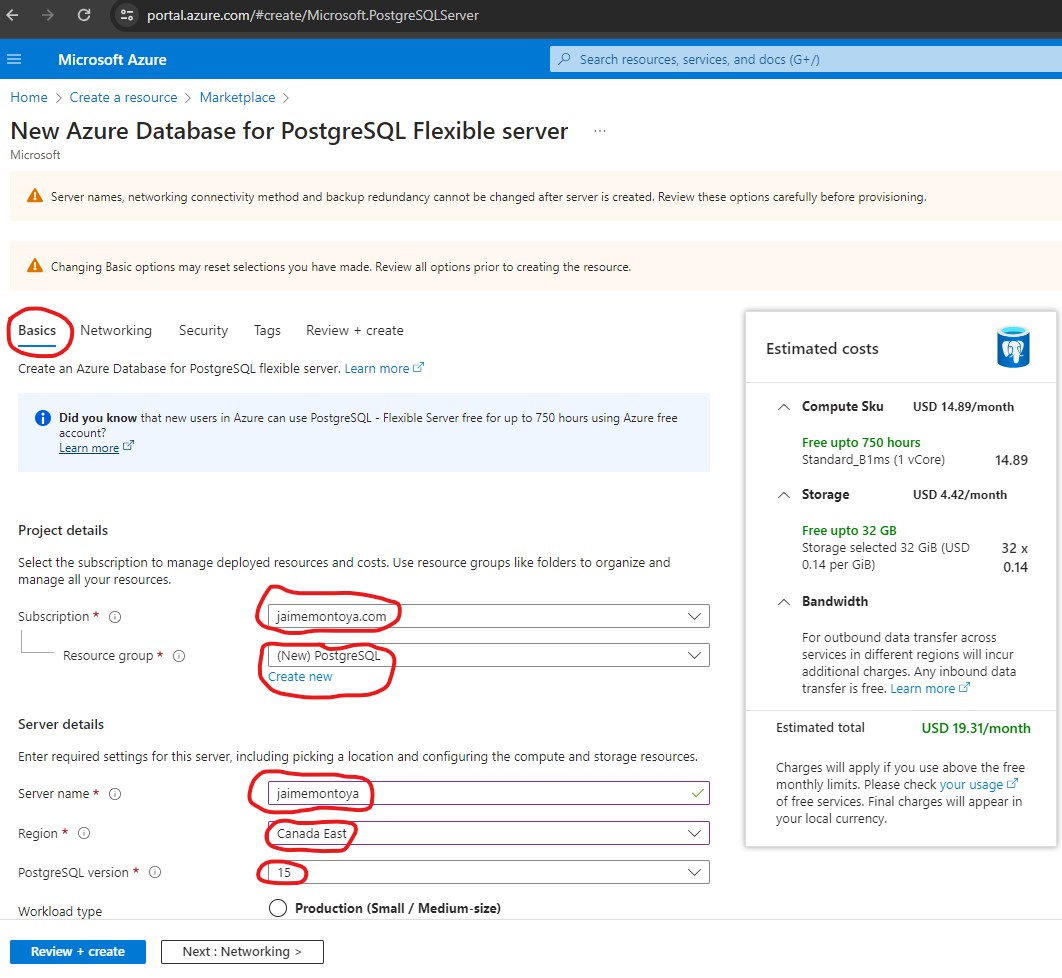
I entered the following values on the New Azure Database for PostgreSQL Flexible server page, and left all other properties with their default setting:
- Subscription: jaimemontoya.com (because that was the name I gave to my Azure subscription).
- Resource group: PostgreSQL (I created a new resource group with a name of my choice. A resource group is a container that holds related resources for an Azure solution.)
- Server name: jaimemontoya (a unique name that was available)
- Region: Canada East
- PostgreSQL version: 15
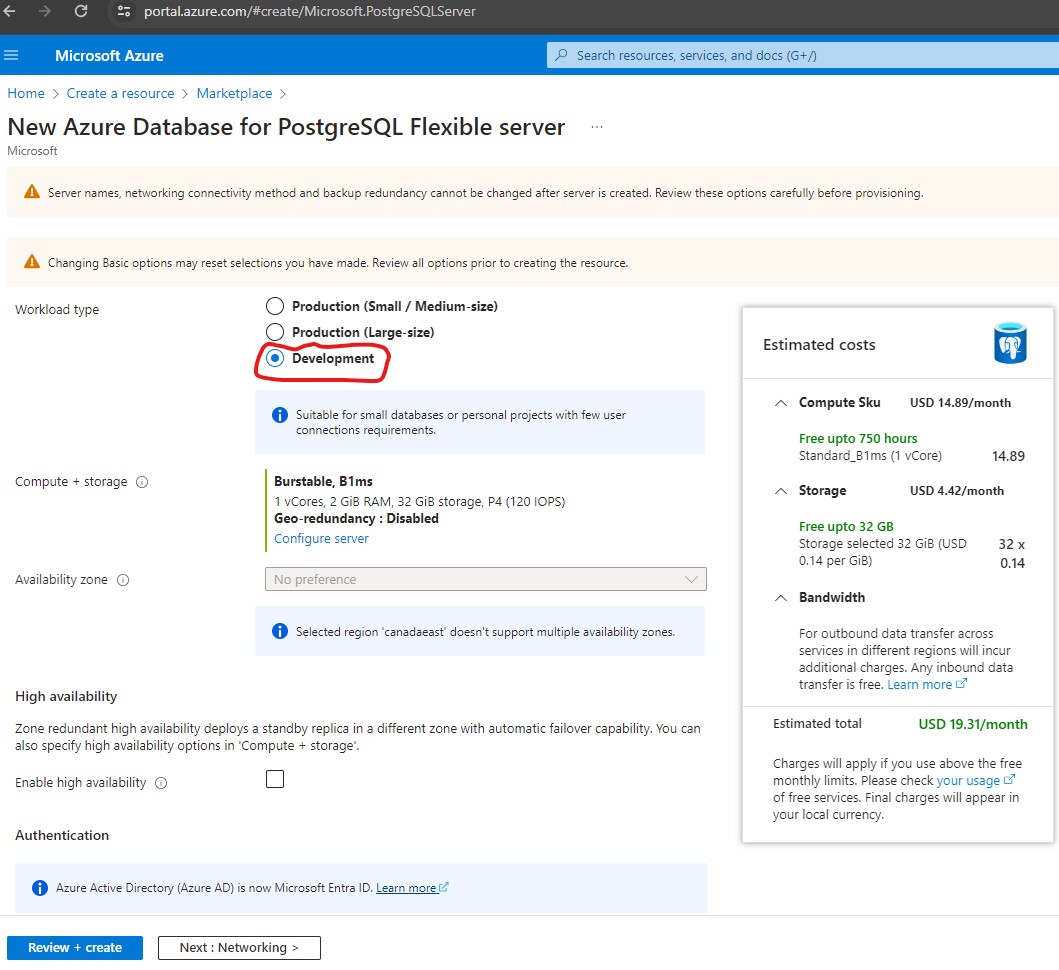
- Workload type: Development
- Compute + storage: Left unchanged
- Availability zone: Left unchanged
- Enable high availability: Left unchanged
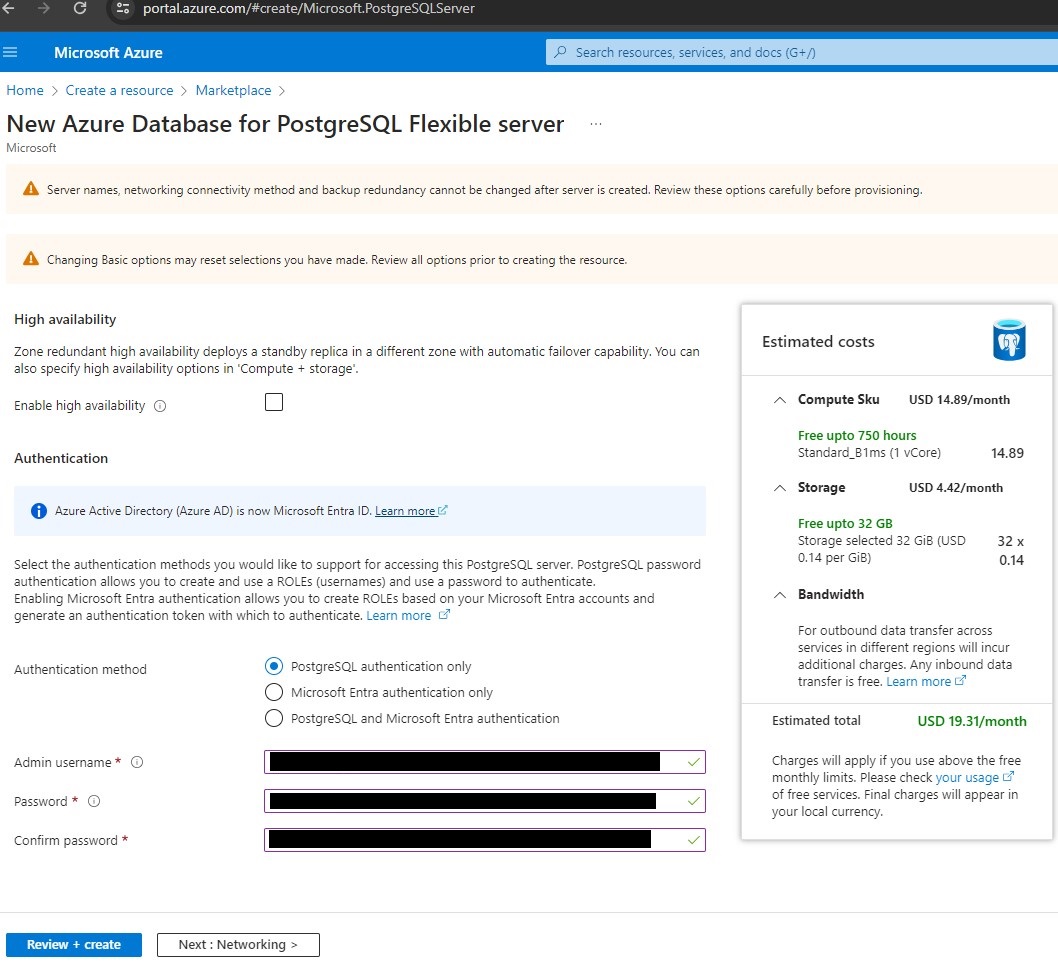
- Admin username: I chose my username
- Password and Confirm password: I chose a suitably complex password.
Basics tab when creating a new Azure Database for PostgreSQL Flexible server, part 1 of 3:
Basics tab when creating a new Azure Database for PostgreSQL Flexible server, part 2 of 3:
Basics tab when creating a new Azure Database for PostgreSQL Flexible server, part 3 of 3:
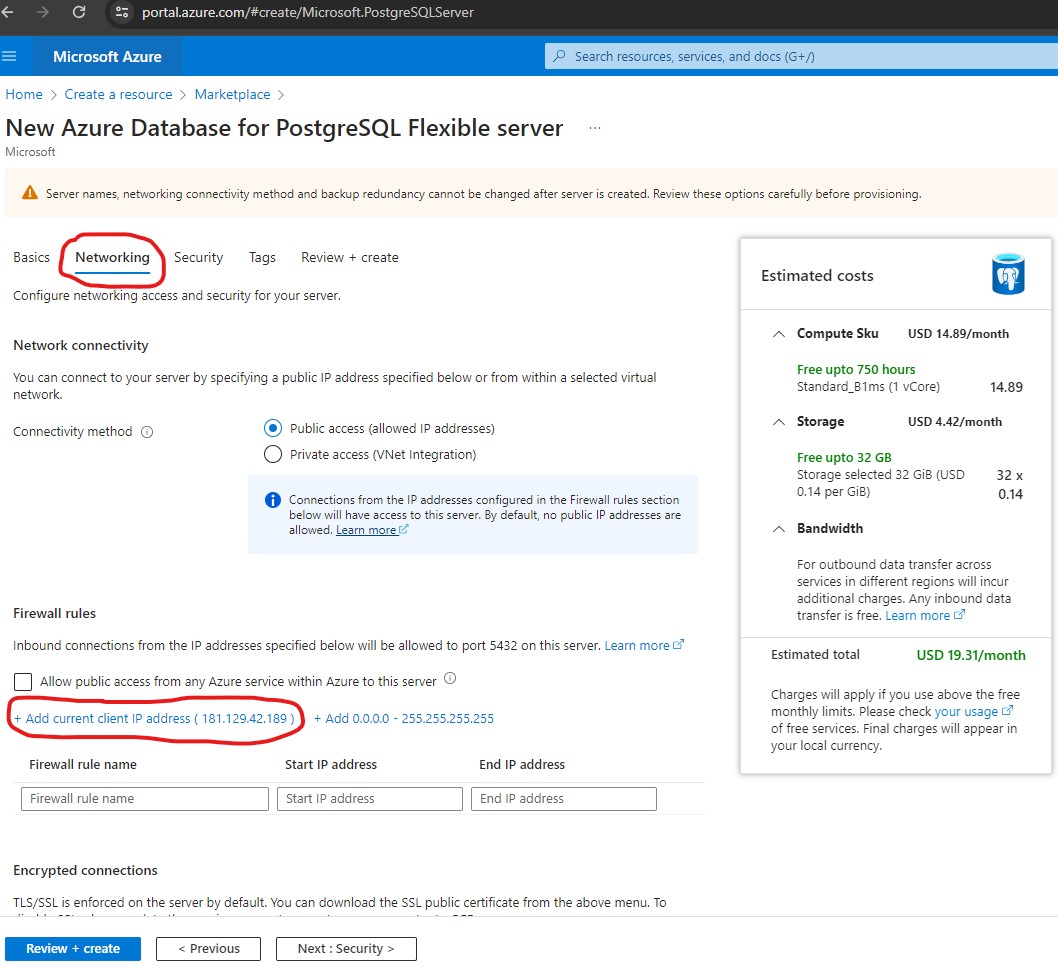
From the Networking tab, I clicked the + Add current client IP address ( 181.129.42.189 ) link:
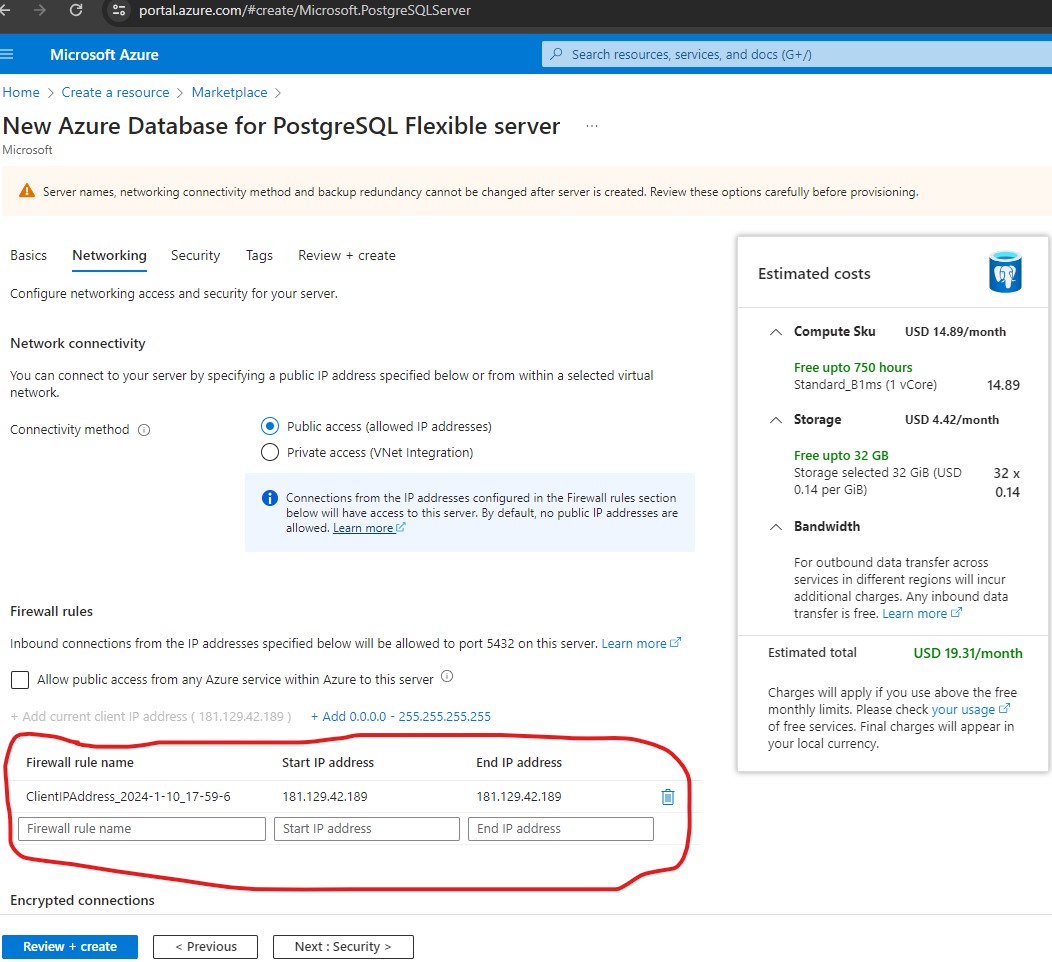
The rule was created successfully:
After reviewing settings, I clicked Create:

My deployment was complete. I clicked Go to resource:

My server was ready to host PostgreSQL databases:

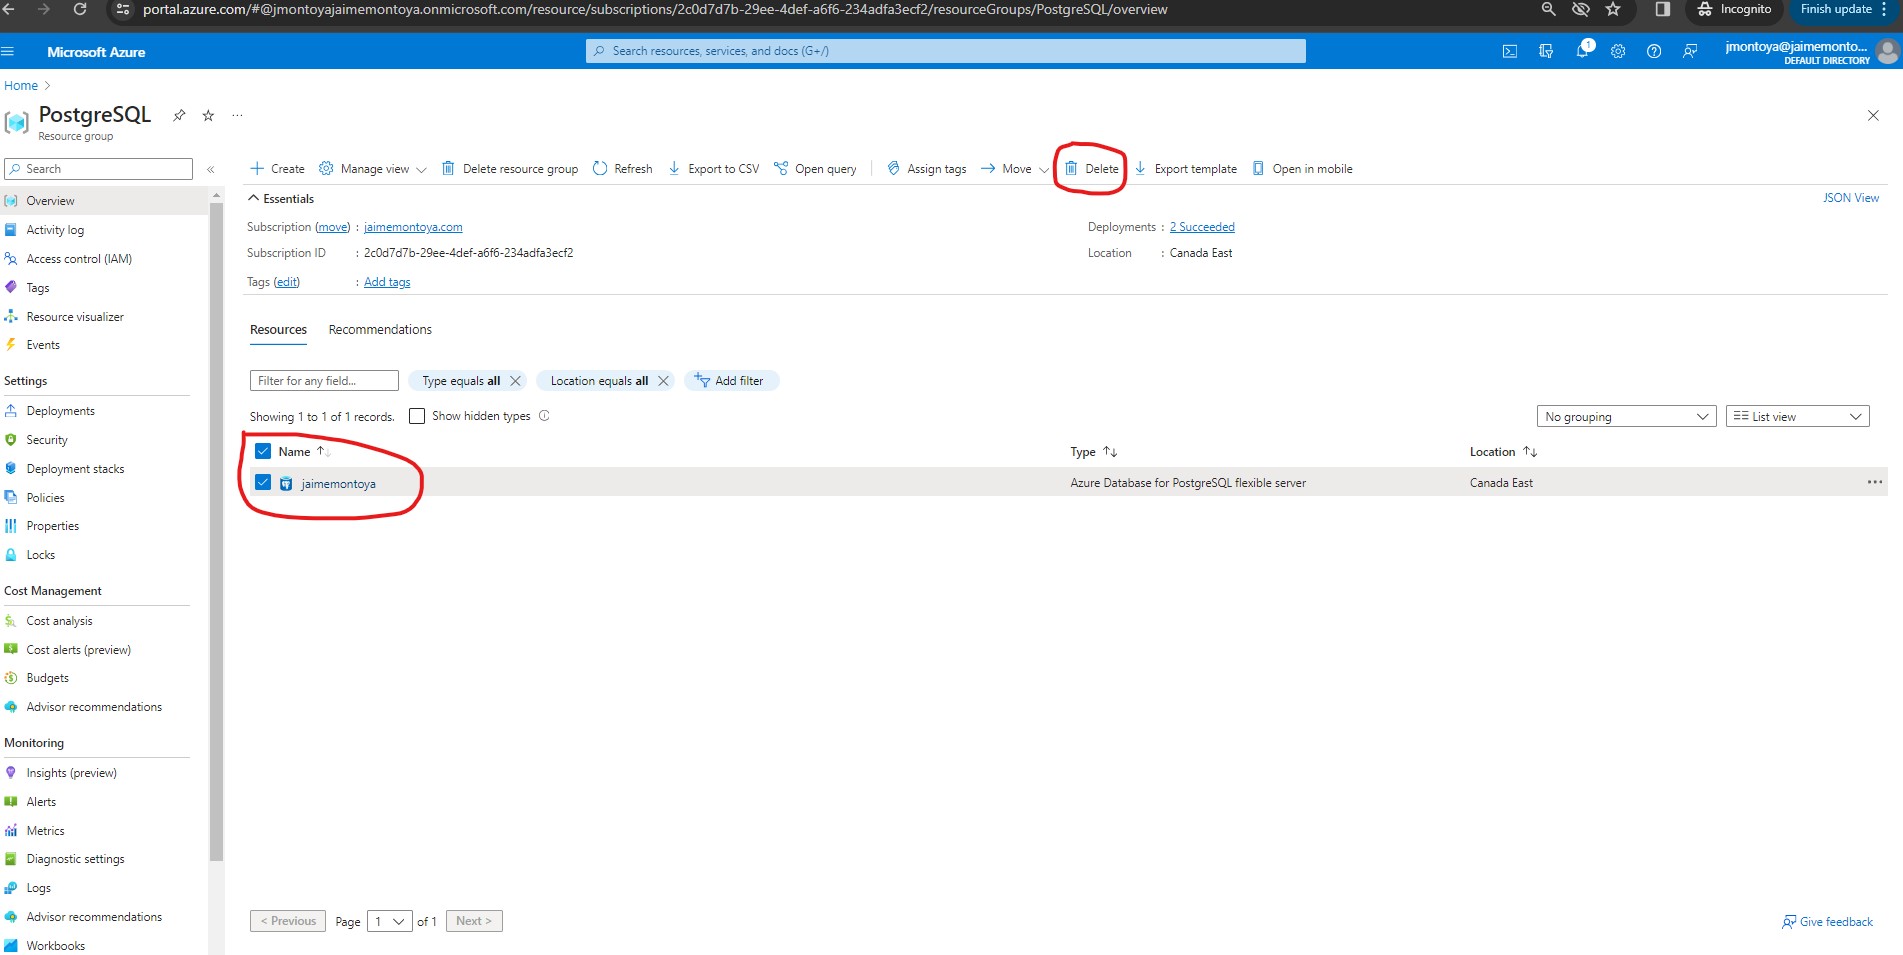
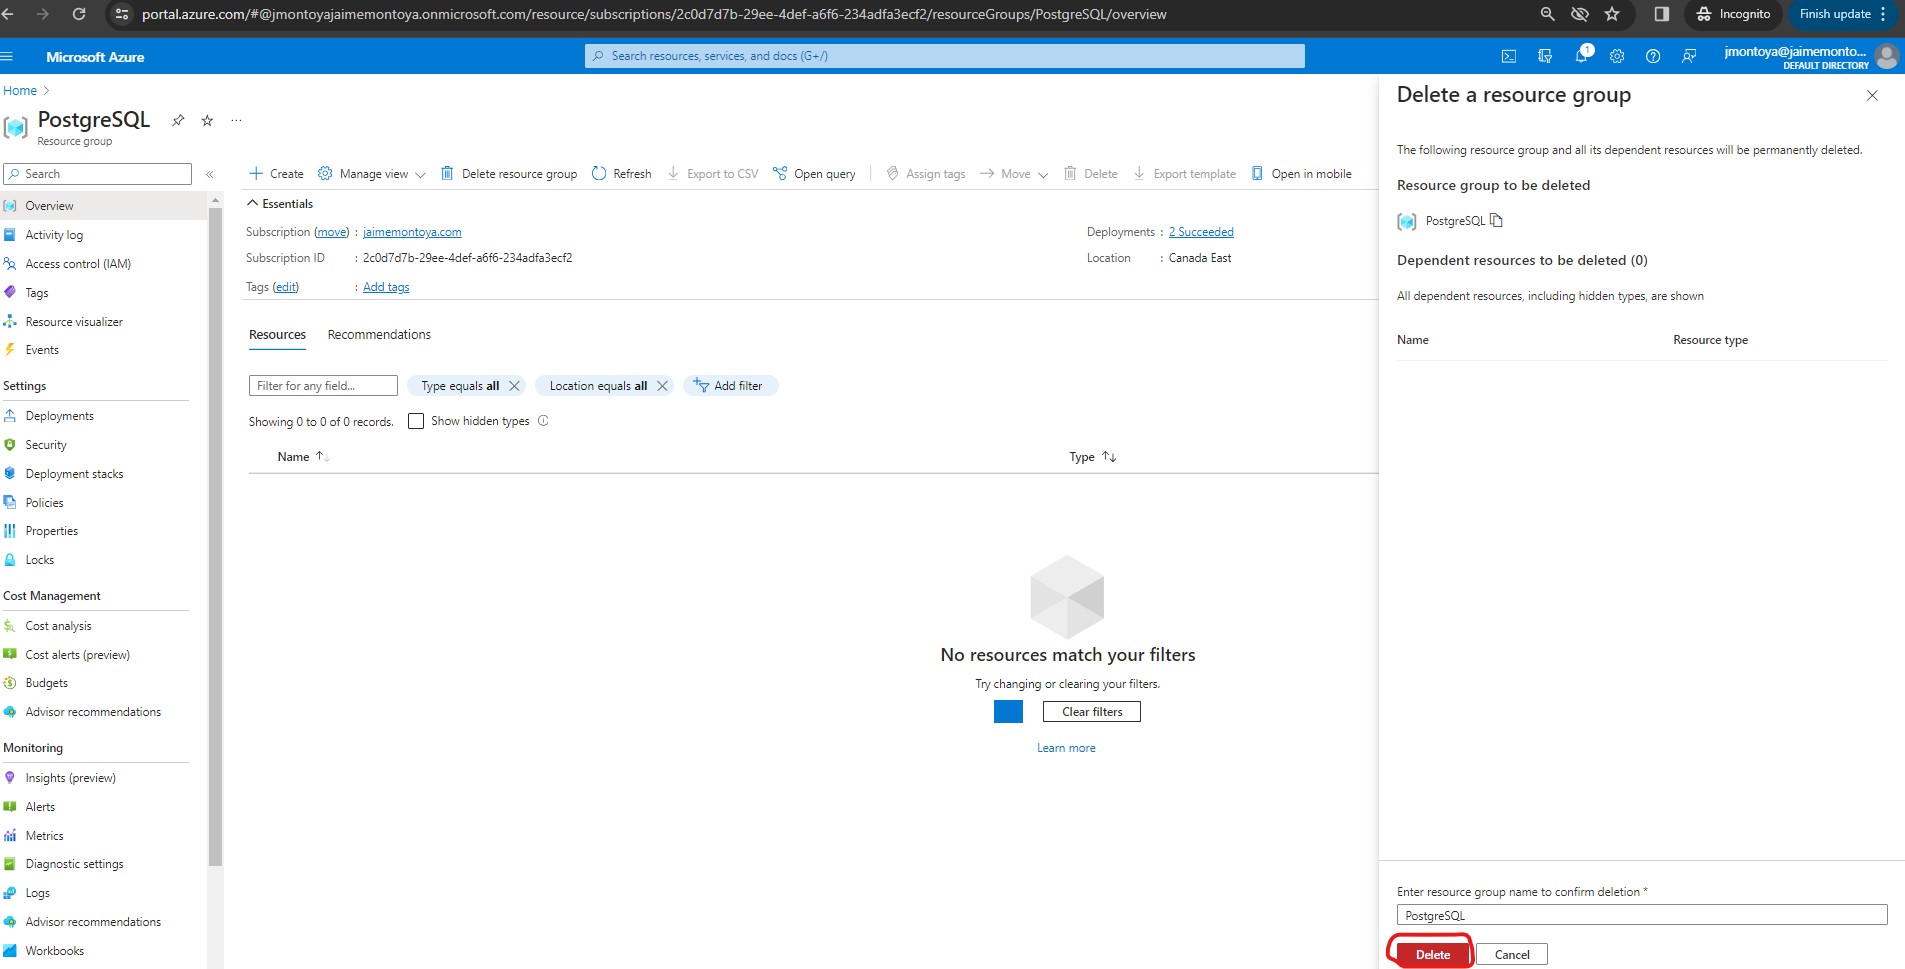
I deleted my resource:
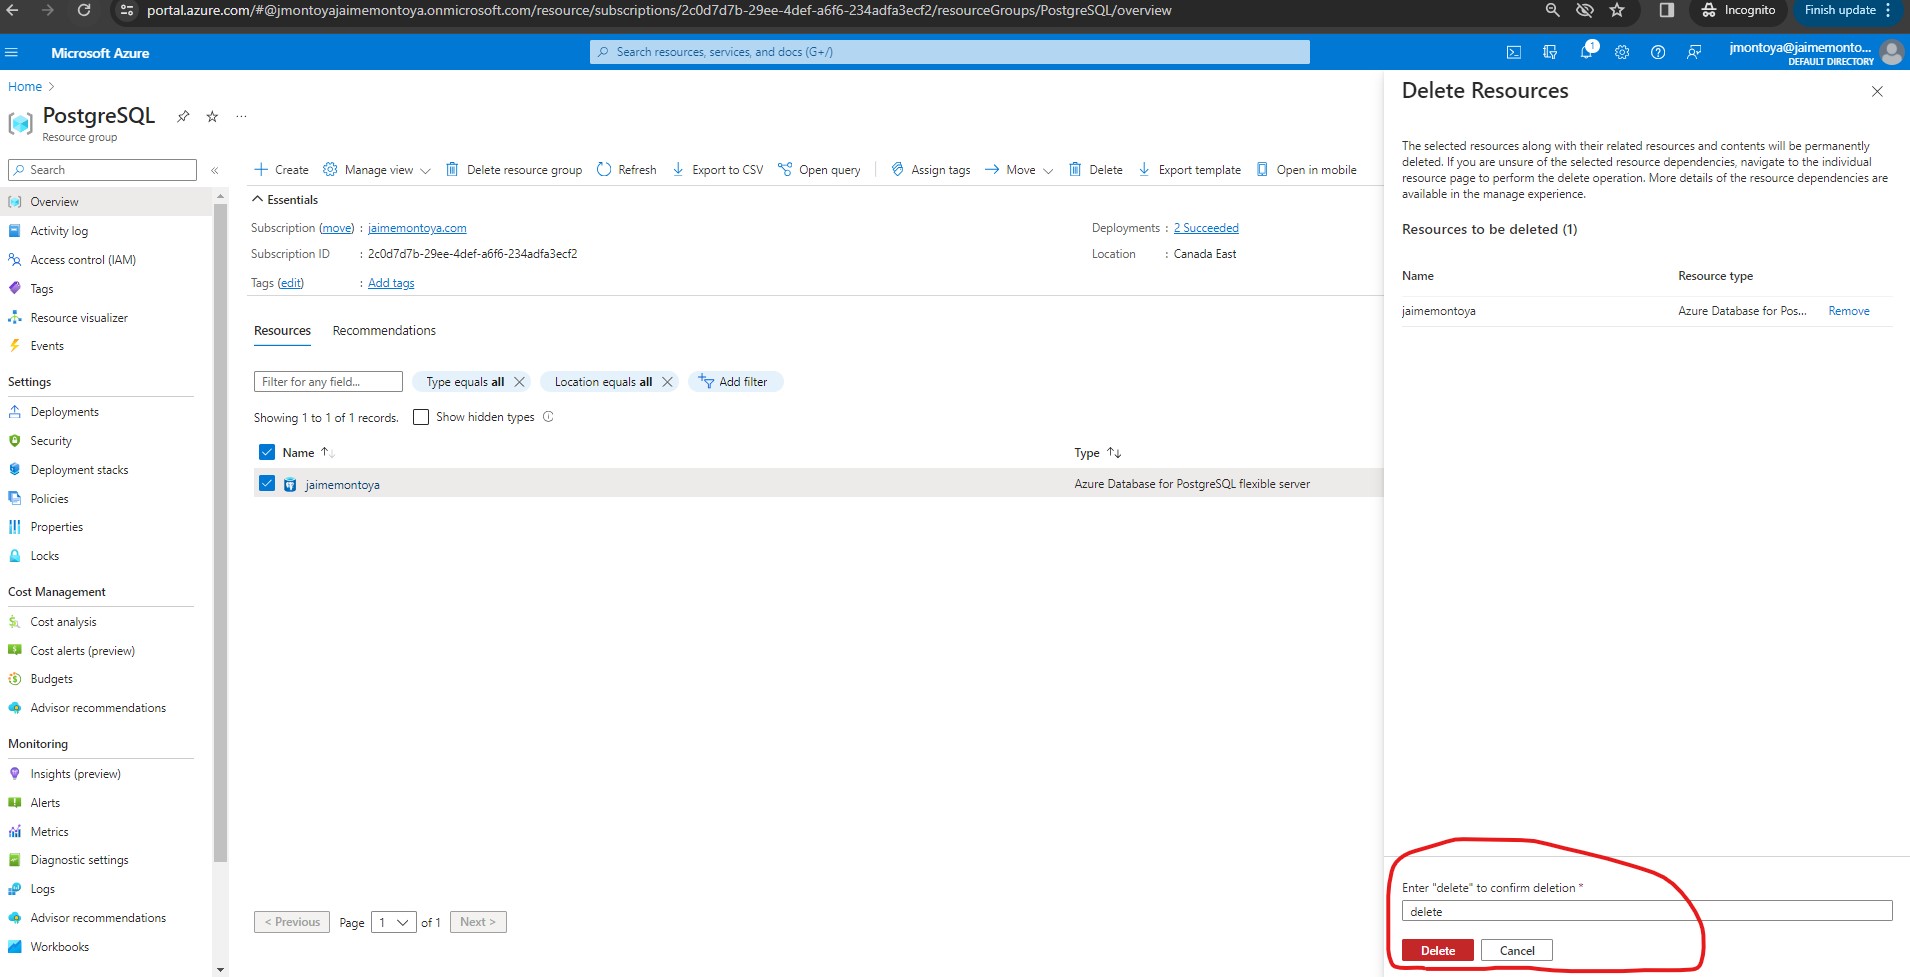
I confirmed the deletion of my resource:
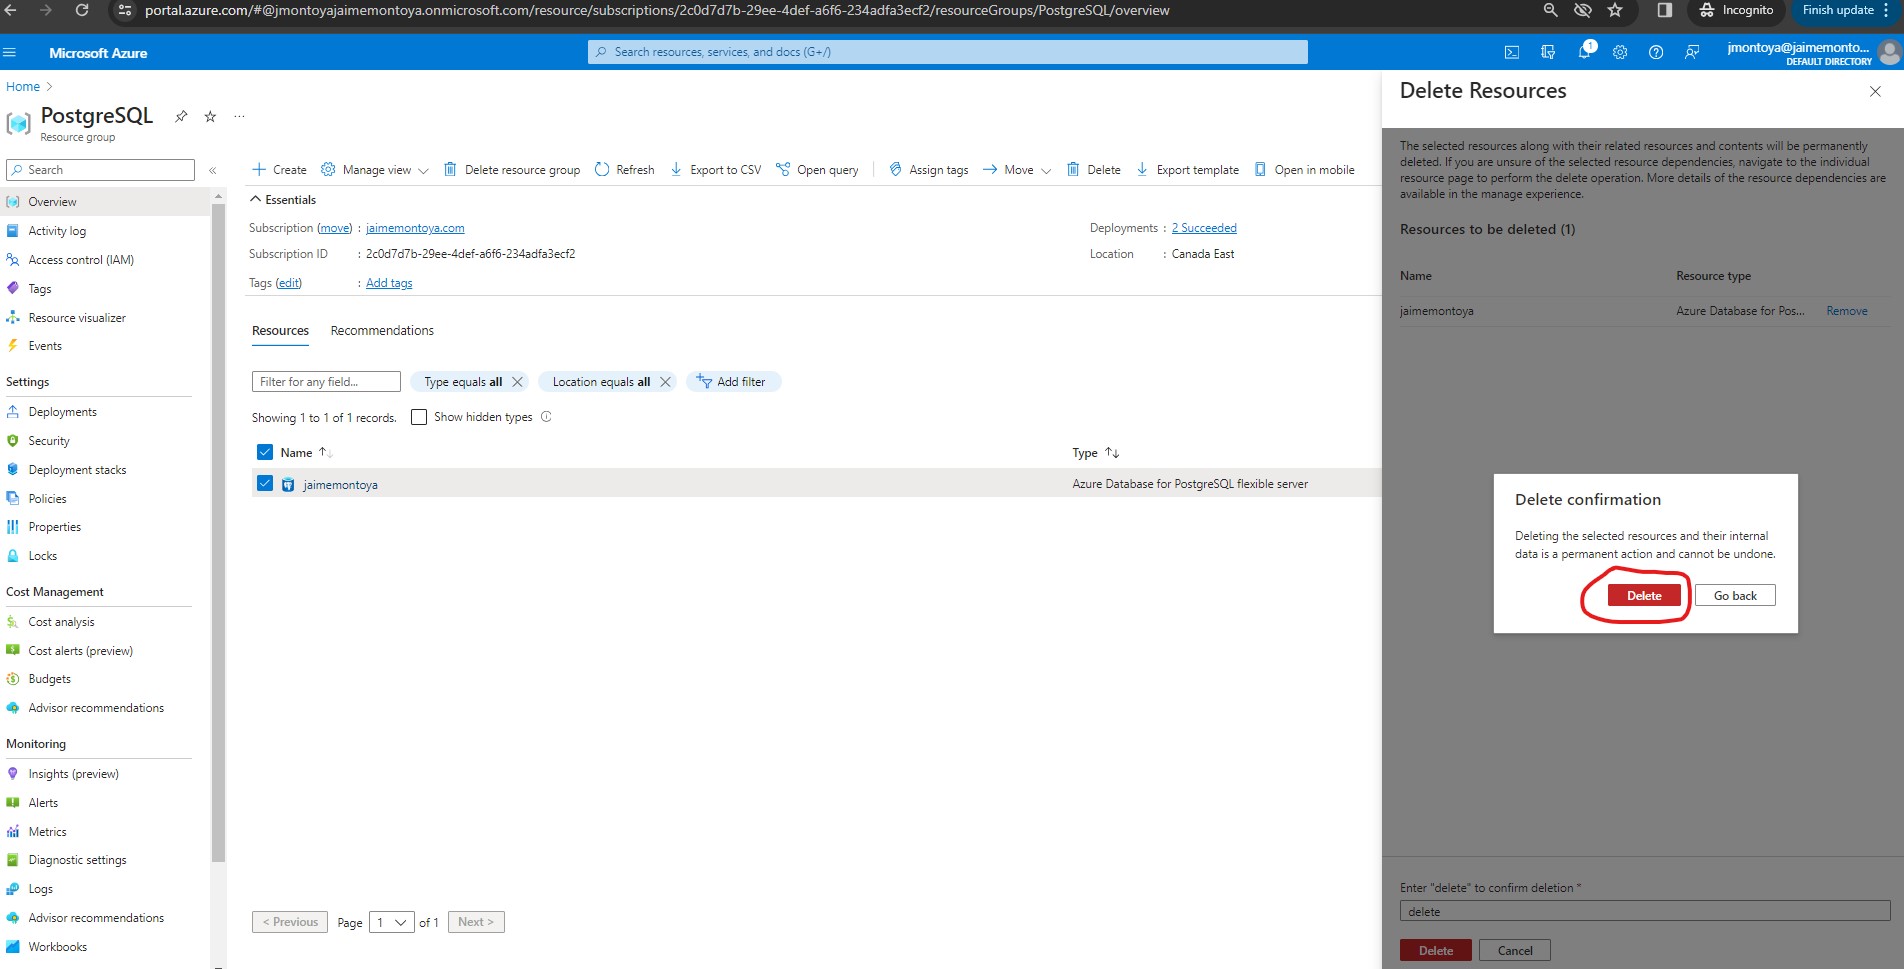
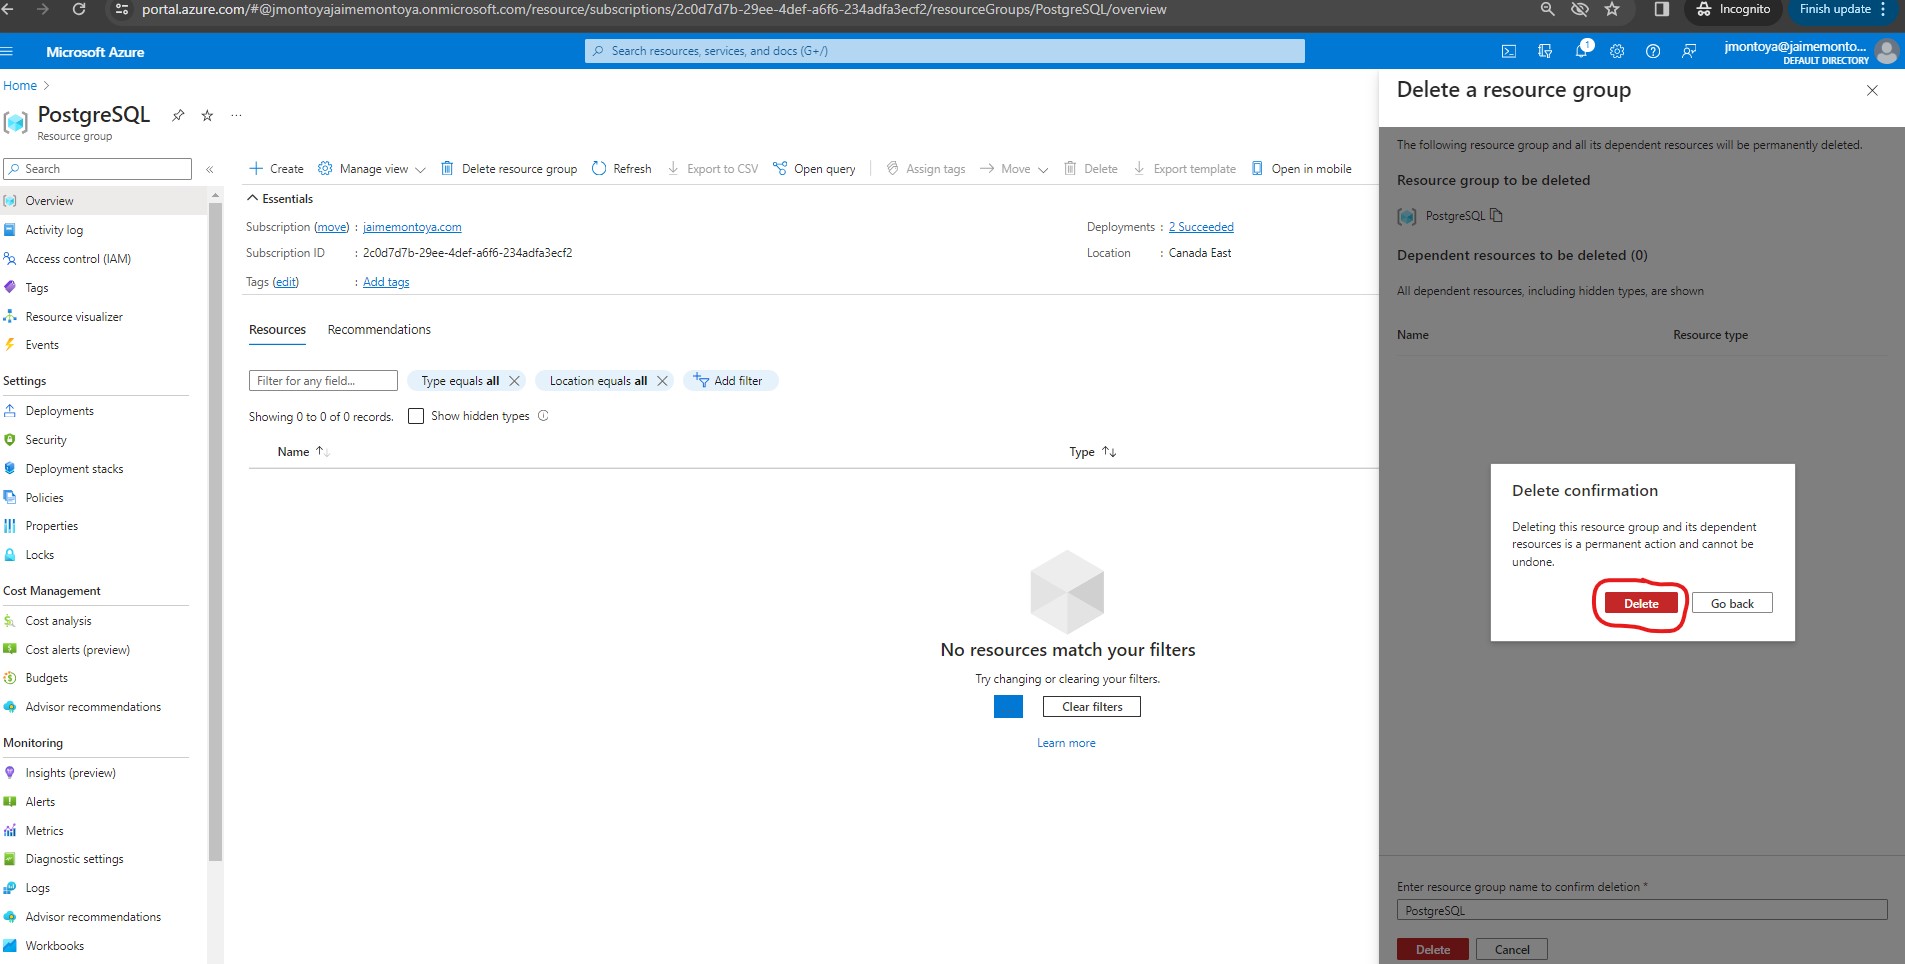
I confirmed the delition of my resource a second time:
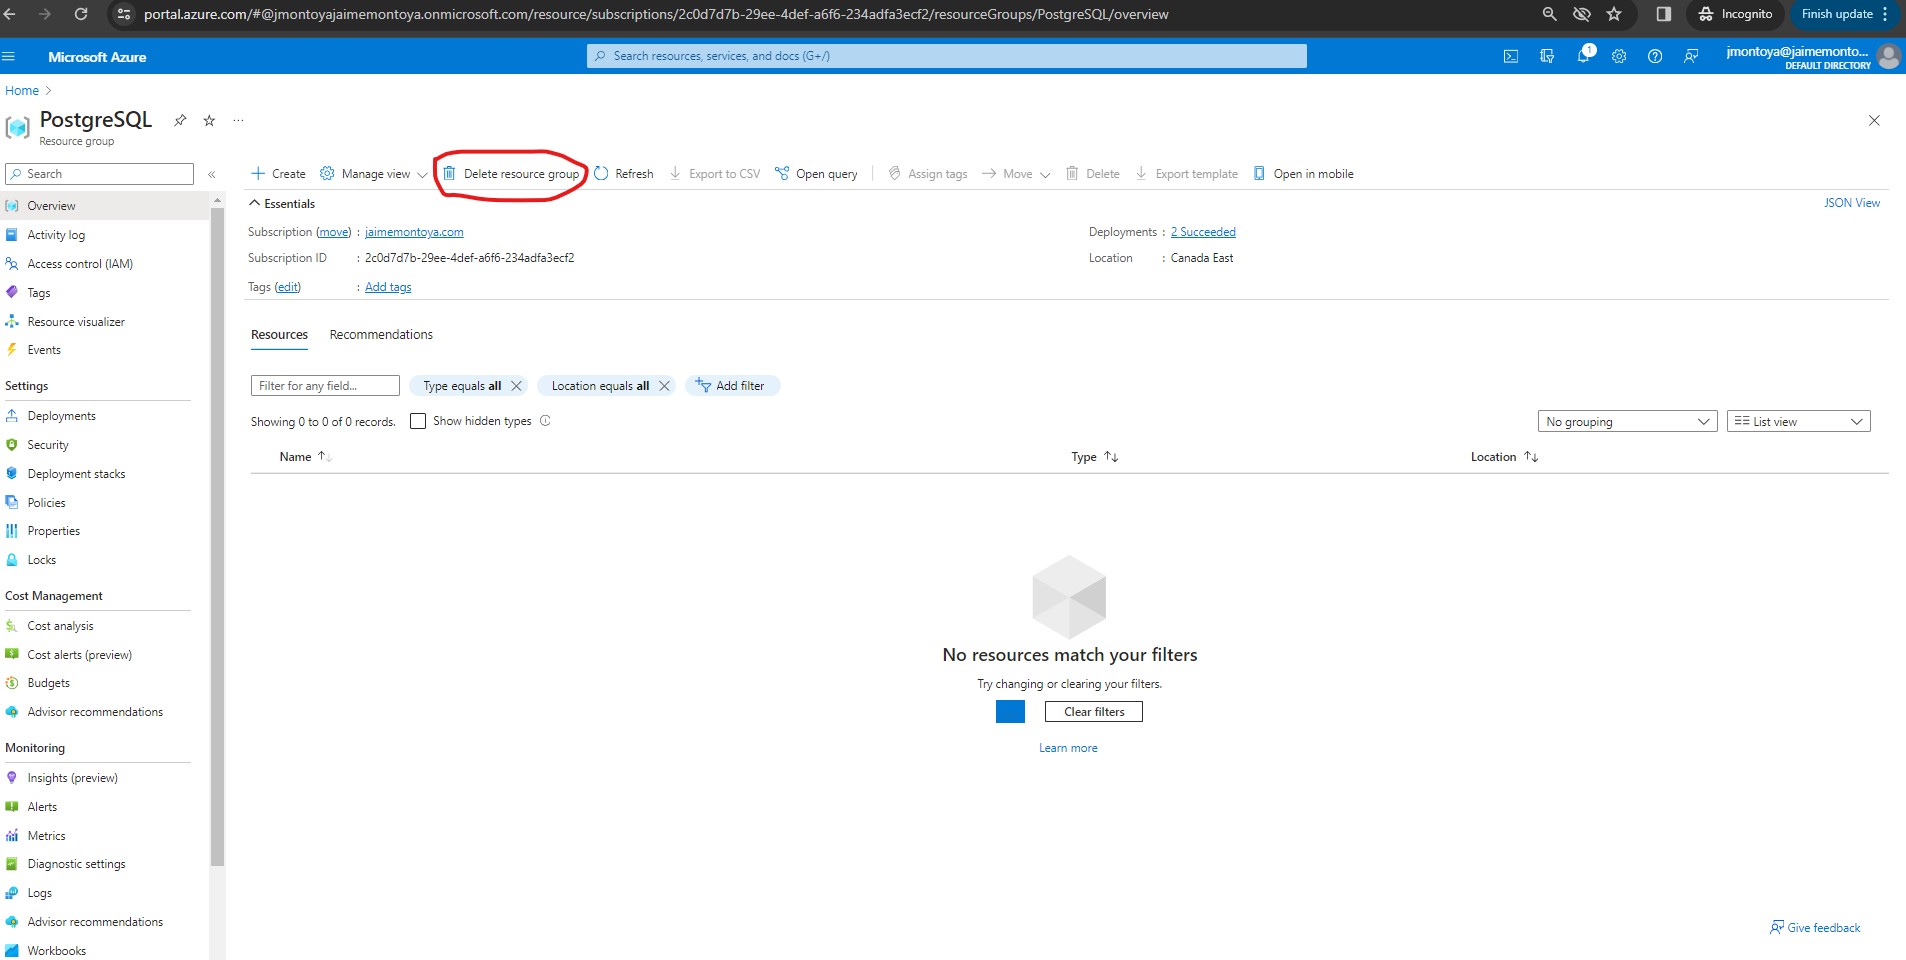
I deleted the resource group that I had previously created:
I confirmed the deletion:
I confirmed the deletion a second time:
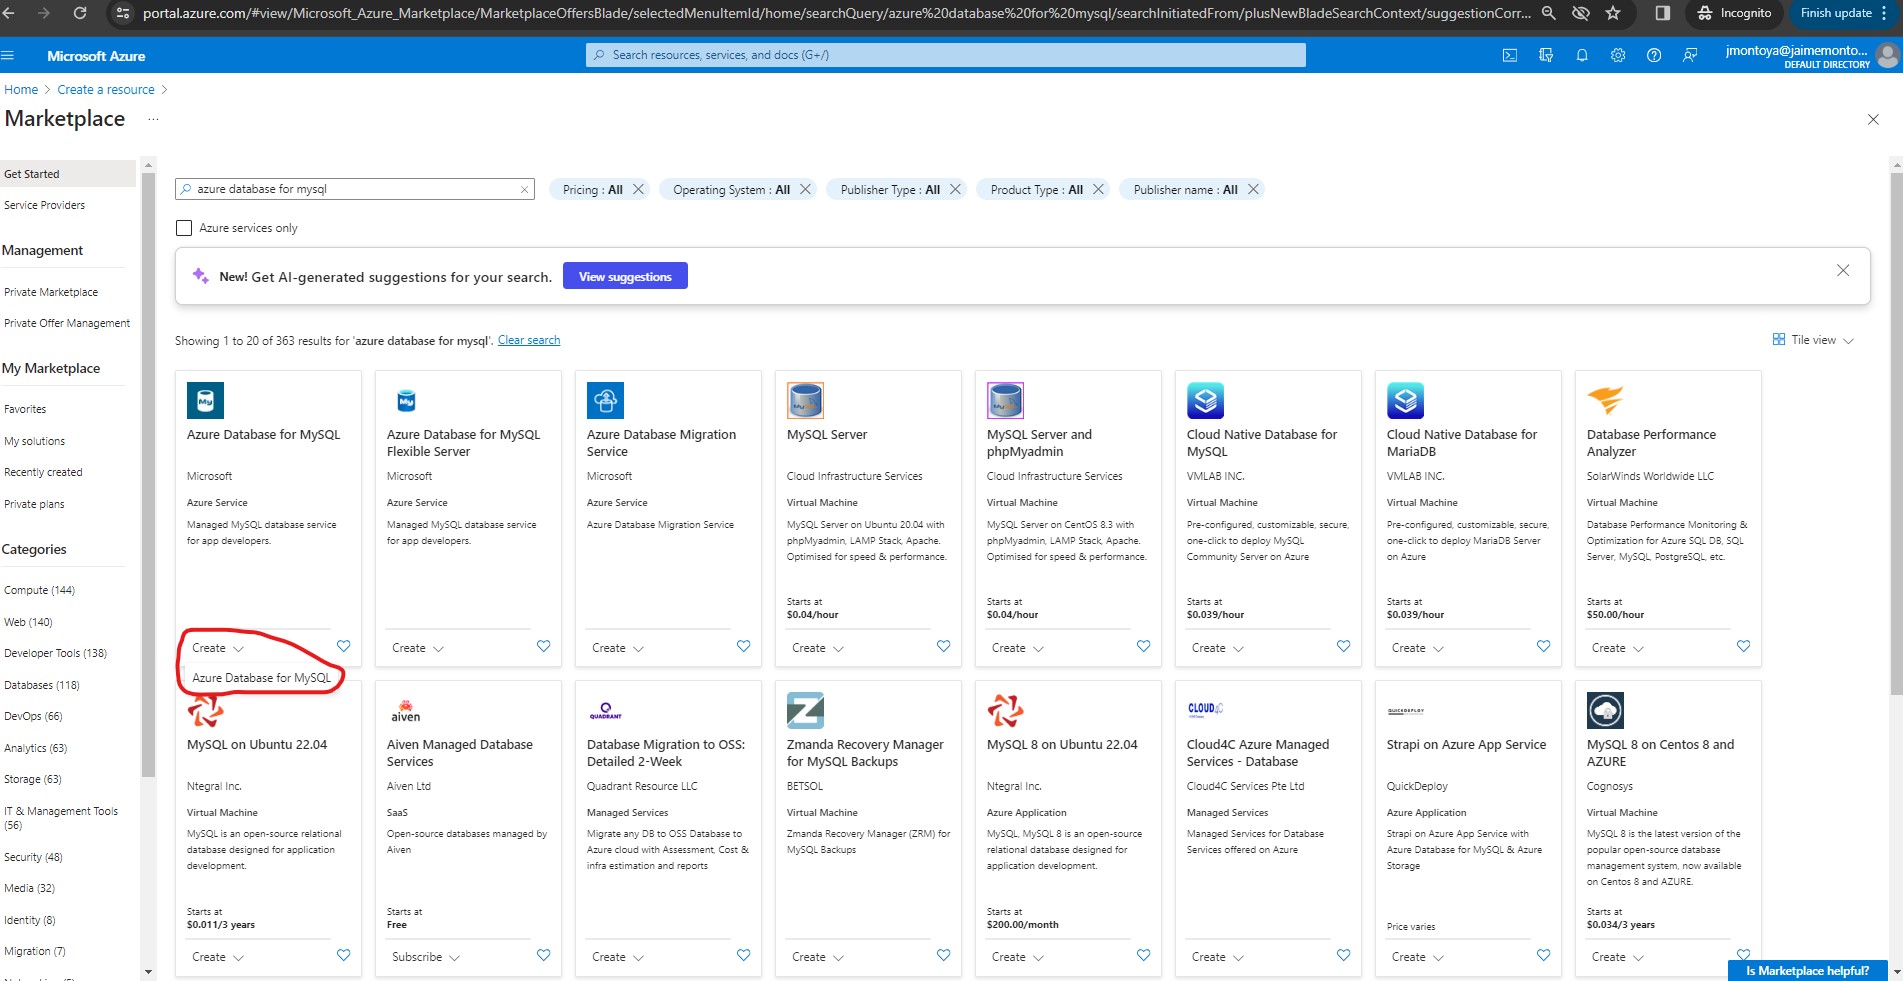
In order to provision an Azure Database for MySQL resource, I clicked the Create Azure Database for MySQL link:
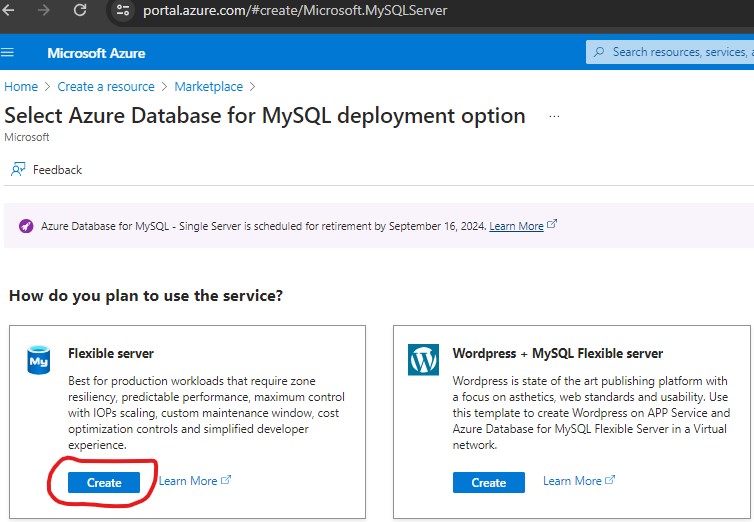
From the Select Azure Database for MySQL deployment option page, I chose Flexible server as my plan to use the service and clicked Create:
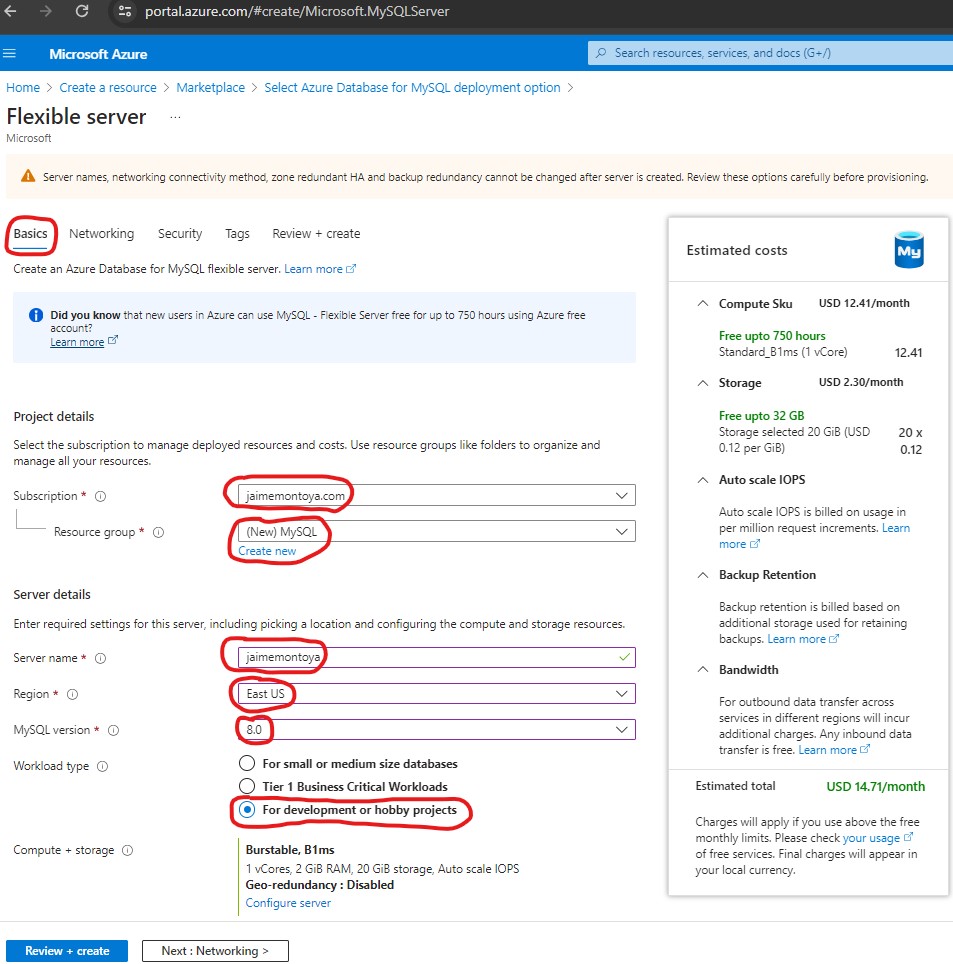
I entered the following values on the Flexible server page, and left all other properties with their default setting:
- Subscription: jaimemontoya.com (because that was the name I gave to my Azure subscription).
- Resource group: MySQL (I created a new resource group with a name of my choice. A resource group is a container that holds related resources for an Azure solution.)
- Server name: jaimemontoya (a unique name that was available)
- Region: East US
- MySQL version: 8.0
- Workload type: For development or hobby projects
- Compute + storage: Left unchanged
- Availability zone: Left unchanged
- Enable high availability: Left unchanged
- Admin username: I chose my username
- Password and Confirm password: I chose a suitably complex password.
Basics tab when creating a new Azure Database for MySQL, part 1 of 2:
Basics tab when creating a new Azure Database for MySQL, part 2 of 2:

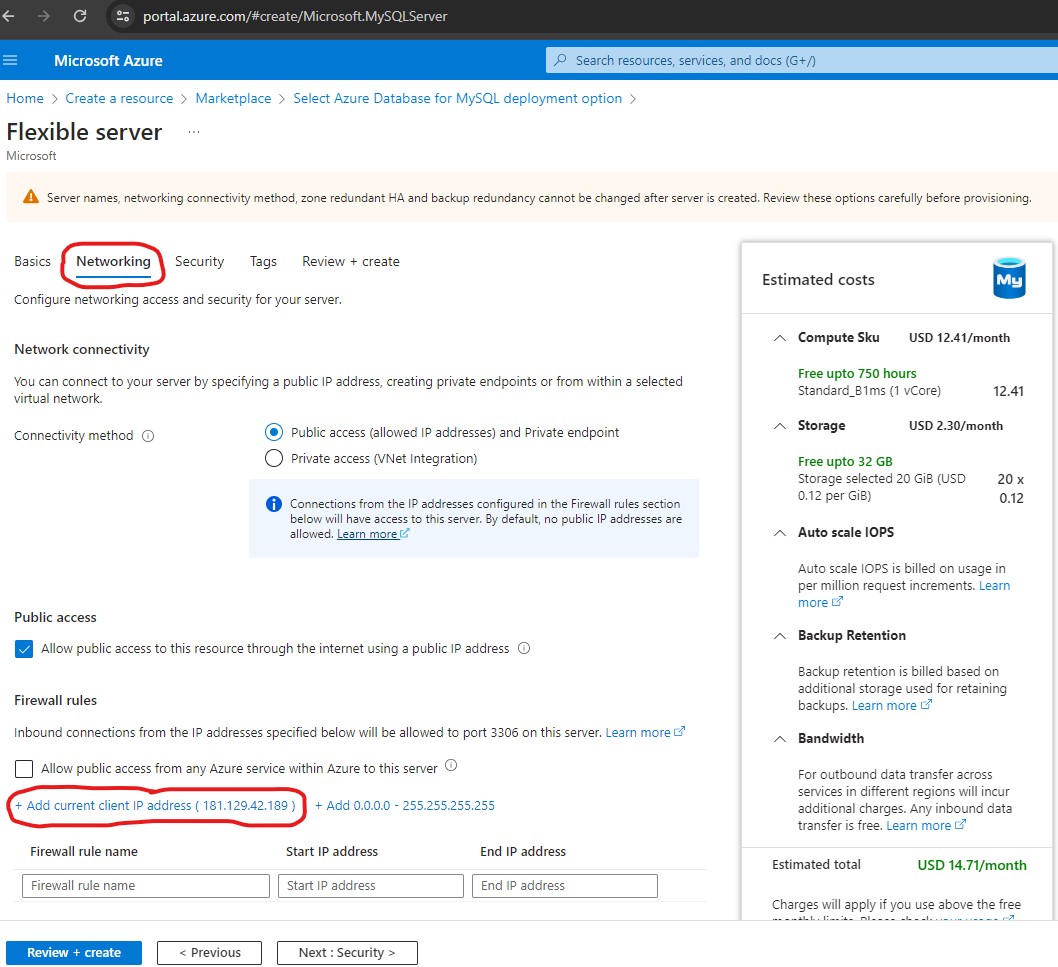
From the Networking tab, I clicked the + Add current client IP address ( 181.129.42.189 ) link:
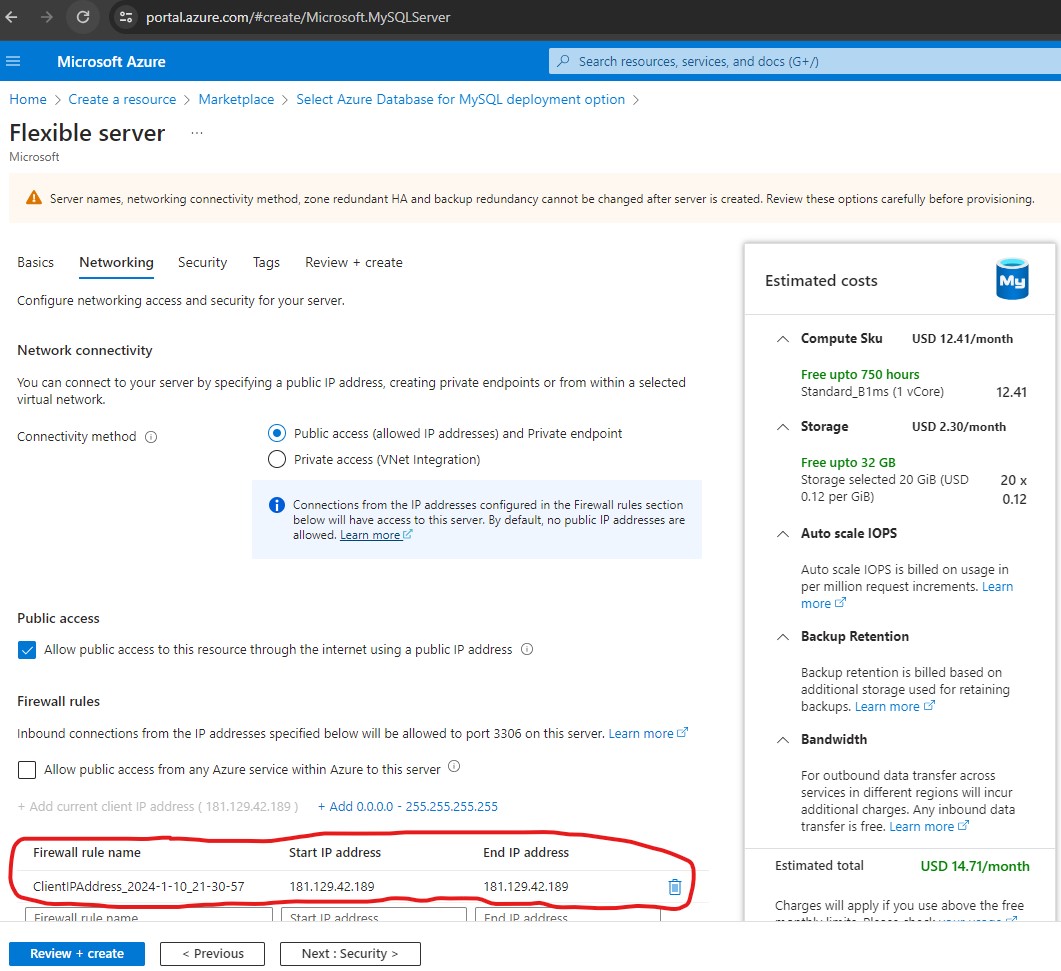
The rule was created successfully:
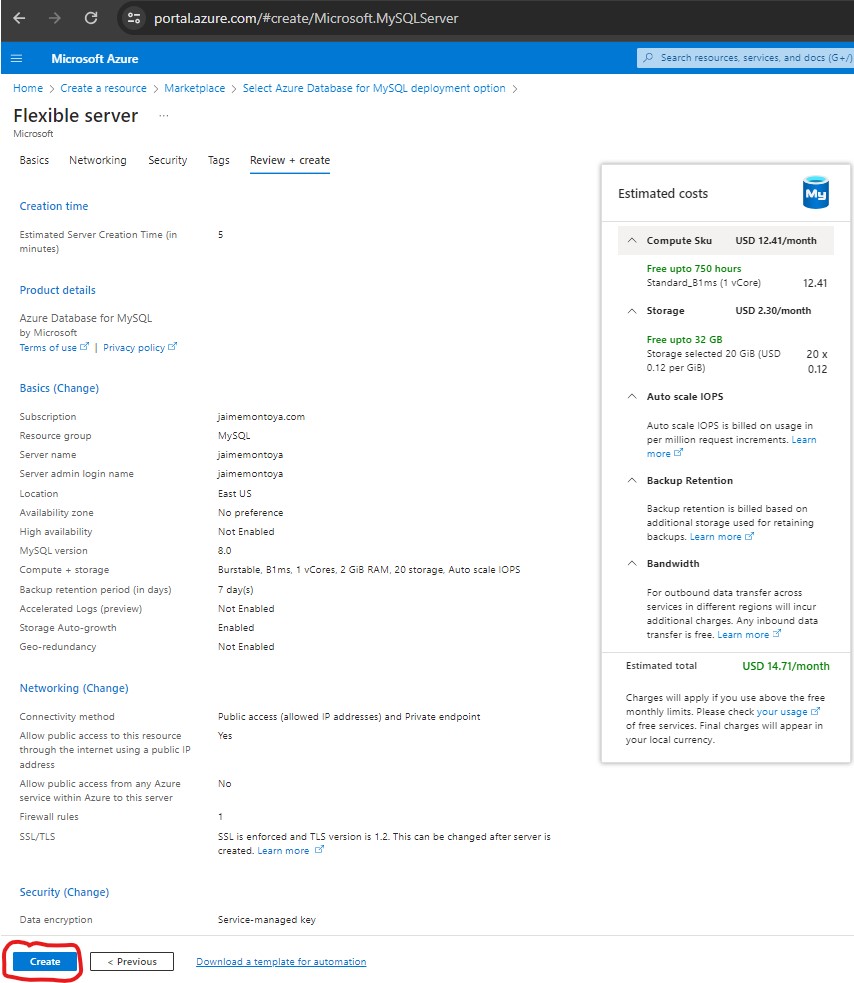
After reviewing settings, I clicked Create:
My deployment was complete. I clicked Go to resource:

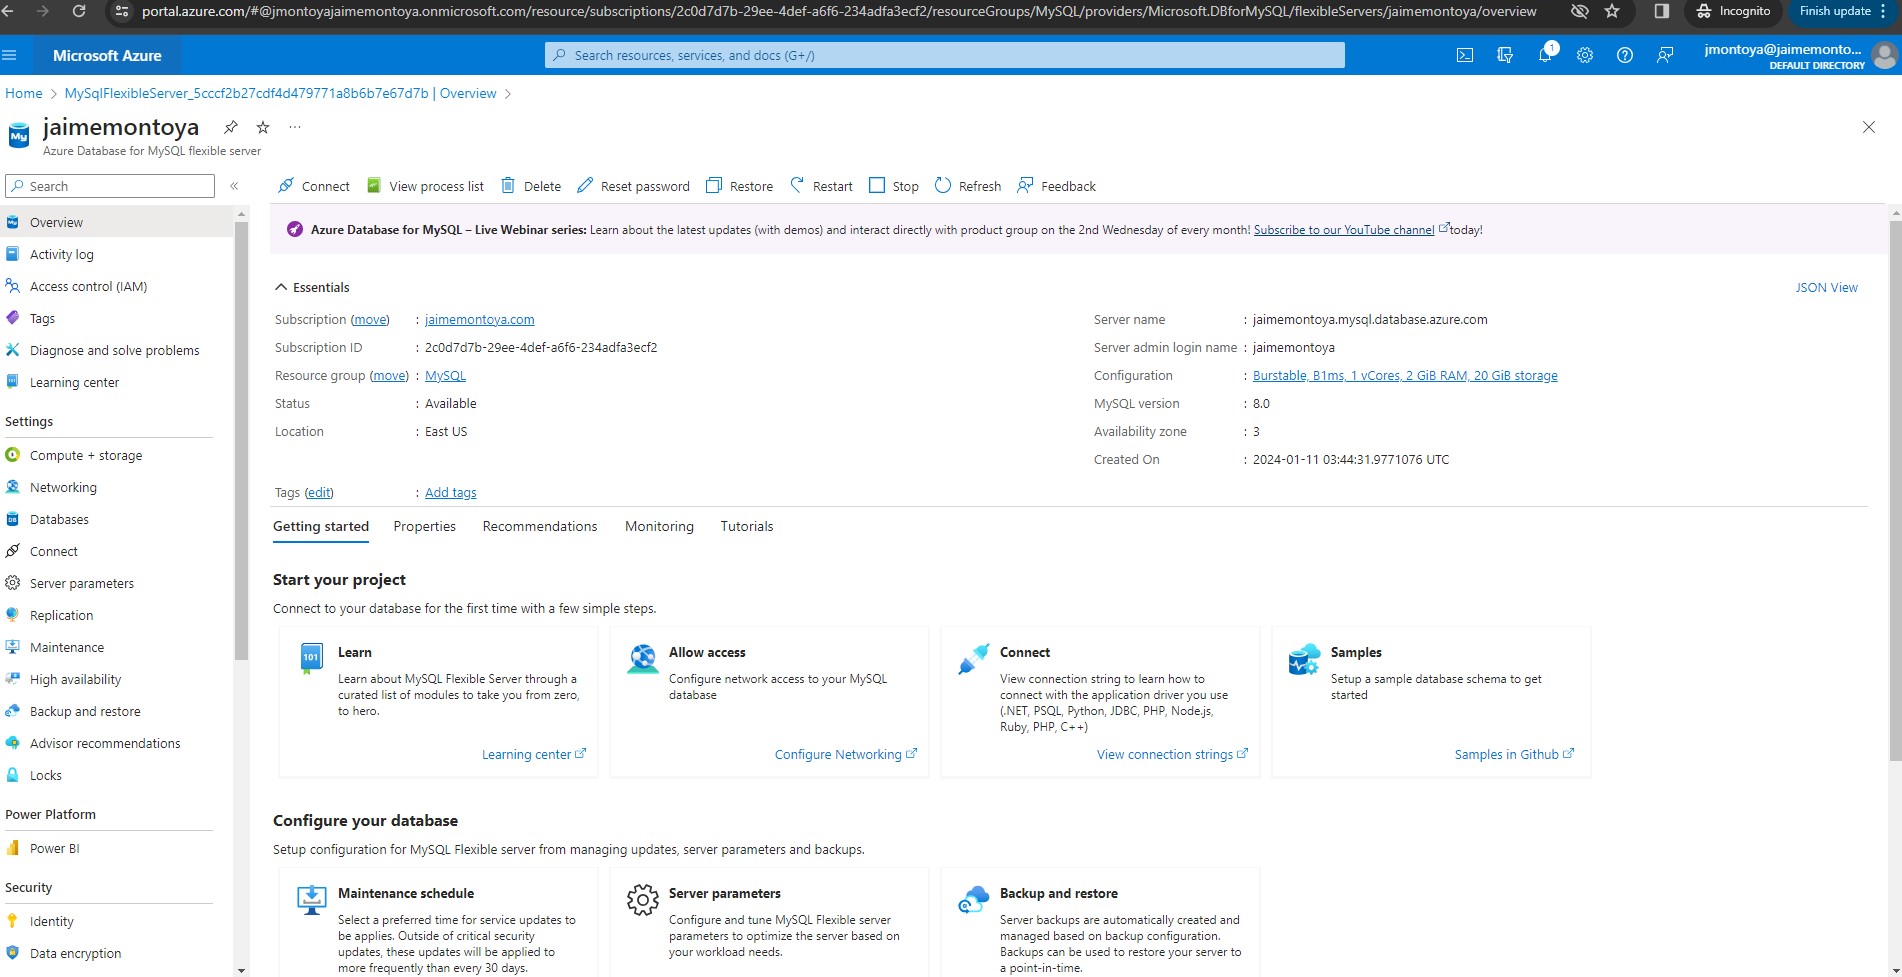
My server was ready to host MySQL databases:
Finally, I deleted the resouces that I created for MySQL (steps to delete resources previously shown in this post).